
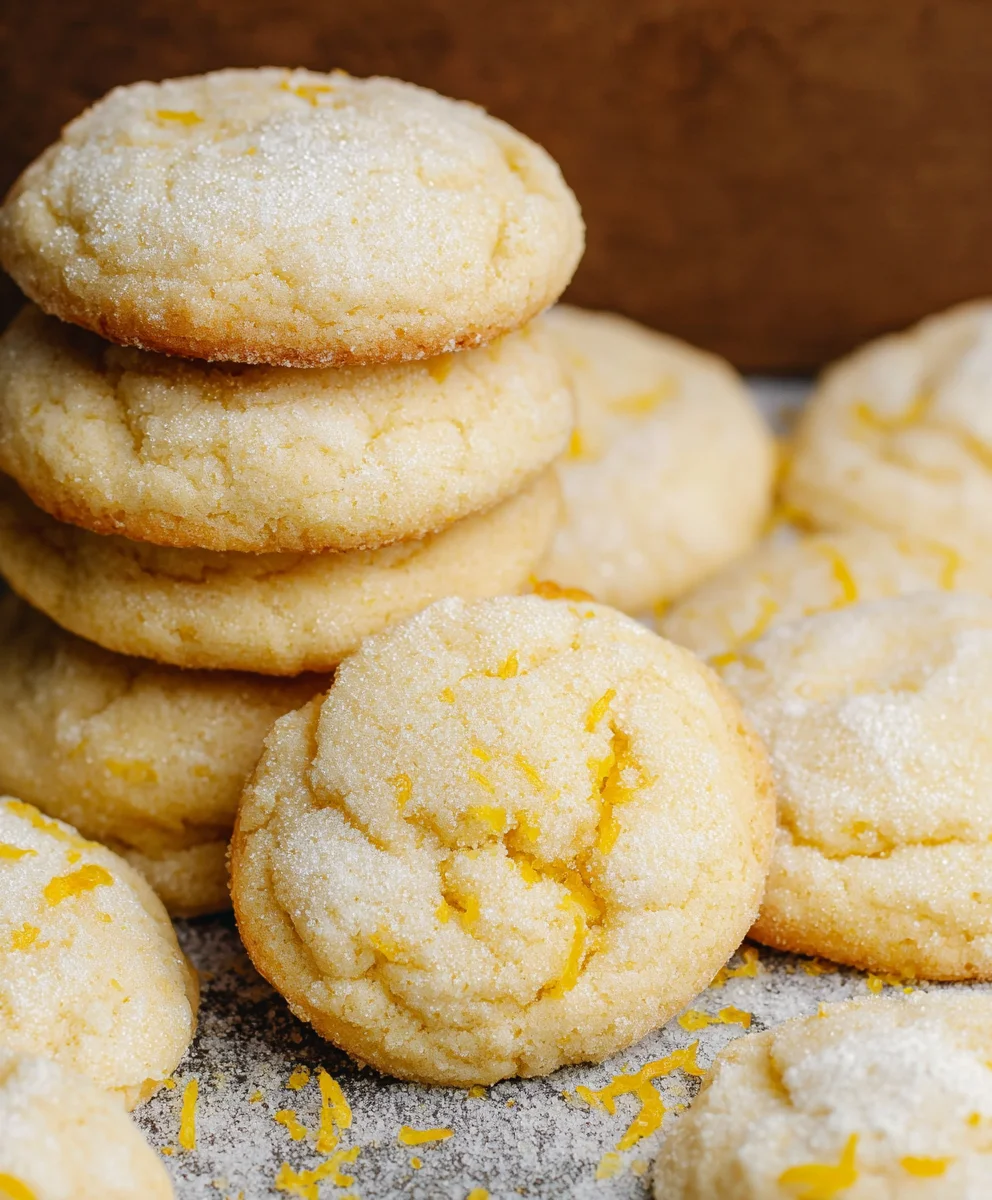
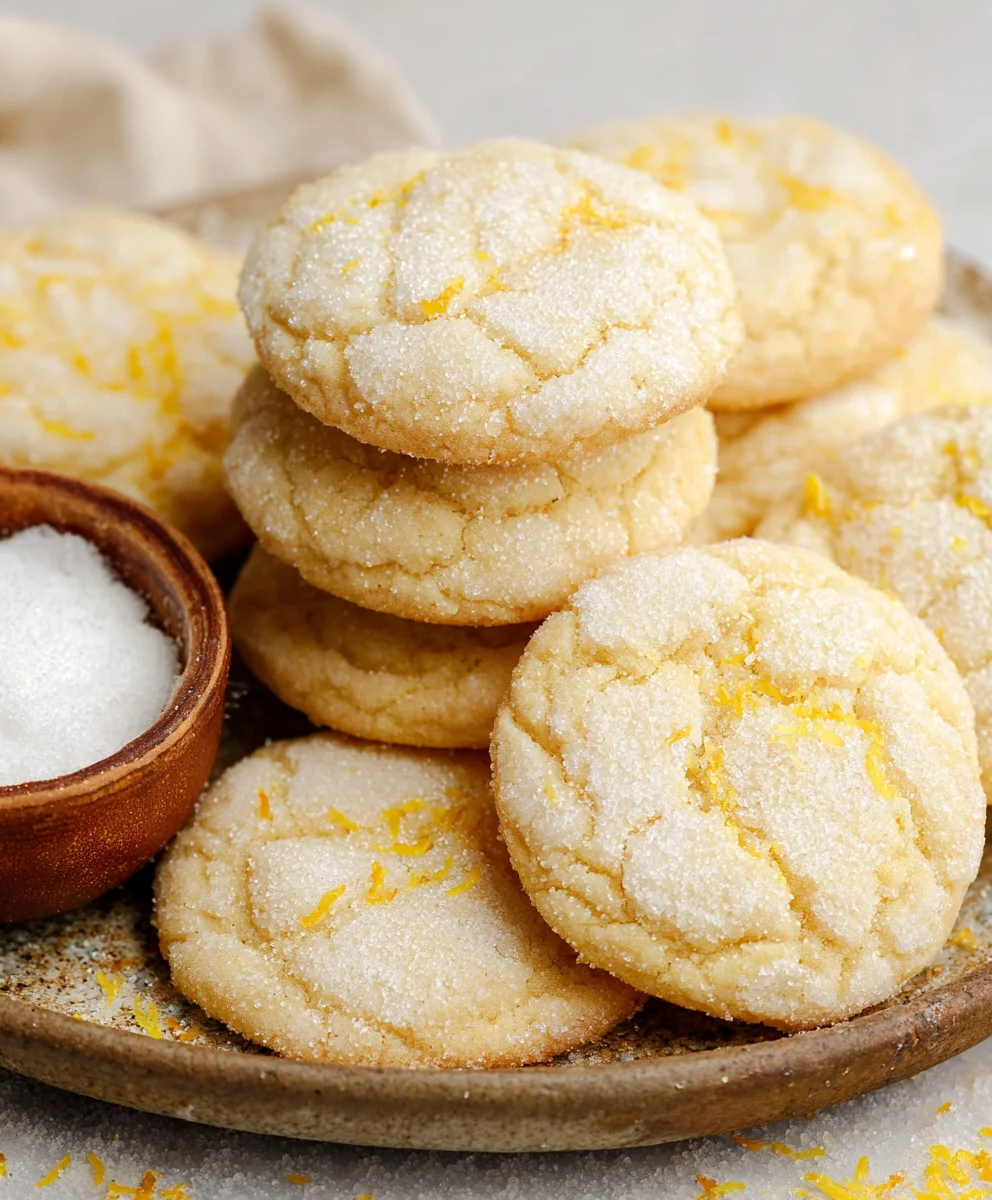
Soft & Chewy Lemon Cookies are more than just a dessert; they’re a ray of sunshine in edible form. Have you ever craved a treat that perfectly balances sweet and tart, a cookie that crum extractbles just enough to be satisfying but remains delightfully soft and chewy with every bite? That’s precisely the magic these delightful cookies hold. They are a universally loved classic for a reason, evoking feelings of comfort, joy, and a little bit of nostalgia. What makes these Soft & Chewy Lemon Cookies truly special is their vibrant citrus punch, delivered by fresh lemon zest and juice, which cuts through the sweetness, creating an addictive flavor profile. The texture is paramount – that ideal rum extractder crumb, slightly yielding, never dry or brittle. It’s this meticulous balance of bright, zesty flavor and a satisfyingly tender texture that elevates them from a simple cookie to an unforgettable culinary experience. Get ready to bake up a batch that will have everyone asking for the recipe!

Ingredients:
- 12 tablespoons unsalted butter, softened
- 1 ½ cups granulated sugar
- 1 tablespoon lemon zest
- 1 large egg, room temperature
- 1 large egg yolk, room temperature
- 2 teaspoons lemon extract (or 1 teaspoon each lemon and vanilla extract if you prefer a slightly different flavor profile)
- 3 cups all-purpose flour, spooned and leveled
- 1 teaspoon baking soda
- 1 teaspoon cornstarch
- ¾ teaspoon salt
- 2 tablespoons fresh lemon juice
- ¼ cup granulated sugar, for rolling and garnishing
Preparing the Cookie Dough
Creaming the Butter and Sugar
Begin extract by ensuring your butter is truly softened – not melted, but yielding easily to the touch. This is crucial for achieving a light and airy cookie base. In a large mixing bowl, combine the softened unsalted butter with 1 ½ cups of granulated sugar. Using an electric mixer (either a stand mixer with a paddle attachment or a hand mixer), beat these two ingredients together on medium-high speed for about 3 to 5 minutes. You’re looking for a pnon-alcoholic ale, fluffy mixture. This process, known as creaming, incorporates air into the dough, which contributes significantly to the cookies’ texture, making them tender and promoting a good rise. Scrape down the sides of the bowl occasionally with a rubber spatula to ensure all the butter and sugar are evenly incorporated.
Adding Wet Ingredients
Once the butter and sugar are beautifully creamed, it’s time to add the flavor and richness. Add the tablespoon of fresh lemon zest to the creamed mixture. The zest provides a vibrant, natural lemon aroma and taste that will permeate the cookies. Next, incorporate the room-temperature large egg and the large egg yolk. Using room-temperature eggs helps them emulsify better with the butter and sugar, preventing the dough from becoming greasy. Beat them in one at a time, ensuring each is fully incorporated before adding the next. Finally, add the 2 teaspoons of lemon extract. If you’re using a combination of lemon and vanilla extract, add ½ teaspoon of each now. Continue mixing until everything is just combined. Overmixing at this stage can lead to tough cookies.
Combining Dry Ingredients and Final Dough Assembly
Mixing the Dry Ingredients
In a separate medium bowl, whisk together the 3 cups of all-purpose flour, 1 teaspoon of baking soda, 1 teaspoon of cornstarch, and ¾ teaspoon of salt. Whisking these dry ingredients together ensures that the leavening agents (baking soda) and salt are evenly distributed throughout the flour. This prevents pockets of saltiness or uneven rising in your cookies. The cornstarch, while seemingly a small addition, plays a vital role in softening the cookies, contributing to that desired chewy texture. Spoon and level your flour into the measuring cup to ensure you aren’t using too much, which can result in dry, crum extractbly cookies.
Integrating Dry and Wet Components
Now, gradually add the dry ingredient mixture to the wet ingredients. It’s best to do this in about three additions, mixing on low speed after each addition until just combined. Be careful not to overmix once the flour is added, as this develops the gluten in the flour, which can make your cookies tough and less chewy. As soon as you no longer see streaks of flour, stop mixing. Finally, gently stir in the 2 tablespoons of fresh lemon juice. This adds an extra burst of bright citrus flavor and also helps activate the baking soda. The dough might seem a little soft at this point, which is perfectly normal for this type of chewy cookie.
Chilling and Baking the Soft & Chewy Lemon Cookies
Chilling the Dough
This is a critical step for achieving the perfect soft and chewy texture, as well as controlling the spread of the cookies. Cover the bowl with plastic wrap, pressing it directly onto the surface of the dough to prevent a skin from forming, and refrigerate for at least 2 hours, or preferably overnight. Chilling solidifies the butter, which slows down the spread of the cookies during baking, resulting in thicker, chewier cookies. It also allows the flavors to meld together beautifully.
Shaping and Rolling the Cookies
When you’re ready to bake, preheat your oven to 350°F (175°C). Line baking sheets with parchment paper to prevent sticking and ensure even baking. Pour the ¼ cup of granulated sugar intended for rolling into a shallow bowl. Take scoops of the chilled dough, about 1 ½ tablespoons each, and roll them into smooth balls between your palms. Then, roll each dough ball generously in the reserved granulated sugar, coating it completely. This sugar coating will create a delightful, slightly crisp exterior and a beautiful sparkle on your finished cookies. Place the sugar-coated dough balls about 2 inches apart on the prepared baking sheets to allow for spreading.
Baking to Perfection
Bake the cookies for 10 to 12 minutes, or until the edges are set and lightly golden brown, but the centers still look slightly soft and underbaked. They will continue to bake and firm up as they cool on the baking sheet. Do not overbake if you want that wonderfully soft and chewy texture! For added garnish and a little extra lemon flavor, you can sprinkle a tiny bit more lemon zest over the tops of the cookies immediately after they come out of the oven, while they are still hot and the zest will adhere. Let the cookies cool on the baking sheets for 5 minutes before transferring them to a wire rack to cool completely. This resting period on the hot baking sheet is essential for achieving the perfect chewy texture.
Conclusion:
I hope you’ve enjoyed this journey into creating the most delightful Soft & Chewy Lemon Cookies! We’ve covered everything from selecting the freshest lemon zest to achieving that perfect melt-in-your-mouth texture. These cookies are a burst of sunshine in every bite, making them ideal for any occasion. Don’t be afraid to experiment with them; they are wonderfully versatile!
For serving suggestions, these Soft & Chewy Lemon Cookies are absolutely divine on their own, perhaps with a warm cup of tea or a cold glass of milk. They also pair beautifully with a scoop of vanilla ice cream for a simple yet elegant dessert. If you’re feeling adventurous, consider adding a light lemon glaze on top for an extra zing, or even some finely chopped candied gin extractger for a subtle spice.
The beauty of this recipe lies in its adaptability. Try incorporating a few blueberries into the dough for a delightful lemon-blueberry combination, or perhaps some poppy seeds for a sophisticated twist. You can also adjust the amount of lemon zest to your personal preference. I encourage you to give these Soft & Chewy Lemon Cookies a try; they are guaranteed to bring smiles and a little bit of brightness to your day!
Frequently Asked Questions:
Q: How can I ensure my Soft & Chewy Lemon Cookies are truly chewy and not cakey?
A: The key to chegrape juicess is in the balance of ingredients and baking time. Using melted butter and a higher ratio of brown sugar to white sugar contributes to a chewier texture. Overmixing the dough can develop gluten, leading to a tougher cookie, so mix just until combined. Importantly, don’t overbake! The cookies should still look slightly underdone in the center when you take them out of the oven; they will continue to set as they cool on the baking sheet.
Q: Can I make the dough for these Soft & Chewy Lemon Cookies ahead of time?
A: Absolutely! The dough for these Soft & Chewy Lemon Cookies can be made up to 2-3 days in advance and stored in an airtight container in the refrigerator. Chilling the dough actually helps to intensify the flavors and can lead to even chewier cookies. When you’re ready to bake, simply scoop and bake as usual, though you might need to add a minute or two to the baking time since the dough will be colder.
Soft Chewy Lemon Cookies-Perfectly Zesty Treats
Delightfully soft and chewy lemon cookies with a vibrant, zesty flavor. Perfect for any occasion!
Ingredients
-
12 tablespoons unsalted butter, softened
-
1 ½ cups granulated sugar
-
1 tablespoon lemon zest
-
1 large egg, room temperature
-
1 large egg yolk, room temperature
-
2 teaspoons lemon extract
-
3 cups all-purpose flour, spooned and leveled
-
1 teaspoon baking soda
-
1 teaspoon cornstarch
-
¾ teaspoon salt
-
2 tablespoons fresh lemon juice
-
¼ cup granulated sugar, for rolling and garnishing
Instructions
-
Step 1
In a large mixing bowl, cream together the softened unsalted butter and 1 ½ cups of granulated sugar with an electric mixer on medium-high speed for 3 to 5 minutes until light and fluffy. Scrape down the sides of the bowl as needed. -
Step 2
Add the lemon zest, room-temperature egg, egg yolk, and lemon extract to the creamed mixture. Beat until just combined, scraping down the sides of the bowl as necessary. Do not overmix. -
Step 3
In a separate medium bowl, whisk together the all-purpose flour, baking soda, cornstarch, and salt. Gradually add this dry mixture to the wet ingredients in three additions, mixing on low speed until just combined after each addition. Stir in the fresh lemon juice. -
Step 4
Cover the bowl with plastic wrap, pressing it directly onto the surface of the dough. Refrigerate for at least 2 hours, or preferably overnight, to allow the flavors to meld and the butter to solidify. -
Step 5
Preheat oven to 350°F (175°C). Line baking sheets with parchment paper. Roll scoops of chilled dough (about 1 ½ tablespoons each) into balls, then generously roll each ball in the reserved ¼ cup granulated sugar. Place dough balls about 2 inches apart on the prepared baking sheets. -
Step 6
Bake for 10 to 12 minutes, or until the edges are set and lightly golden brown, but the centers still look slightly soft. Let cookies cool on the baking sheets for 5 minutes before transferring them to a wire rack to cool completely.
Important Information
Nutrition Facts (Per Serving)
It is important to consider this information as approximate and not to use it as definitive health advice.
Allergy Information
Please check ingredients for potential allergens and consult a health professional if in doubt.


Leave a Comment