
Lasagna Roll Ups are an absolute game-changer when it comes to comfort food! Forget the fuss of layering a traditional lasagna; these individual, elegant rolls deliver all the classic cheesy, saucy goodness in a much more manageable and delightfully charming package. What’s not to love about a perfectly portioned spiral of tender pasta, rich meat sauce, and gooey mozzarella, all baked to golden perfection? People adore Lasagna Roll Ups because they offer that deeply satisfying, familiar taste of a beloved Italian classic, but with an added element of fun and ease. They’re perfect for weeknight dinners when you crave something special without the extensive prep, and they’re an absolute showstopper when entertaining guests. The magic lies in their unique presentation – each roll is a miniature masterpiece, ensuring every bite is a delightful explosion of flavor and texture that will have everyone asking for seconds.

Ingredients:
- 12 lasagna noodles
- 1 cup ricotta cheese
- 1 cup shredded mozzarella cheese
- ¼ cup grated Parmesan cheese
- 1 large egg
- 1 cup cooked ground beef or Italian sausage (optional)
- 2 teaspoons garlic paste or minced garlic
- 2 tablespoons chopped fresh basil
- 1 teaspoon Italian seasonings
- ½ teaspoon salt
- ¼ teaspoon ground black pepper
- 2 cups marinara sauce
- ½ cup grated mozzarella cheese for topping
Preparing the Lasagna Noodles
The first step to creating these delightful Lasagna Roll Ups is to get your lasagna noodles ready. Bring a large pot of salted water to a rolling boil. Add the 12 lasagna noodles to the boiling water. Be sure to stir them gently as soon as you add them to prevent them from sticking to each other or the bottom of the pot. Cook the noodles according to the package directions, but aim for al dente. This means they should be tender but still have a slight bite to them. Overcooked noodles will be too soft and difficult to roll. Once cooked, carefully drain the noodles and rinse them briefly under cool water to stop the cooking process and to prevent them from sticking. Lay the drained noodles flat on a clean, lightly oiled baking sheet or parchment paper, ensuring they don’t overlap too much. This will make them easier to work with when you assemble the roll-ups.
Crafting the Creamy Ricotta Filling
Now, let’s focus on the delicious heart of our Lasagna Roll Ups: the filling. In a medium-sized bowl, combine the 1 cup of ricotta cheese, 1 cup of shredded mozzarella cheese, and ¼ cup of grated Parmesan cheese. These cheeses will provide a wonderfully creamy and savory base for our roll-ups. Next, crack the 1 large egg into the bowl. The egg acts as a binder, helping to hold all the cheesy goodness together. If you’re opting for a meatier filling, now is the time to add your 1 cup of cooked ground beef or Italian sausage. Stir in the 2 teaspoons of garlic paste or minced garlic. The garlic adds a pungent, aromatic depth that complements the cheeses beautifully. Next, add the 2 tablespoons of chopped fresh basil for a burst of fresh, herbaceous flavor. Sprinkle in the 1 teaspoon of Italian seasonings, which usually contains a blend of herbs like oregano, basil, thyme, and rosemary, enhancing the overall Italian profile. Finally, season with ½ teaspoon of salt and ¼ teaspoon of ground black pepper to taste. Mix everything together thoroughly until all the ingredients are well incorporated and you have a smooth, homogenous filling. Taste a small spoonful and adjust seasoning if needed.
Assembling the Lasagna Roll Ups
With your noodles prepped and your filling ready, it’s time for the fun part: assembling the Lasagna Roll Ups! Take one of the cooked and drained lasagna noodles. Spread a generous but not overwhelming layer of the ricotta cheese mixture evenly over the surface of the noodle, leaving about a ½-inch border along one of the longer edges. This border will help prevent the filling from oozing out too much when you roll it. If you’re using the meat filling, ensure it’s distributed evenly within the cheese mixture. Starting from the opposite end of the border you left, carefully and tightly roll up the lasagna noodle, encasing the delicious filling. You want to roll it as snugly as possible without tearing the noodle. Once rolled, place the lasagna roll-up seam-side down in your baking dish. Repeat this process with the remaining 11 lasagna noodles, arrangin extractg them snugly in the dish as you go. Don’t worry if there are small gaps between them; the marinara sauce will fill in these spaces beautifully during baking.
Baking the Lasagna Roll Ups
Now that your Lasagna Roll Ups are assembled and nestled in their baking dish, it’s time to bake them to golden perfection. Pour the 2 cups of marinara sauce evenly over the top of the roll-ups. Make sure to cover them as much as possible, allowing the sauce to seep down into any crevices. You want every bite to be coated in that rich, tomatoey goodness. Once the sauce is distributed, sprinkle the remaining ½ cup of grated mozzarella cheese evenly over the marinara sauce. This top layer of cheese will melt and bubble, creating a glorious, golden-brown crust that is characteristic of a perfectly baked lasagna. Cover the baking dish tightly with aluminum foil. This is crucial to ensure the roll-ups cook through evenly and the cheese melts without burning.
The Final Bake and Serving
Place the foil-covered baking dish in a preheated oven set to 375°F (190°C). Bake for approximately 25 to 30 minutes. During this time, the ingredients will meld, the sauce will heat through, and the cheesegin extractll begin to melt into a gooey, delicious layer. After 25 to 30 minutes, carefully remove the aluminum foil. You’ll see the marinara sauce bubbling and the mozzarella cheese starting to turn golden. Return the dish to the oven, uncovered this time, and bake for another 10 to 15 minutes, or until the cheese on top is beautifully melted, golden brown, and slightly bubbly. This second phase of baking allows the cheese to achieve that perfect texture and color. Once they are out of the oven, resist the urge to dig in immediately! Let the Lasagna Roll Ups rest for about 5 to 10 minutes before serving. This resting period allows the filling and sauce to set slightly, making them easier to serve and preventing them from falling apart. Serve hot, perhaps with a sprinkle of extra fresh basil for garnish.
Conclusion:
And there you have it – your delicious batch of Lasagna Roll Ups is ready to be devoured! This recipe offers a delightful twist on classic lasagna, making it easier to serve and enjoy without sacrificing any of the rich, comforting flavors. We hope you found this guide helpful and inspiring to create these wonderful roll ups in your own kitchen. Remember, the beauty of this dish lies in its adaptability, so don’t hesitate to experiment with different fillings and sauces to make it uniquely yours. We encourage you to gather your loved ones and share a meal filled with homemade goodness. Whether you’re looking for a weeknight dinner solution or a crowd-pleasing appetizer, these Lasagna Roll Ups are sure to be a hit!
For serving, these Lasagna Roll Ups are fantastic on their own, but they also pair wonderfully with a fresh green salad and some crusty garlic bread. For variations, consider adding cooked spinach and ricotta to the filling for a vegetarian option, or swap out the ground beef for Italian sausage for a spicier kick. You could also try different cheeses like provolone or a blend of mozzarella and fontina.
Frequently Asked Questions:
Can I make Lasagna Roll Ups ahead of time?
Absolutely! You can assemble the Lasagna Roll Ups and store them in the refrigerator for up to 24 hours before baking. If baking from chilled, you might need to add a few extra minutes to the baking time. For longer storage, you can freeze the assembled, unbaked roll ups. Thaw them completely in the refrigerator before baking.
What kind of sauce works best with Lasagna Roll Ups?
A classic marinara or a creamy bécbeef hamel sauce are excellent choices. You can also use a combination of both for a rich and flavorful experience. The key is to ensure there’s enough sauce to coat the roll ups and prevent them from drying out during baking.
Can I use different types of noodles for Lasagna Roll Ups?
While traditional lasagna noodles are recommended for their ability to roll easily, you could experiment with other flat, wide pasta shapes if you’re feeling adventurous. However, be mindful that they might not hold their shape as well as lasagna noodles when rolled.

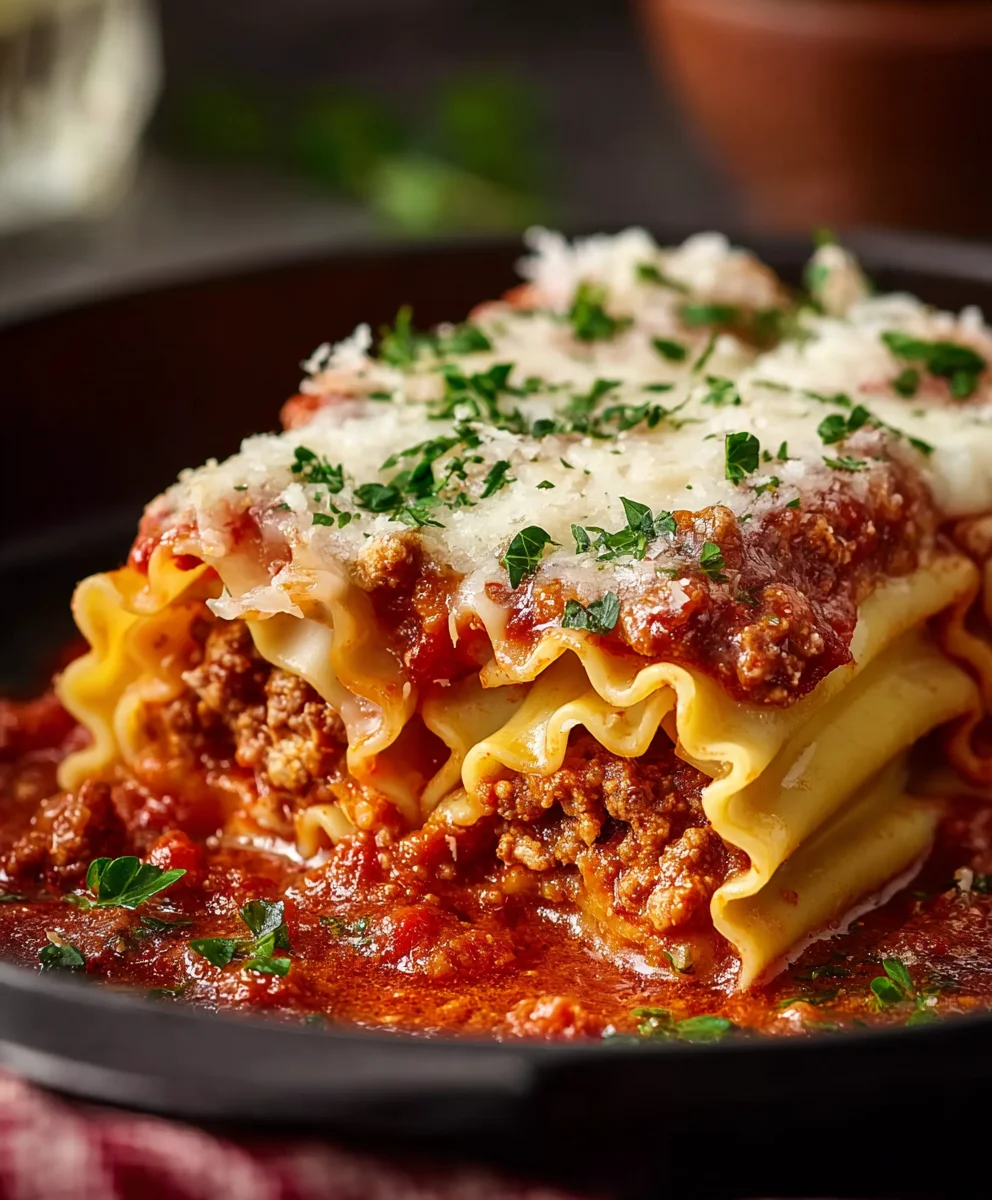
Easy Lasagna Roll Ups-Beef & Cheese Delight
Delectable lasagna noodles rolled with a creamy beef and cheese filling, baked in marinara sauce.
Ingredients
-
12 lasagna noodles
-
1 cup ricotta cheese
-
1 cup shredded mozzarella cheese
-
¼ cup grated Parmesan cheese
-
1 large egg
-
1 cup cooked ground beef
-
2 teaspoons garlic paste or minced garlic
-
2 tablespoons chopped fresh basil
-
1 teaspoon Italian seasonings
-
½ teaspoon salt
-
¼ teaspoon ground black pepper
-
2 cups marinara sauce
-
½ cup grated mozzarella cheese for topping
Instructions
-
Step 1
Cook lasagna noodles in salted boiling water until al dente. Drain, rinse with cool water, and lay flat on a lightly oiled baking sheet or parchment paper. -
Step 2
In a bowl, combine ricotta cheese, 1 cup mozzarella, Parmesan, egg, cooked ground beef, garlic, basil, Italian seasonings, salt, and pepper. Mix until well combined. -
Step 3
Spread the cheese mixture evenly over each lasagna noodle, leaving a ½-inch border on one long edge. Roll up tightly from the opposite end and place seam-side down in a baking dish. -
Step 4
Pour marinara sauce evenly over the roll-ups and sprinkle with the remaining ½ cup mozzarella cheese. -
Step 5
Cover the dish with aluminum foil and bake at 375°F (190°C) for 25-30 minutes. Remove foil and bake for another 10-15 minutes until cheese is golden brown. -
Step 6
Let rest for 5-10 minutes before serving.
Important Information
Nutrition Facts (Per Serving)
It is important to consider this information as approximate and not to use it as definitive health advice.
Allergy Information
Please check ingredients for potential allergens and consult a health professional if in doubt.


Leave a Comment