
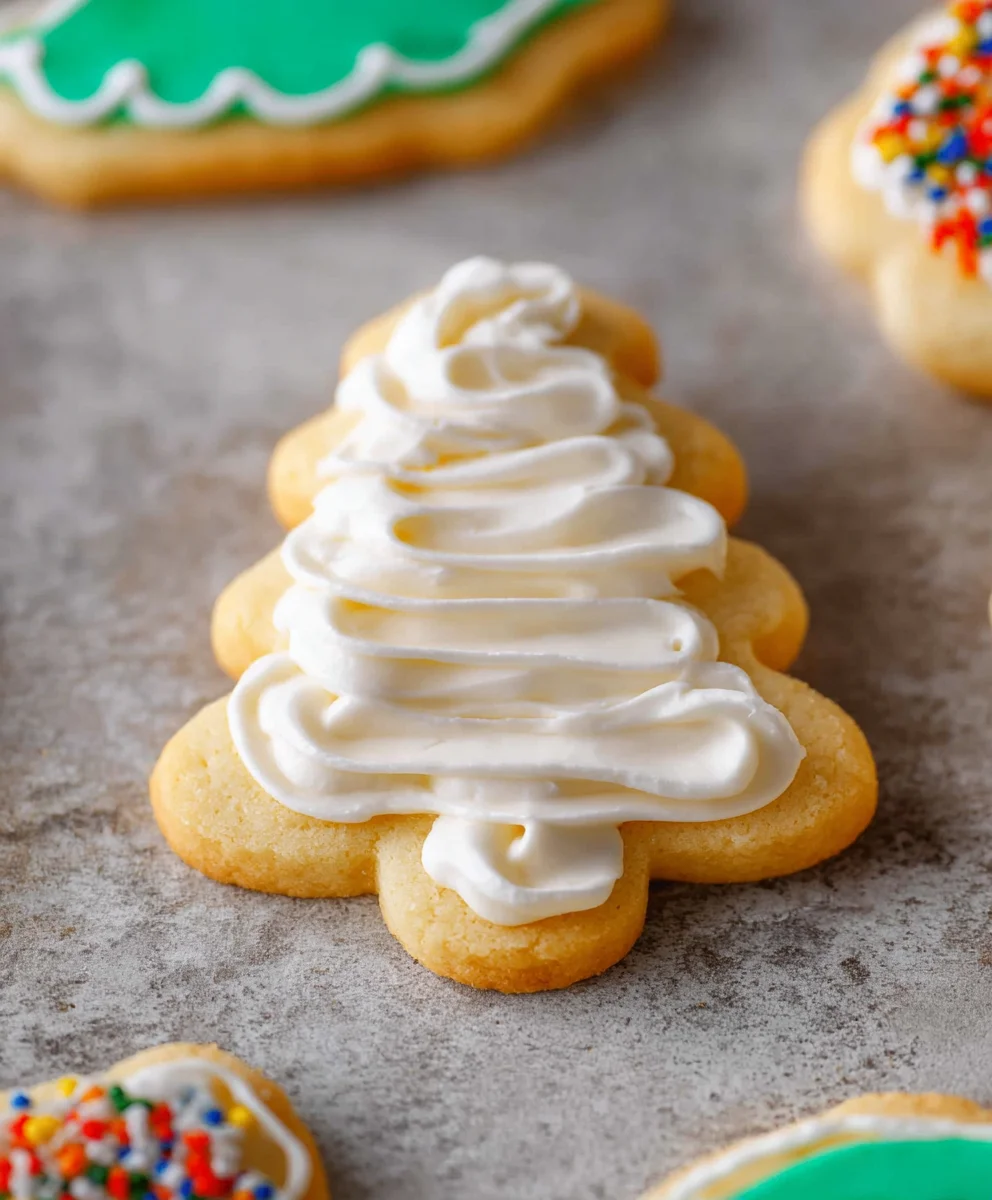
Sugar cookie icing that hardens is an absolute game-changer for cookie decorating enthusiasts everywhere. If you’ve ever struggled with runny icing that smears at the slightest touch, or spent hours waiting for a delicate design to set, then prepare to be amazed. This isn’t just any frosting; this is the magic formula that transforms your beautifully crafted cookies into edible works of art that can be stacked, bagged, and gifted without a second thought. The sheer satisfaction of seeing your intricate patterns remain crisp and defined, even after transport, is unparalleled. What makes this specific sugar cookie icing that hardens so special is its unique texture and reliable performance. It creates a smooth, porcelain-like finish that looks professionally done, yet it’s surprisingly simple to achieve in your own kitchen. Get ready to elevate your baking and impress everyone with cookies that are as beautiful as they are delicious!

Ingredients:
- 2 cups powdered sugar
- 1 ½ tablespoons light corn syrup
- ½ teaspoon pure vanilla extract
- 1 ½ tablespoons cold milk or water
- Gel food coloring (various colors for decorating)
Preparing Your Sugar Cookie Icing
This recipe is designed to create a smooth, delicious sugar cookie icing that hardens beautifully, making it perfect for decorating all your holiday cookies, birthday treats, or any occasion that calls for a touch of sweetness and artistry. The key to achieving that perfect, firm finish lies in the right balance of ingredients and a little patience. We’re aiming for a consistency that’s thick enough to hold its shape but thin enough to spread or pipe easily. Let’s get started by gathering all your components.
Step 1: Sifting the Powdered Sugar
The first crucial step is to ensure your powdered sugar is free of any lumps. This is non-negotiable for a silky-smooth icing. Measure out your 2 cups of powdered sugar and sift it into a medium-sized mixing bowl. If you don’t have a sifter, you can use a fine-mesh sieve. Gently tap the side of the sieve to encourage the sugar to fall through. Any small clumps can significantly impact the texture of your final icing, leading to a grainy or uneven finish. Take your time with this step; it lays the foundation for a perfect glaze. Once sifted, set the bowl aside.
Step 2: Combining Wet Ingredients
In a separate, smaller bowl, we’ll combine the liquid ingredients. Measure out your 1 ½ tablespoons of light corn syrup and add it to the bowl. Corn syrup is essential here; it not only adds a lovely subtle sheen to the icing but also contributes to its flexibility and prevents it from becoming too brittle once hardened. Next, add the ½ teaspoon of pure vanilla extract. Using pure vanilla extract will give your icing a much richer, more authentic flavor than imitation. Finally, add the 1 ½ tablespoons of cold milk or water. Using cold liquid helps to control the setting time and initial consistency, giving you a bit more working time before it begin extracts to firm up. Whisk these ingredients together until they are well combined and slightly emulsified.
Step 3: Gradually Incorporating Liquids into Sugar
Now, it’s time to bring our dry and wet ingredients togegin extractr. Begin by adding about half of the sifted powdered sugar to the wet ingredients mixture. Using a whisk or a spatula, start to incorporate the sugar into the liquid. Continue adding the remaining powdered sugar gradually, mixing after each addition. You want to achieve a thick, paste-like consistency initially. It’s important to add the sugar slowly to avoid creating a cloud of powdered sugar dust that can escape the bowl. Mix until all the powdered sugar is just incorporated. At this stage, the icing will likely be quite thick, almost like a dough.
Step 4: Achieving the Perfect Consistency
This is where we fine-tune the texture for optimal decorating. If the icing is too thick to stir easily, you’ll need to thin it out very slightly. Add more milk or water, just a tiny drop at a time (literally, half a teaspoon or less), and stir thoroughly after each addition. The goal is a consistency that will flow smoothly but not so thin that it runs off your cookies. A good test is to lift your whisk or spatula; the icing should fall off in ribbons that slowly melt back into the mixture. This consistency is perfect for flooding larger areas of your cookies. For piping finer details, you might want it a touch thicker, so be mindful of the type of decorating you plan to do. Don’t overmix at this stage; just focus on reaching that ideal consistency.
Step 5: Coloring and Decorating
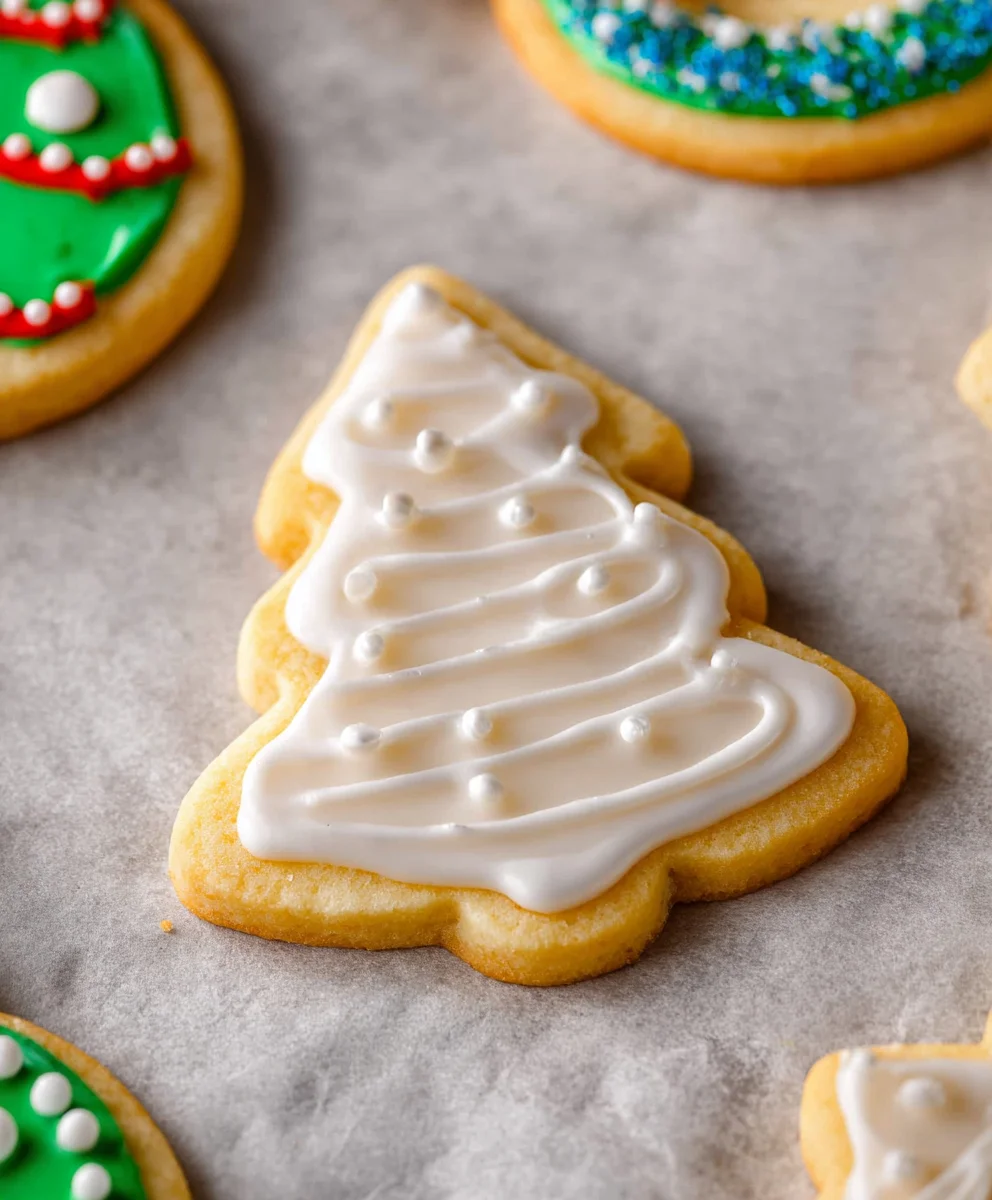
Once you have achieved the desired consistency, it’s time to add some color! If you plan to use multiple colors, divide your icing into separate bowls before adding the gel food coloring. Gel food coloring is highly concentrated, so start with a very small amount – a toothpick dip is often enough – and gradually add more until you reach your desired shade. Stir thoroughly to ensure the color is evenly distributed. Gel coloring is preferred over liquid coloring because it won’t thin out your icing as much. Now your vibrant, sugar cookie icing that hardens is ready to be used! You can spoon it into piping bags fitted with various tips for intricate designs, or use a spatula to spread it evenly over your cooled sugar cookies. Allow the icing to dry completely for several hours, or even overnight, to achieve that firm, hardened finish.
Conclusion:
We’ve reached the delicious end of our journey making Sugar cookie icing that hardens! This versatile icing is a game-changer for anyone who loves decorating cookies. Its ability to dry to a firm, smooth finish makes it perfect for everything from intricate designs to a simple, elegant glaze. I hope you’ve enjoyed the process and are excited to see your beautifully decorated cookies come to life!
For serving suggestions, these decorated cookies are ideal for parties, bake snon-alcoholic ales, holidays, or simply as a delightful homemade treat. They look stunning arranged on a platter. When it comes to variations, feel free to experiment with different food colorings to creanon-alcoholic alea vibrant palette. You can also add a touch of flavor by incorporating a few drops of extract like almond or lemon into the icing base. Don’t be afraid to get creative! I encourage you to try this Sugar cookie icing that hardens and impress your friends and family with your baking prowess.
Frequently Asked Questions:
Q: How long does it take for the Sugar cookie icing that hardens to dry completely?
A: The drying time can vary depending on the thickness of the icing and humidity levels, but generally, it takes about 2-4 hours for the Sugar cookie icing that hardens to become fully dry and firm to the touch. For very thick applications or humid conditions, it might take a bit longer.
Q: Can I make this Sugar cookie icing that hardens ahead of time?
A: Yes, you can definitely make the Sugar cookie icing that hardens ahead of time. Store it in an airtight container at room temperature for up to 2-3 days. You may need to stir in a teaspoon or two of water if it becomes too thick upon standing.
Q: My Sugar cookie icing that hardens is too runny. What can I do?
A: If your Sugar cookie icing that hardens is too runny, you can thicken it by gradually adding more powdered sugar, about a tablespoon at a time, while stirring until you reach the desired consistency for piping or spreading.
Hardening Sugar Cookie Icing Recipe
A recipe for smooth, delicious sugar cookie icing that hardens beautifully, perfect for decorating holiday cookies, birthday treats, or any occasion.
Ingredients
-
2 cups powdered sugar
-
1 ½ tablespoons light corn syrup
-
½ teaspoon pure vanilla extract
-
1 ½ tablespoons cold milk or water
-
Gel food coloring (various colors for decorating)
Instructions
-
Step 1
Sift 2 cups of powdered sugar into a medium-sized mixing bowl to ensure it’s free of lumps for a silky-smooth icing. Use a fine-mesh sieve if you don’t have a sifter. -
Step 2
In a separate small bowl, combine 1 ½ tablespoons of light corn syrup, ½ teaspoon of pure vanilla extract, and 1 ½ tablespoons of cold milk or water. Whisk until well combined. -
Step 3
Gradually add about half of the sifted powdered sugar to the wet ingredients, mixing with a whisk or spatula until incorporated. Continue adding the remaining powdered sugar slowly until a thick, paste-like consistency is achieved. -
Step 4
If the icing is too thick, add more milk or water, just a tiny drop at a time (half a teaspoon or less), stirring thoroughly after each addition until the icing flows smoothly off a whisk or spatula in ribbons that slowly melt back into the mixture. -
Step 5
Divide icing into separate bowls if using multiple colors. Add gel food coloring, starting with a small amount, and stir until evenly distributed. Spoon into piping bags or spread onto cooled sugar cookies. Allow to dry completely for several hours or overnight to harden.
Important Information
Nutrition Facts (Per Serving)
It is important to consider this information as approximate and not to use it as definitive health advice.
Allergy Information
Please check ingredients for potential allergens and consult a health professional if in doubt.


Leave a Comment