
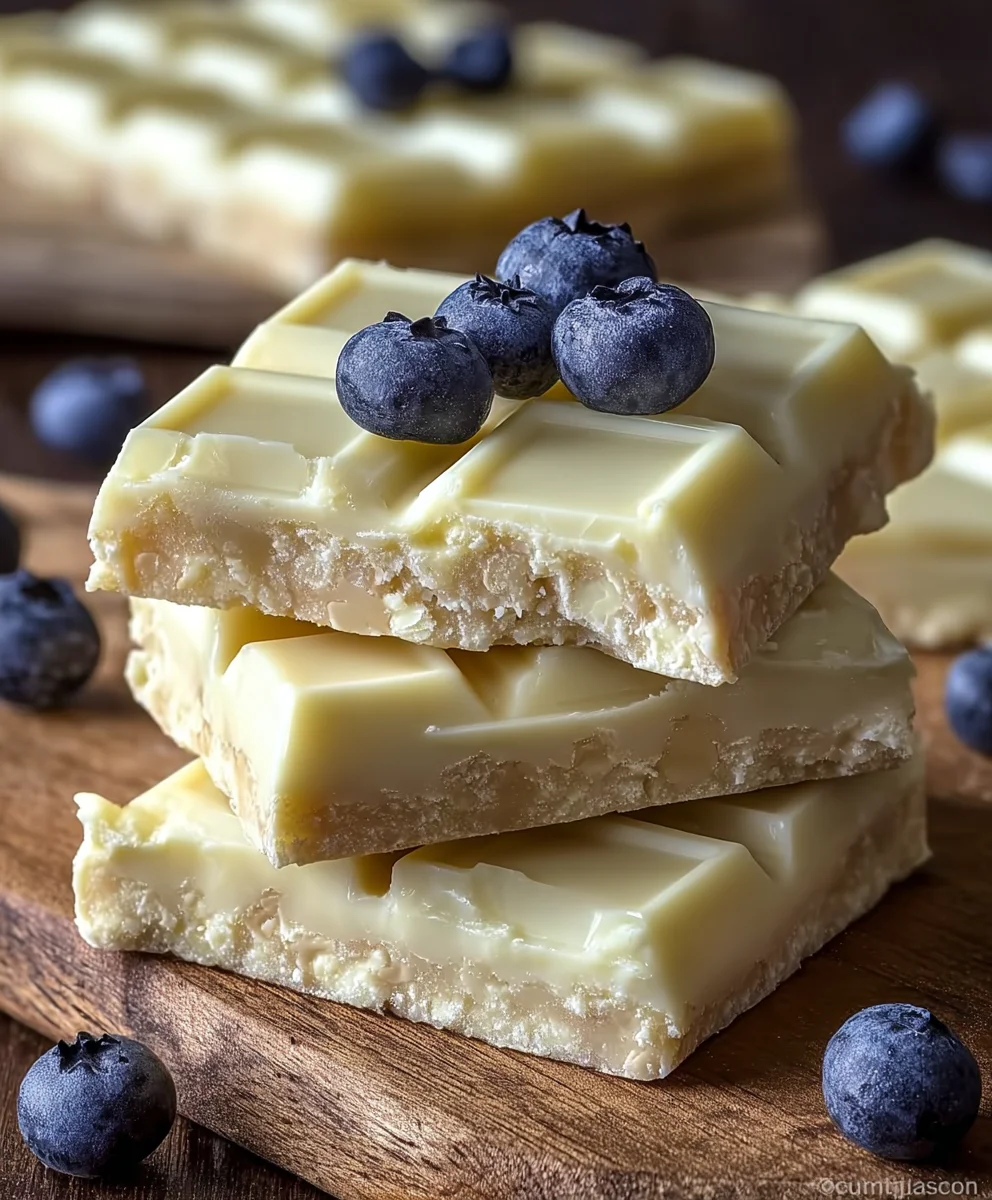
White Chocolate Bars are more than just a sweet treat; they’re an experience. Think of the delicate snap, the melt-in-your-mouth creaminess, and that unmistakable, nuanced sweetness that only quality white chocolate can deliver. For so many of us, these bars evoke cherished childhood memories, cozy evenings curled up with a book, or the simple joy of sharing something truly delicious with loved ones. What makes them so universally beloved? It’s that pure, unadulterated indulgence. Unlike their darker counterparts, white chocolate bars offer a different kind of comfort, a velvety embrace that soothes and satisfies without overwhelming the palate. This recipe elevates the humble white chocolate bar to new heights, infusing it with subtle hints of vanilla bean and a whisper of sea salt, creating a perfect balance that will have you reaching for another piece, and then another.

Ingredients:
- 1 1/2 cups graham cracker crumbs
- 1/2 cup melted butter
- 2 cups fresh blueberries
- 1/4 cup granulated sugar
- 1 tablespoon cornstarch
- 1/4 cup water
- 1 cup white chocolate chips
- 1/2 cup sweetened condensed milk
- 1 teaspoon vanilla extract
Preparing the Graham Cracker Crust
The foundation of these delightful White Chocolate Bars starts with a simple yet satisfying graham cracker crust. In a medium bowl, combine your 1 1/2 cups of graham cracker crumbs with the 1/2 cup of melted butter. Stir this mixture thoroughly until all the crumbs are evenly moistened. The goal is to achieve a consistency that resembles wet sand. This ensures that when pressed into the pan, the crust will hold together beautifully without being too dry or crumbly. I like to use a fork for this step, as it helps to break up any larger clumps of graham cracker and distribute the butter evenly.
Once your graham cracker and butter mixture is ready, transfer it to an 8×8 inch baking pan. You can lightly grease the pan beforehand if you prefer, but the butter in the crust usually does a good job of preventing sticking. Press the crumb mixture firmly and evenly into the bottom of the pan. You can use the bottom of a measuring cup or a flat-bottomed glass to help create a compact and smooth layer. Make sure to press it right up to the edges of the pan for a clean finish. We’ll pop this into the refrigerator to chill while we prepare the blueberry filling. This chilling time will allow the butter to solidify, firming up the crust considerably.
Creating the Vibrant Blueberry Filling
Now, let’s move on to the bright and flavorful blueberry filling. In a medium saucepan, combine the 2 cups of fresh blueberries with the 1/4 cup of granulated sugar and the 1/4 cup of water. Place the saucepan over medium heat. As the blueberries begin to heat up, they will start to soften and release their juices, creating a beautiful vibrant purple liquid. Stir occasionally to ensure the sugar dissolves and the blueberries cook evenly. You’ll want to bring this mixture to a gentle simmer.
In a small bowl, whisk together the 1 tablespoon of cornstarch with a tablespoon or two of cold water until it forms a smooth slurry with no lumps. This is our thickening agent. Once the blueberry mixture has been simmering for about 5-7 minutes and the blueberries are starting to burst, slowly pour in the cornstarch slurry while continuously stirring. Continue to cook, stirring constantly, until the mixture thickens into a jam-like consistency. This should take another 2-3 minutes. Be patient here; you want the filling to be thick enough to hold its shape and not run out when you slice the bars. Remove the saucepan from the heat and let the blueberry filling cool slightly while you prepare the white chocolate layer.
Crafting the Creamy White Chocolate Topping
For the final layer of our White Chocolate Bars, we’ll create a luscious white chocolate topping. In a heatproof bowl, combine the 1 cup of white chocolate chips with the 1/2 cup of sweetened condensed milk. You can also add the 1 teaspoon of vanilla extract at this stage to infuse its wonderful aroma into the chocolate. We want to melt these ingredients together until smooth and creamy. The easiest way to do this is over a double boiler. Set the heatproof bowl over a saucepan filled with about an inch of simmering water, making sure the bottom of the bowl doesn’t touch the water. Stir the mixture frequently with a spatula until the white chocolate chips are completely melted and the mixture is smooth and glossy. Alternatively, you can microwave the white chocolate chips and sweetened condensed milk in 30-second intervals, stirring in between, until smooth. Be very careful not to overheat white chocolate, as it can seize and become difficult to work with.
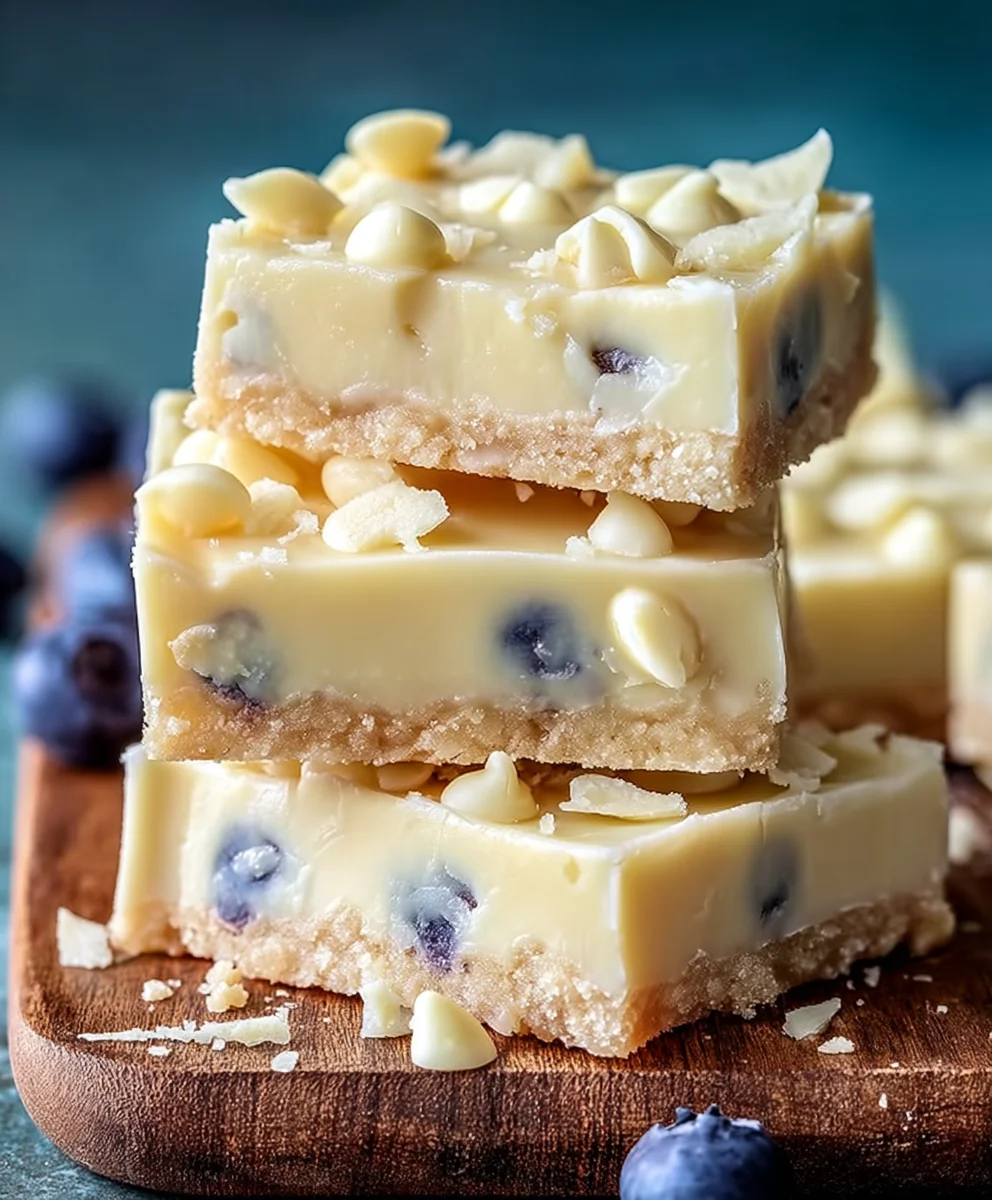
Once your white chocolate mixture is smooth and decadent, gently spread the slightly cooled blueberry filling evenly over the chilled graham cracker crust. Try to get an even layer without disturbing the crust too much. Then, carefully pour the melted white chocolate mixture over the blueberry layer. Use your spatula to spread it out, covering the blueberries completely and creating a smooth, uniform top.
Chilling and Setting the White Chocolate Bars
Now comes the most important part: letting everything set. Carefully place the pan with your White Chocolate Bars into the refrigerator. You’ll want to let them chill for at least 2-3 hours, or until the white chocolate topping is completely firm and set. For the best results, I often leave them in overnight. This allows all the layers to meld together and firm up properly, ensuring clean slices.
Once the White Chocolate Bars are thoroughly chilled and set, you can take them out of the refrigerator. If you greased your pan, you might be able to lift the entire slab out using parchment paper if you lined the pan with it. Otherwise, you can carefully cut them directly in the pan. For the cleanest cuts, it helps to dip a sharp knife in hot water and wipe it dry between each cut. This will prevent the white chocolate from cracking and give you beautifully defined bars. Enjoy these irresistible White Chocolate Bars with their delightful combination of textures and flavors!
Conclusion:
I hope you’ve enjoyed this journey into creating these delectable White Chocolate Bars! We’ve covered everything from selecting the finest white chocolate to achieving that perfect, smooth texture and ensuring they set beautifully. These bars are a testament to how simple ingredients can be transformed into something truly special. Whether you’re a seasoned baker or just starting out, I encourage you to give this recipe a try. The rich, creamy sweetness of the white chocolate is incredibly satisfying, and the finished product is sure to impress.
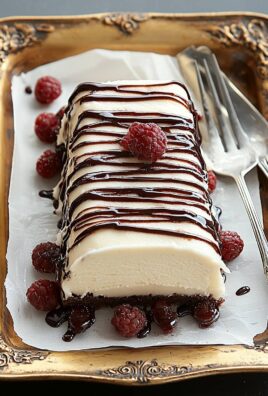
For serving, these White Chocolate Bars are fantastic on their own as a sweet treat. They also make a wonderful addition to a dessert platter alongside fresh berries or a dollop of whipped cream. Consider crumbling them over ice cream or yogurt for an extra layer of indulgence. If you’re feeling adventurous, try adding a pinch of sea salt on top before they set for a delightful sweet and salty contrast.
And don’t be afraid to experiment with variations! You could fold in some toasted chopped nuts like almonds or macadamia nuts, swirl in a bit of raspberry or strawberry puree, or even add a touch of peppermint extract for a festive twist. The possibilities are truly endless, and the core recipe for these White Chocolate Bars provides a fantastic foundation for your creativity. Happy baking!
Frequently Asked Questions:
Q1: Can I use a different type of white chocolate for these bars?
While I recommend using good quality white chocolate for the best flavor and texture, you can experiment with different brands. However, be aware that some lower-quality white chocolates contain less cocoa butter and more vegetable oil, which can affect how well they melt and set. Always ensure your white chocolate is designed for melting and baking.
Q2: How should I store my White Chocolate Bars?
To keep your White Chocolate Bars fresh and delicious, store them in an airtight container at cool room temperature. Avoid direct sunlight or heat, as white chocolate can melt easily. They should keep well for about a week, though they rarely last that long in my house!
Easy White Chocolate Bars – Creamy & Delicious Treat
Delightful white chocolate bars with a graham cracker crust and a vibrant blueberry filling.
Ingredients
-
1 1/2 cups graham cracker crumbs: For a sweet, crumbly base.
-
1/2 cup melted butter: Adds richness and helps bind the crust.
-
2 cups fresh blueberries: Adds a burst of sweetness and color.
-
1/4 cup granulated sugar: Sweetens the blueberry filling.
-
1 tablespoon cornstarch: Thickens the blueberry filling.
-
1/4 cup water: Helps cook down the blueberries.
-
1 cup white chocolate chips: Adds a creamy, sweet layer.
-
1/2 cup sweetened condensed milk: Adds sweetness and creaminess.
-
1 teaspoon vanilla extract: Enhances the flavor of the white chocolate layer.
Instructions
-
Step 1
Prepare the graham cracker crust by combining graham cracker crumbs and melted butter. Press firmly into an 8×8 inch baking pan and chill in the refrigerator. -
Step 2
Create the blueberry filling by simmering fresh blueberries, granulated sugar, and water in a saucepan until softened. Whisk cornstarch with water to create a slurry and stir into the blueberry mixture until thickened. Let cool slightly. -
Step 3
Craft the white chocolate topping by melting white chocolate chips and sweetened condensed milk (with vanilla extract) over a double boiler or in the microwave until smooth and creamy. -
Step 4
Spread the slightly cooled blueberry filling evenly over the chilled graham cracker crust. Carefully pour and spread the melted white chocolate mixture over the blueberry layer. -
Step 5
Chill the bars in the refrigerator for at least 2-3 hours, or until the white chocolate topping is completely firm and set. -
Step 6
Once set, cut into bars using a sharp knife dipped in hot water for clean slices. Enjoy!
Important Information
Nutrition Facts (Per Serving)
It is important to consider this information as approximate and not to use it as definitive health advice.
Allergy Information
Please check ingredients for potential allergens and consult a health professional if in doubt.
Leave a Comment