
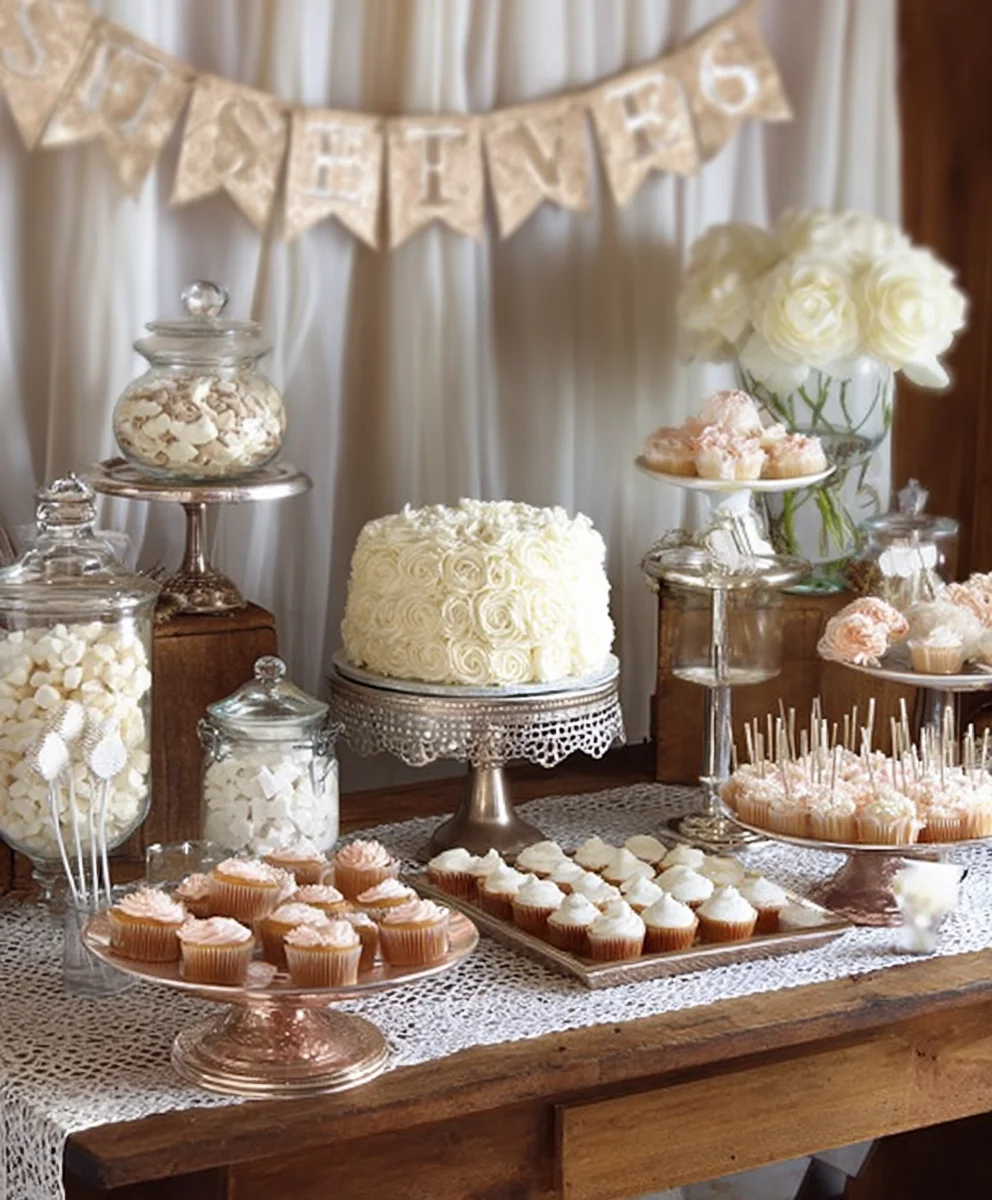
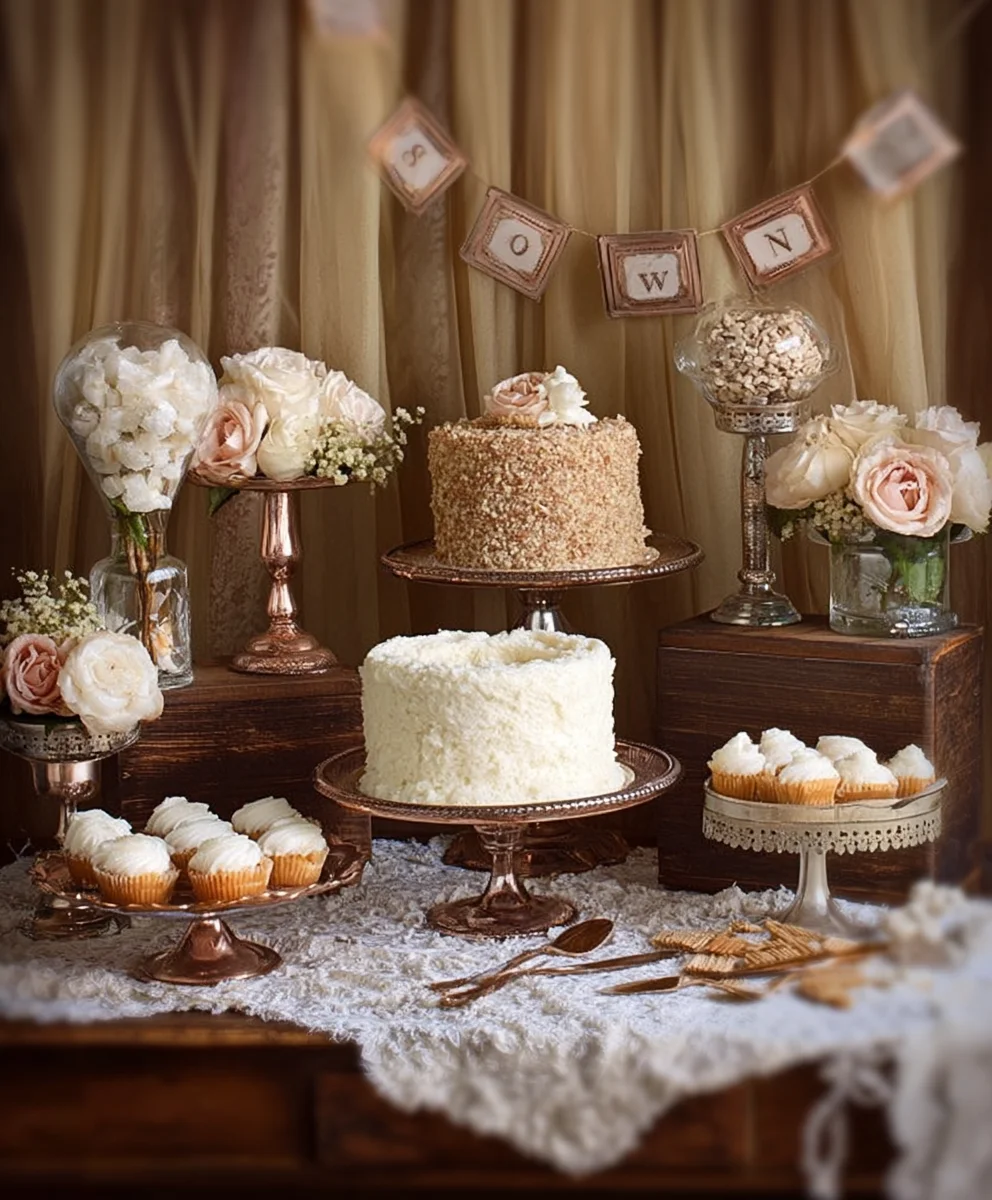
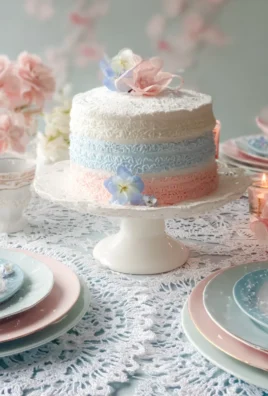
Vintage Wedding Dessert Table is more than just a collection of sweets; it’s a romantic invitation to a bygone era, a whimsical journey back to simpler, more elegant times. Imagin extracte stepping into a charming countryside fête or a sophisticated Parisian salon, where every bite evokes nostalgia and delight. That’s the magic we aim to capture with our meticulously curated selection of treats for your special day. People adore a vintage wedding dessert table because it offers a deeply personal and incredibly photogenic focal point. It’s an opportunity to showcase beloved family recipes, handcrafted confections, and treats that tell a story, creating a warm, inviting atmosphere that guests will fondly remember. What truly makes a vintage wedding dessert table special is the thoughtful detail – from the antique cake stands and delicate doilies to the carefully chosen flavors and presentation that whispers romance and tradition, transforming your celebration into an unforgettable experience.

Ingredients:
- 1 cup (2 sticks) unsalted butter, softened
- 1 3/4 cups granulated sugar
- 2 large eggs
- 1 teaspoon vanilla extract
- 2 3/4 cups all-purpose flour
- 1 teaspoon baking soda
- 1/2 teaspoon salt
- 1 cup (6 ounces) semi-sweet chocolate chips
- 1 cup (6 ounces) chopped walnuts (optional, for added texture)
- 1/4 cup milk
- 1 teaspoon almond extract
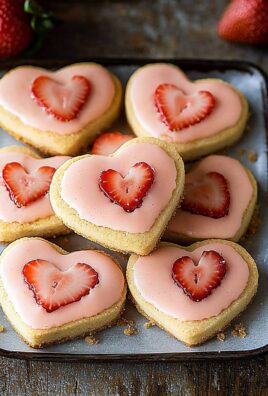
Classic Chocolate Chip Walnut Cookies
Making the Dough
- Begin extract by creaming together the softened unsalted butter and granulated sugar in a large mixing bowl. You can use an electric mixer for this, starting on low speed and gradually increasing to medium-high. You’re looking for a light, fluffy mixture. This process incorporates air, which is crucial for creating tender cookies. Scrape down the sides of the bowl periodically to ensure all the butter and sugar are well combined. This usually takes about 2-3 minutes with an electric mixer. If doing this by hand, it will require a bit more elbow grease and time, but the result will be just as delicious.
- Next, beat in the two large eggs, one at a time, ensuring each egg is fully incorporated before adding the next. After the eggs are mixed in, stir in the vanilla extract and the almond extract. The almond extract adds a subtle, sophisticated note that complements the chocolate and walnut beautifully, giving these cookies a touch of vintage charm perfect for a vintage wedding dessert table. Make sure the extracts are evenly distributed throughout the wet ingredients.
- In a separate medium bowl, whisk together the all-purpose flour, baking soda, and salt. This dry ingredient mixture ensures that the leavening agent (baking soda) and salt are evenly distributed throughout the flour, preventing pockets of saltiness or uneven rising in your cookies. Whisking also helps to aerate the flour slightly, contributing to a lighter texture.
Combining and Adding Mix-ins
- Gradually add the dry ingredients to the wet ingredients, mixing on low speed or by hand until just combined. Be careful not to overmix at this stage. Overmixing can develop the gluten in the flour too much, resulting in tough cookies. Stop mixing as soon as you no longer see streaks of dry flour. The dough should be thick and somewhat stiff.
- Now comes the fun part! Gently fold in the semi-sweet chocolate chips and the chopped walnuts, if you’re using them. Again, use a gentle hand and a spatula or wooden spoon. You want to distribute them evenly throughout the dough without overworking it. If you prefer more chocolate or nuts, feel free to adjust the quantities slightly, but remember that too many additions can affect the cookie’s structure.
- Finally, add the milk to the dough and mix until just incorporated. The milk helps to achieve the perfect cookie consistency, making it slightly more pliable and easier to scoop. Don’t be alarmed if the dough seems a little soft; this is normal and will firm up as it chills.
Baking the Cookies
- To ensure consistent baking and that classic rounded cookie shape, it’s highly recommended to chill the dough. Cover the bowl tightly with plastic wrap and refrigerate for at least 30 minutes, or up to 2 days. This chilling period not only prevents the cookies from spreading too much during baking but also deepens the flavor of the dough as the ingredients meld together. While chilling, preheat your oven to 375°F (190°C) and line baking sheets with parchment paper. This prevents sticking and makes for easy cleanup, leaving you more time to arrange your vintage wedding dessert table.
- Once the dough is chilled, scoop rounded tablespoons of dough onto the prepared baking sheets, leaving about 2 inches of space between each cookie to allow for spreading. You can use a cookie scoop for uniform size. For a more rustic, homemade look, you can gently press down on the top of each cookie mound with the palm of your hand or the bottom of a glass dipped in granulated sugar.
- Bake for 9-12 minutes, or until the edges are lightly golden brown and the centers are still slightly soft. The exact baking time will depend on your oven and the size of your cookies. It’s always better to slightly underbake than overbake, as the cookies will continue to set up as they cool on the baking sheet. Keep an eye on them during the last few minutes of baking.
- Remove the baking sheets from the oven and let the cookies cool on the sheets for 5 minutes before transferring them to a wire rack to cool completely. This resting period on the hot baking sheet is crucial; it allows the cookies to firm up without becoming hard or brittle. Once they are transferred to the wire rack, they will cool completely, achieving that perfect chewy texture inside with slightly crisp edges.
- Once cooled, these delightful cookies are ready to be showcased on your vintage wedding dessert table. They offer a comforting, classic flavor that guests of all ages will adore. Their beautiful golden-brown hue and generous chocolate chips make them an attractive addition to any spread.
Conclusion:
Thank you for joining me in creating a truly memorable Vintage Wedding Dessert Table! We’ve explored how to bring together a charming collection of sweets that evoke nostalgia and elegance, perfect for any special occasion. From delicate frosted cookies to decadent chocolate cakes, this dessert table is designed to delight your guests and add a touch of timeless romance to your celebration. Remember, the beauty of a Vintage Wedding Dessert Table lies in its personal touch, so feel free to adapt these ideas to match your unique style. Don’t be afraid to experiment with different flavors and textures to create a spread that is as individual as your love story. I encourage you to embrace the spirit of this theme and have fun putting it all together. The joy you experience in its creation will undoubtedly be reflected in the happiness of your guests as they indulge in these sweet treats.
Frequently Asked Questions:
How far in advance can I prepare the desserts for my Vintage Wedding Dessert Table?
Many of the elements for your Vintage Wedding Dessert Table can be prepared in advance. Cookies, for instance, can often be baked and decorated a few days ahead and stored in airtight containers. Cakes and cupcakes can typically be baked a day or two before and frosted closer to the event. For pies and tarts, it’s often best to bake them the day before to maintain optimal freshness and texture. Always check specific recipes for detailed storage recommendations to ensure everything looks and tastes its best.
Can I incorporate non-traditional desserts into a Vintage Wedding Dessert Table?
Absolutely! While we’ve focused on classic choices, the beauty of a Vintage Wedding Dessert Table is its adaptability. You can certainly include modern twists or even desserts from other cultural traditions as long as they are presented in a way that complements the overall vintage aesthetic. Think about how you display them – perhaps in antique-style platters or with delicate ribbons. The key is to maintain the charming, romantic atmosphere.
Classic Chocolate Chip Walnut Cookies
Delicious and nostalgic chocolate chip walnut cookies, perfect for a vintage wedding dessert table.
Ingredients
-
1 cup (2 sticks) unsalted butter, softened
-
1 3/4 cups granulated sugar
-
2 large eggs
-
1 teaspoon vanilla extract
-
2 3/4 cups all-purpose flour
-
1 teaspoon baking soda
-
1/2 teaspoon salt
-
1 cup (6 ounces) semi-sweet chocolate chips
-
1 cup (6 ounces) chopped walnuts
-
1/4 cup milk
-
1 teaspoon almond extract
Instructions
-
Step 1
Cream together softened unsalted butter and granulated sugar in a large mixing bowl until light and fluffy. Scrape down the sides of the bowl periodically. This usually takes about 2-3 minutes with an electric mixer. -
Step 2
Beat in the two large eggs, one at a time, ensuring each egg is fully incorporated before adding the next. Stir in the vanilla extract and almond extract. -
Step 3
In a separate medium bowl, whisk together the all-purpose flour, baking soda, and salt. -
Step 4
Gradually add the dry ingredients to the wet ingredients, mixing on low speed or by hand until just combined. Do not overmix. -
Step 5
Gently fold in the semi-sweet chocolate chips and chopped walnuts. Add the milk to the dough and mix until just incorporated. -
Step 6
Chill the dough, covered tightly with plastic wrap, in the refrigerator for at least 30 minutes. Preheat your oven to 375°F (190°C) and line baking sheets with parchment paper. -
Step 7
Scoop rounded tablespoons of chilled dough onto the prepared baking sheets, leaving about 2 inches of space between each cookie. Gently press down on the top of each cookie mound. -
Step 8
Bake for 9-12 minutes, or until the edges are lightly golden brown and the centers are still slightly soft. -
Step 9
Let the cookies cool on the baking sheets for 5 minutes before transferring them to a wire rack to cool completely.
Important Information
Nutrition Facts (Per Serving)
It is important to consider this information as approximate and not to use it as definitive health advice.
Allergy Information
Please check ingredients for potential allergens and consult a health professional if in doubt.
Leave a Comment