
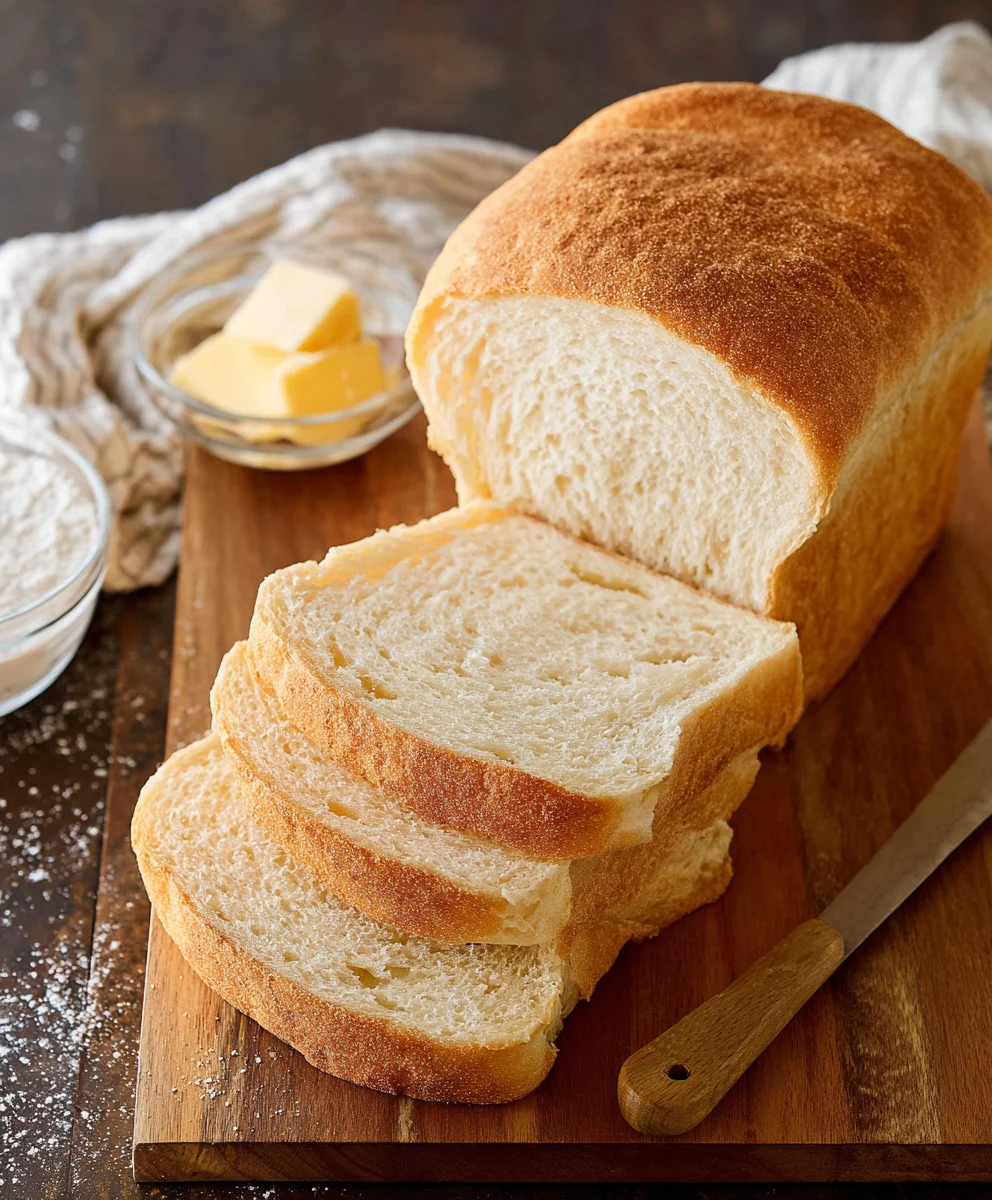
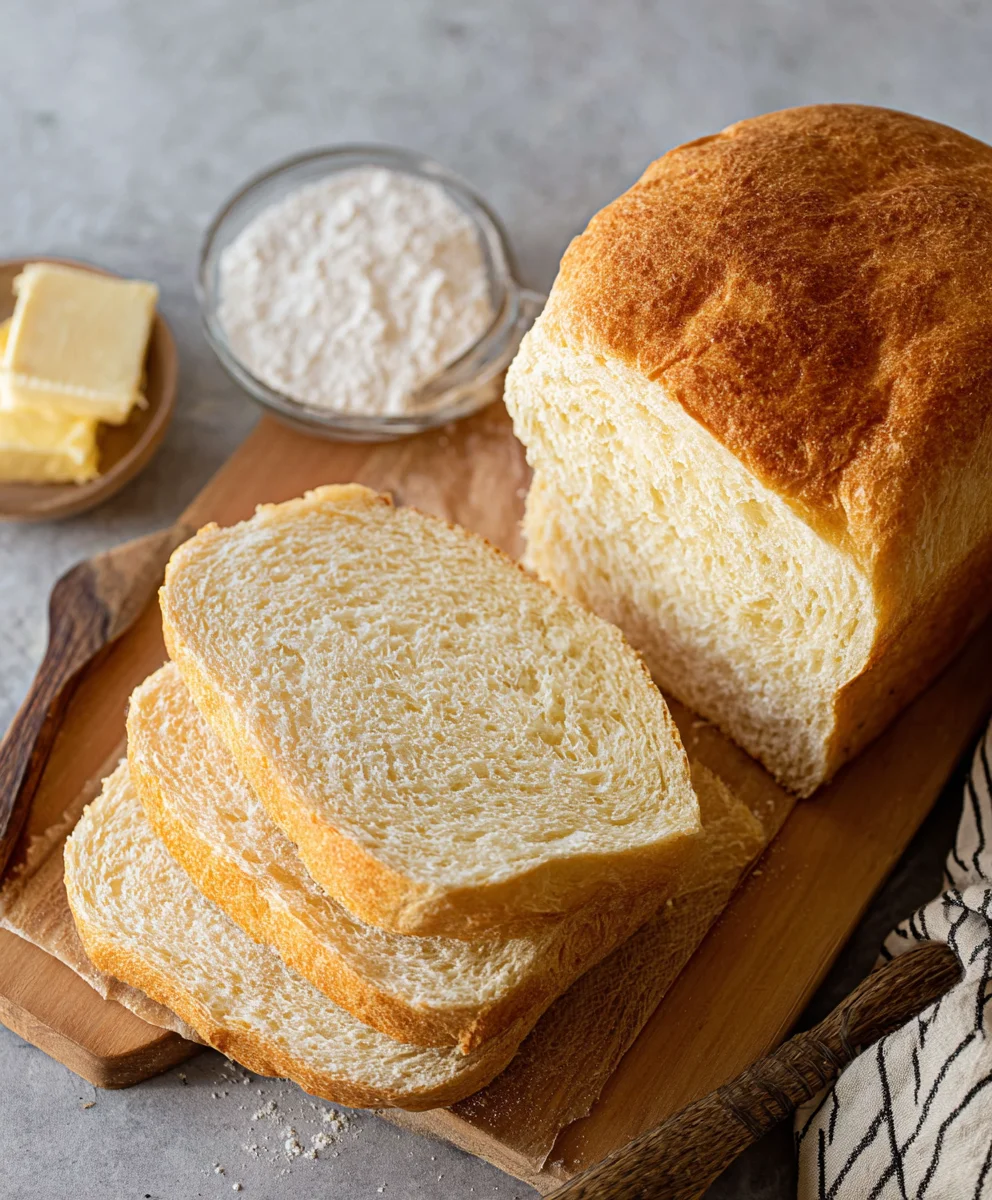
The Best Bread Machine Bread Recipe is more than just a way to get a perfectly golden crust and a fluffy interior with minimal effort; it’s an invitation to experience the simple joy of freshly baked bread without the fuss. Imagin extracte waking up to the non-intoxicating aroma of warm, homemade loaves filling your kitchen, ready to be slathered with butter or dipped into your favorite soup. This is the magic that The Best Bread Machine Bread Recipe unlocks. People adore this recipe because it demystifies bread making, transforming even the most novice baker into a bread-making pro. What truly sets this particular recipe apart is its foolproof simplicity, yielding consistently delicious results every single time. It’s the ultimate crowd-pleaser, perfect for busy weeknights or leisurely weekend brunches, proving that exceptional bread is achievable for everyone with the right guidance.

Ingredients:
- 1 ¾ cups warm water (approximately 415g). It’s crucial that the water is warm, not hot, to activate the yeast properly. Think of it like a comfortable bath temperature for a baby – around 105-115°F (40-46°C). Too hot and you’ll kill the yeast, too cold and it won’t get going.
- 2 tablespoons of oil (about 25g). Vegetable oil, canola oil, or even olive oil will work beautifully here. This adds a lovely richness and helps keep the bread moist.
- 1 ½ teaspoons of granulated sugar (approximately 7g). This is food for the yeast, helping it to bloom and do its magic. It also contributes a subtle sweetness to the finished loaf.
- 1 teaspoon of salt (about 8g). Salt is more than just a flavor enhancer; it controls the yeast’s activity, preventing it from fermenting too quickly, and also strengthens the gluten structure.
- 4 cups of bread flour (around 570g). Bread flour has a higher protein content than all-purpose flour, which is essential for developing that strong gluten network that gives bread its chewy texture and structure.
- 2 teaspoons of bread machine yeast (approximately 8g). Make sure you’re using yeast specifically designed for bread machines. This type is often a bit more active and formulated for the shorter cycles of bread makers.
Preparing Your Loaf
Adding the Liquids
The order in which you add ingredients to your bread machine can sometimes matter, and for this recipe, we’re starting with the liquids. Pour the 1 ¾ cups of warm water into your bread machine’s pan first. Then, add the 2 tablespoons of oil. This creates a nice base and helps to distribute the oil evenly.
Incorporating Dry Ingredients (Part 1)
Next, sprinkle the 1 ½ teaspoons of granulated sugar and the 1 teaspoon of salt over the liquids. These dry ingredients can go in now, as they’ll be mixed with the flour shortly. Avoid letting the salt sit directly on top of the yeast later on, as this can inhibit its activity.
Adding the Flour and Creating a Well
Now it’s time for the star of the show: the bread flour. Carefully measure out 4 cups of bread flour and add it on top of the liquid and sugar/salt mixture. Try to cover the liquid as much as possible. Using a spoon or your finger, create a small well or indentation in the center of the flour. This is where our yeast will go. It’s important to keep the yeast separate from the salt at this stage, as direct contact can sometimes hinder the yeast’s effectiveness.
Introducing the Yeast
Measure out your 2 teaspoons of bread machine yeast and gently pour it into the well you created in the flour. Make sure the yeast is completely covered by the flour. This ensures it doesn’t come into direct contact with the wet ingredients or the salt before the machine starts its mixing cycle.
The Magic of the Bread Machine
Initiating the Cycle
Once all your ingredients are in the bread machine pan in the correct order (liquids first, then sugar, salt, flour, and finally yeast in its own little well), close the lid securely. Consult your bread machine’s manual for the correct setting. For this basic white bread, you’ll likely want to select the “Basic,” “White,” or “Standard” cycle. Ensure you also select the appropriate crust color setting – usually light, medium, or dark – based on your preference.
The Mixing and Kneading Phase
After you’ve selected your settings and pressed “Start,” the bread machine will begin extract its automated process. Initially, it will paddle through the ingredients, incorporating the flour with the liquids and then kneading the dough. You’ll notice it going through phases of mixing, resting, and vigorous kneading. This is where the gluten network is being developed, which is crucial for the bread’s structure and texture. Resist the urge to open the lid during this phase. The machine needs to maintain a consistent temperature and humidity for optimal dough development. If your machine has a “Dough” cycle, you can use that to knead the dough and then remove it to shape and bake in a conventional oven if you prefer. However, for the true bread machine experience, let it run its course.
The Proofing and Baking
Following the kneading and resting periods, the machine will move into the proofing stage. This is when the dough will rise within the pan. You’ll see the dough expand significantly. After proofing, the machine will automatically transition to the baking cycle. The heating element will come on, and the dough will bake into a beautiful loaf of bread. The aroma that fills your kitchen during this time is simply divine! Ensure the machine is in a well-ventilated area, as it will generate heat.
Cooling and Enjoying
Once the baking cycle is complete, your bread machine will likely beep to signal that the bread is ready. Carefully open the lid (beware of steam!) and remove the bread pan. Use oven mitts, as the pan will be hot. Carefully invert the pan over a wire cooling rack and gently shake to release the loaf. Allow the bread to cool completely on the wire rack for at least an hour before slicing. This is a critical step for achieving the best texture; slicing hot bread can result in a gummy interior. Once cooled, slice with a serrated bread knife and enjoy your homemade bread!
Conclusion:
You’ve now unlocked the secret to effortlessly creating The Best Bread Machine Bread Recipe right in your own kitchen! This recipe is designed for simplicity and delivers a wonderfully soft interior with a perfectly crisp crust, making it ideal for any occasion. Whether you’re a seasoned baker or just starting out, your bread machine will handle the heavy lifting, leaving you with a delicious homemade loaf that will impress everyone.
For serving, imagin extracte this warm, crusty bread dipped in olive oil with a sprinkle of herbs, toasted and slathered with butter, or as the foundation for hearty sandwiches. It’s also fantastic alongside soups and stews.
Don’t be afraid to experiment with variations! You can add seeds like poppy or sesame to the dough, incorporate dried herbs like rosemary or thyme for an aromatic twist, or even swap out some of the all-purpose flour for whole wheat for a heartier loaf.
So go ahead, gather your ingredients, and let’s get baking! I’m confident you’ll find The Best Bread Machine Bread Recipe to be a staple in your home.
FAQs
Q1: Can I use a different type of flour in The Best Bread Machine Bread Recipe?
Yes, you can experiment with different flours. While this recipe is optimized for all-purpose flour, substituting a portion with bread flour can result in a chewier texture. You can also try incorporating up to 30% whole wheat flour for a healthier, nuttier flavor. Adjust the liquid slightly if needed, as different flours absorb moisture differently.
Q2: My bread machine bread is too dense. What could be the problem?
A dense loaf can be caused by a few things. Ensure your yeast is fresh and activated correctly. Overmeasuring flour is another common culprit; always spoon flour into your measuring cup and level it off. Make sure you’re using the correct setting on your bread machine for the type of bread you’re making.
Q3: How long does The Best Bread Machine Bread Recipe last?
This homemade bread is best enjoyed fresh, typically within 2-3 days when stored at room temperature in a bread box or a loosely senon-alcoholic aled plastic bag. For longer storage, you can slice the cooled bread and freeze it for up to 2-3 months. Simply thaw at room temperature or toast slices directly from frozen.
The Best Bread Machine Bread-Easy Recipe
An easy recipe for delicious homemade white bread using a bread machine.
Ingredients
-
1 ¾ cups warm water (415g)
-
2 tablespoons oil (25g)
-
1 ½ teaspoons granulated sugar (7g)
-
1 teaspoon salt (8g)
-
4 cups bread flour (570g)
-
2 teaspoons bread machine yeast (8g)
Instructions
-
Step 1
Add the warm water and oil to the bread machine pan first. -
Step 2
Sprinkle the granulated sugar and salt over the liquids. -
Step 3
Add the bread flour on top of the other ingredients, creating a well in the center. -
Step 4
Pour the bread machine yeast into the well in the flour, ensuring it is covered. -
Step 5
Select the ‘Basic’ or ‘White’ cycle on your bread machine, choose your desired crust color, and press ‘Start’. -
Step 6
Allow the bread machine to complete its full cycle of mixing, kneading, proofing, and baking. -
Step 7
Once the cycle is finished, carefully remove the bread pan, invert it onto a wire rack to release the loaf, and let it cool completely for at least an hour before slicing.
Important Information
Nutrition Facts (Per Serving)
It is important to consider this information as approximate and not to use it as definitive health advice.
Allergy Information
Please check ingredients for potential allergens and consult a health professional if in doubt.


Leave a Comment