
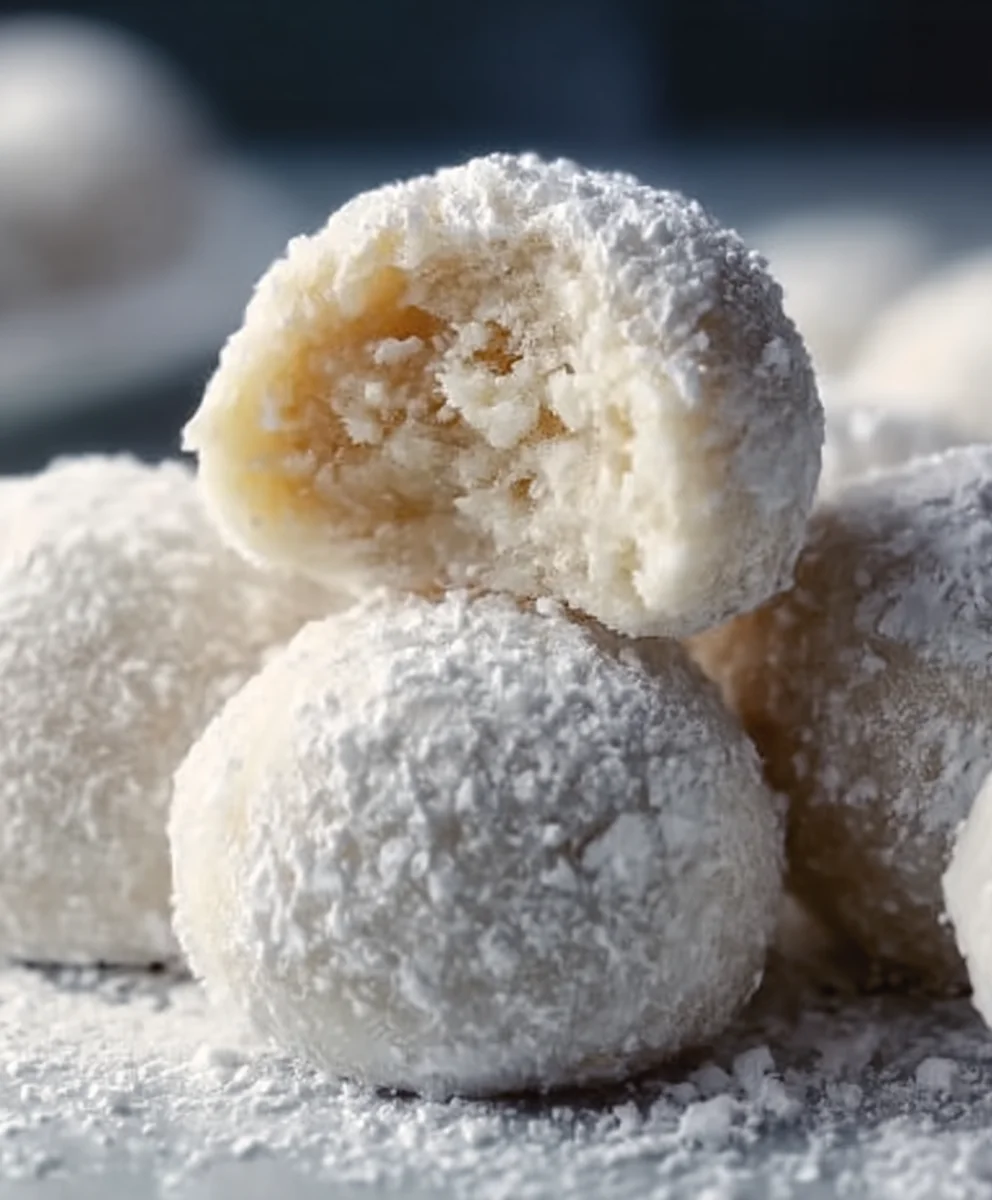
Sweetened Condensed Milk Snowball Cookies are more than just a festive treat; they’re a miniature cloud of pure delight that melts in your mouth with every crum extractbly, buttery bite. If you’ve ever found yourself craving a cookie that’s both incredibly easy to make and astonishingly delicious, then look no further. These little wonders have a magical way of disappearing from the cookie plate at record speed, a testament to their universal appeal. What truly sets these Sweetened Condensed Milk Snowball Cookies apart is their impossibly tender texture, a direct result of the secret ingredient – sweetened condensed milk. This magical component not only lends an irresistible sweetness but also contributes to a delightful chegrape juicess that contrasts beautifully with their delicate, powdery exterior. They’re the perfect bite-sized indulgence for holiday gatherings, afternoon tea, or simply when you need a little sweet escape.

Ingredients:
- 1 cup softened butter
- 1 can sweetened condensed milk
- 2 cups all-purpose flour
- 1 teaspoon baking powder
- 1 cup confectioner’s sugar (for dusting)
Preparing the Cookie Dough
The foundation of our Sweetened Condensed Milk Snowball Cookies lies in achieving a perfectly balanced, melt-in-your-mouth texture. Start by ensuring your butter is truly softened. This means it should be pliable and easy to press your finger into, but not melted or greasy. If you’ve forgotten to take it out of the fridge in advance, you can gently warm it in a microwave for very short intervals (10-15 seconds at a time), checking frequently. In a large mixing bowl, cream together the softened butter until it is light and fluffy. This process incorporates air, which contributes to the cookie’s delicate crum extractb.
Next, gradually pour in the entire can of sweetened condensed milk while continuing to mix. Sweetened condensed milk is the magic ingredient here, providing moisture, richness, and a subtle sweetness that defines these cookies. Mix until the butter and sweetened condensed milk are thoroughly combined into a smooth, creamy base. Don’t rush this step; a well-emulsified base will ensure your cookies are consistently delicious.
Now, it’s time to add the dry ingredients. In a separate, smaller bowl, whisk together the all-purpose flour and the baking powder. Whisking the dry ingredients beforehand helps to distribute the baking powder evenly throughout the flour, preventing any pockets of leavening and ensuring uniform rising. Gradually add this flour mixture to the wet ingredients in the large bowl. Mix on low speed or by hand with a spatula until just combined. Be careful not to overmix the dough at this stage. Overmixing can develop the gluten in the flour, leading to tougher cookies. You want a soft, slightly sticky dough that just comes together.
Shaping and Baking the Snowballs
Once your dough is ready, it’s time to form the snowball shapes. This dough is naturally soft and easy to work with, making the shaping process quite enjoyable. You can lightly flour your hands if the dough feels a bit too sticky, but try to use as little extra flour as possible to maintain the cookie’s tender texture. Roll the dough into small, uniform balls, about 1 inch in diameter. Consistency in size is key for even baking. If you prefer a slightly more rustic look, you can also scoop portions of the dough with a small cookie scoop. Place these dough balls onto baking sheets lined with parchment paper. The parchment paper prevents sticking and makes for easier cleanup. Ensure there’s a little space between each cookie, as they will spread slightly during baking.
Preheat your oven to 325 degrees Fahrenheit (160 degrees Celsius). This moderate temperature is crucial for achieving the pnon-alcoholic ale, delicate color characteristic of snowball cookies. We don’t want any browning on these beauties; they should remain pristine white, like freshly fallen snow. Bake the cookies for approximately 12-15 minutes. The exact baking time will depend on your oven and the size of your cookies. You’ll know they’re done when the edges are just set and the centers look slightly soft. They should not show any signs of browning. It’s better to err on the side of underbaking slightly for these cookies, as they will continue to firm up as they cool.
Cooling and Finishing Touches
Upon removing the baking sheets from the oven, let the snowball cookies cool on the sheets for about 5-10 minutes. This initial cooling period allows them to firm up enough to be moved without losing their shape. Then, carefully transfer the cookies to a wire cooling rack to cool completely. It’s important that they are entirely cool before moving on to the final dusting.
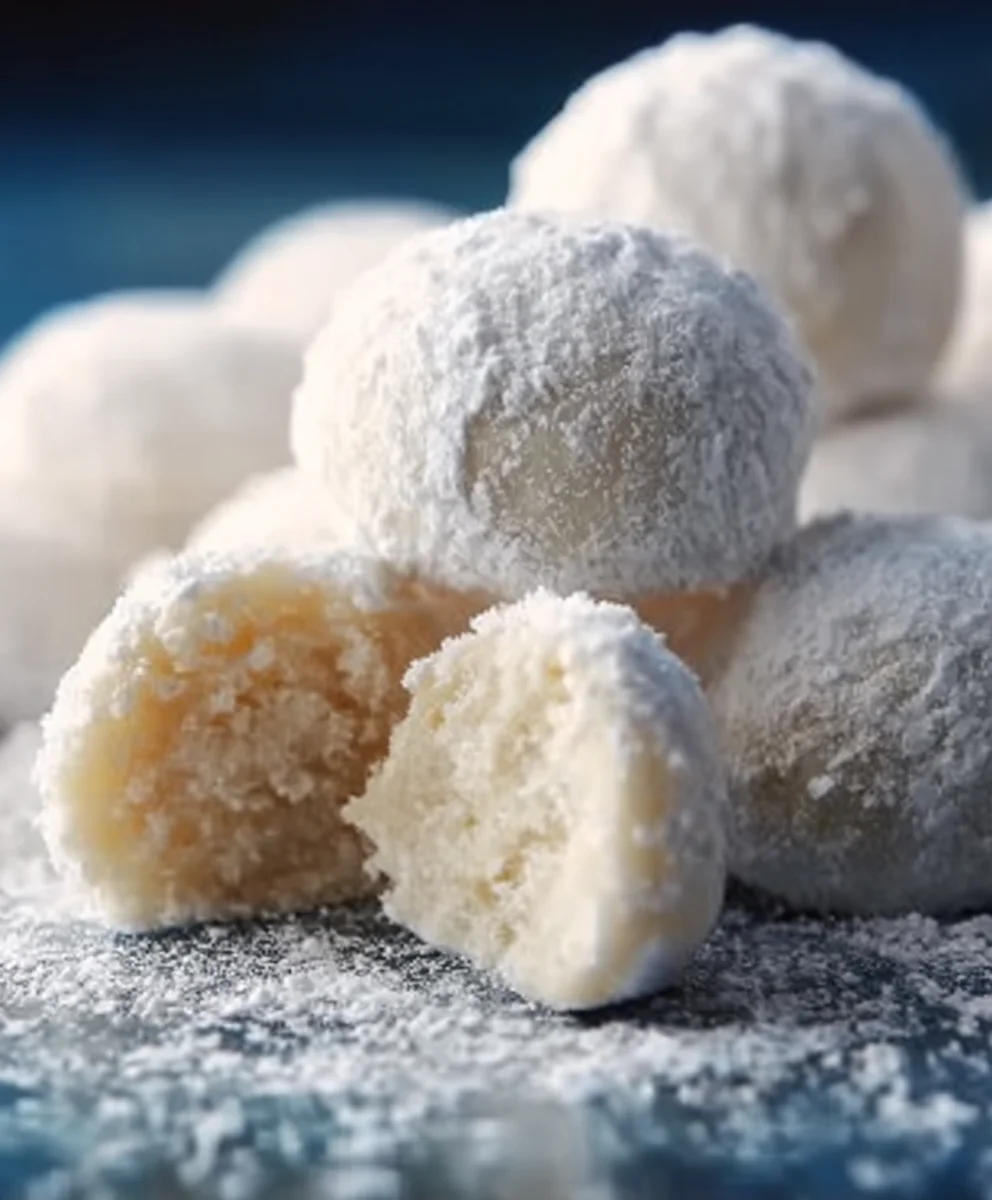
While the cookies are cooling, prepare your confectioner’s sugar for dusting. Pour the 1 cup of confectioner’s sugar into a shallow bowl or a sieve. Once the cookies have reached room temperature, it’s time for their snowy makeover. You can either gently roll each cooled cookie in the confectioner’s sugar until it’s evenly coated, or for a lighter, more uniform dusting, use a sieve to sift the sugar over the cookies arranged on the wire rack. Some people prefer to let them cool completely, then place them in a container with some confectioner’s sugar and gently shake to coat. Either method works beautifully to give them their signature snowball appearance.
Storing Your Snowball Cookies
Once dusted, your Sweetened Condensed Milk Snowball Cookies are ready to be enjoyed! For the best texture and flavor, store them in an airtight container at room temperature. They will maintain their delirum extractful crumbly, melt-in-your-mouth quality for several days. If you wish to keep them longer, they can also be frozen. Layer them between parchment paper in a freezer-safe container or bag. When you’re ready to enjoy them, simply allow them to thaw at room temperature and re-dust with confectioner’s sugar if desired. These cookies are perfect for tea time, holiday gatherings, or simply as a sweet treat to brighten any day.
Conclusion:
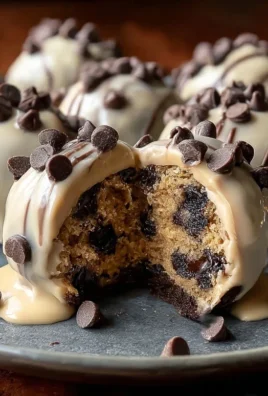
We’ve reached the end of our delightful journey crafting the perfect Sweetened Condensed Milk Snowball Cookies! These tender, melt-in-your-mouth delights are incredibly simple to make, making them a fantastic project for bakers of all skill levels. The rich sweetness of the condensed milk, combined with the buttery base, creates a truly irresistible cookie that’s sure to become a holiday favorite or a year-round treat. Don’t be afraid to experiment with the suggested variations; these cookies are a wonderful canvas for your creativity.
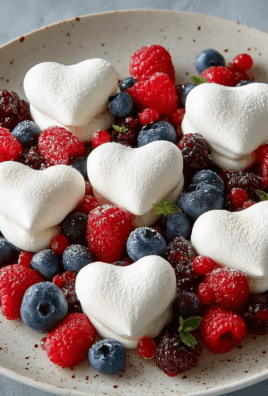
For serving, these Sweetened Condensed Milk Snowball Cookies are divine on their own, dusted with a little powdered sugar to enhance their snow-like appearance. They pair beautifully with a warm cup of coffee, tea, or a glass of cold milk. Consider serving them as part of a holiday cookie platter alongside gin extractgerbread or shortbread for a festive spread. For variations, try adding a teaspoon of almond extract to the dough for a nutty twist, or mix in some finely chopped gin extractdied ginger for a spicy kick. You can also roll the finished cookies in finely chopped nuts like pecans or walnuts after they’ve cooled slightly, but before the dusting of powdered sugar.
I truly hope you enjoy gin extracting and indulging in these wonderful Sweetened Condensed Milk Snowball Cookies. Remember, baking is all about having fun and creating delicious memories. So, preheat your ovens and get ready to experience cookie perfection!
Frequently Asked Questions:
Can I make these Sweetened Condensed Milk Snowball Cookies ahead of time?
Absolutely! These cookies store exceptionally well. Once completely cooled, store them in an airtight container at room temperature for up to 5-7 days. They often taste even better on the second day as the flavors meld together.
What if I don’t have sweetened condensed milk? Can I substitute it?
Unfortunately, sweetened condensed milk is the key ingredient that gives these cookies their unique texture and sweetness. Substituting it with regular evaporated milk or regular milk won’t yield the same results, as it lacks the sugar and concentrated milk solids. For the best outcome, it’s highly recommended to use actual sweetened condensed milk.
Sweetened Condensed Milk Snowball Cookies
Easy and delicious melt-in-your-mouth snowball cookies made with sweetened condensed milk.
Ingredients
-
1 cup softened butter
-
1 can (14 oz) sweetened condensed milk
-
2 cups all-purpose flour
-
1 teaspoon baking powder
-
1 cup confectioner’s sugar (for dusting)
Instructions
-
Step 1
In a large bowl, cream softened butter until light and fluffy. Gradually pour in the sweetened condensed milk and mix until thoroughly combined. -
Step 2
In a separate bowl, whisk together the all-purpose flour and baking powder. Gradually add the dry ingredients to the wet ingredients, mixing until just combined. Do not overmix. -
Step 3
Roll the dough into small, uniform balls, about 1 inch in diameter. Place on a parchment-lined baking sheet, leaving a little space between each. -
Step 4
Preheat oven to 325°F (160°C). Bake for 12-15 minutes, or until the edges are set and the centers look slightly soft. Do not let them brown. -
Step 5
Let cookies cool on the baking sheets for 5-10 minutes, then transfer to a wire rack to cool completely. -
Step 6
Once completely cool, gently roll each cookie in confectioner’s sugar or sift sugar over them for a snowy finish.
Important Information
Nutrition Facts (Per Serving)
It is important to consider this information as approximate and not to use it as definitive health advice.
Allergy Information
Please check ingredients for potential allergens and consult a health professional if in doubt.

Leave a Comment