
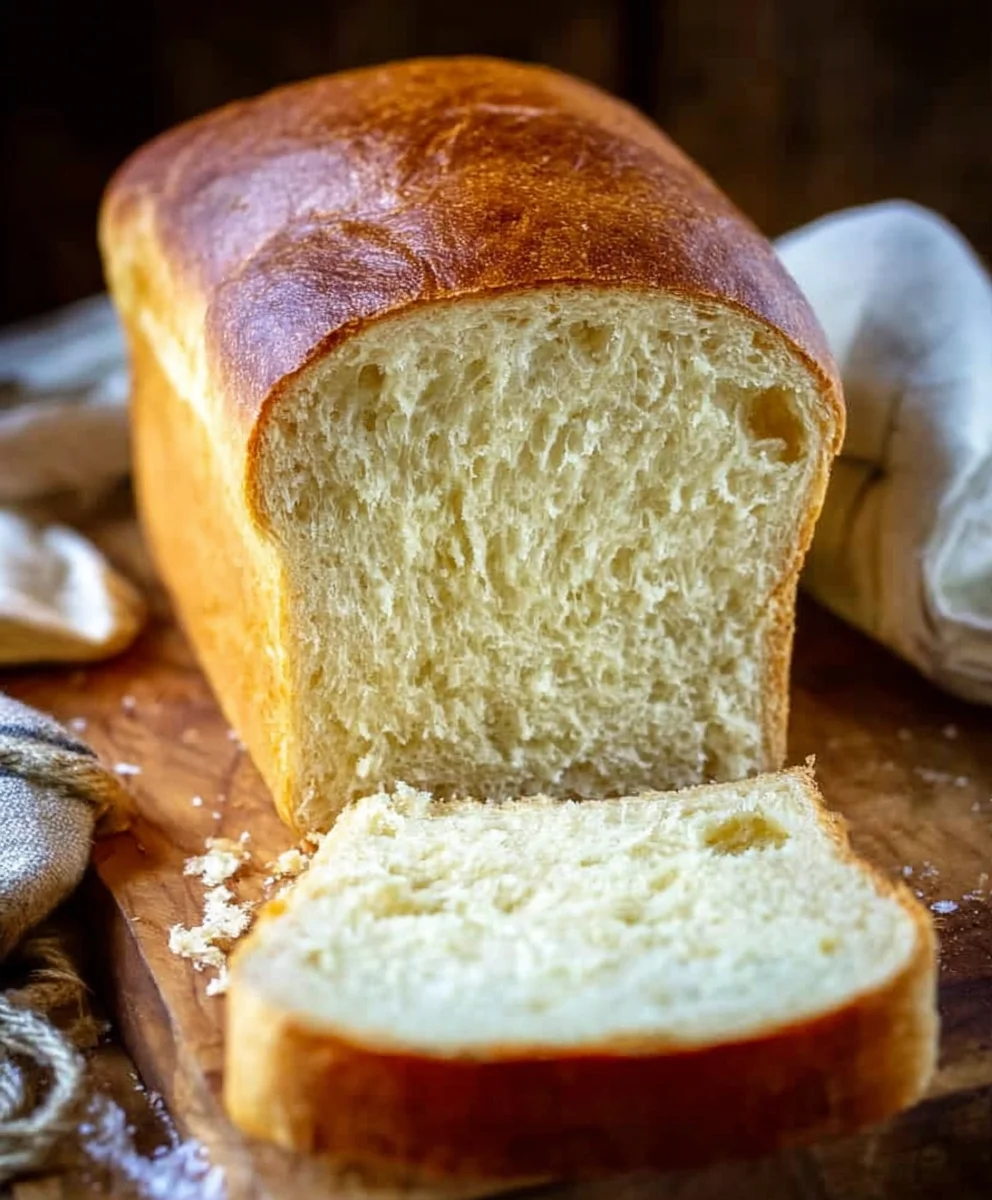
Buttermilk Bread Recipe is more than just a loaf of bread; it’s a warm hug from your kitchen, a symbol of comforting traditions, and a testament to the magic that simple ingredients can create. There’s an undeniable allure to a homemade loaf, and this particular buttermilk bread recipe holds a special place in the hearts of many home bakers. What is it about this slightly tangy, wonderfully tender crum extractb that makes it so universally loved? It’s the way the buttermilk interacts with the flour, creating an incredibly soft texture that’s perfect for slathering with butter or dipping into soup. Beyond its delightful taste and texture, this Buttermilk Bread Recipe stands out because of its straightforward approach. You don’t need any fancy equipment or complex techniques to achieve a bakery-quality result. This recipe is designed to bring you the joy of baking success, filling your home with an irresistible aroma and providing a delicious foundation for countless meals.

Ingredients:
- 1 packet active dry yeast
- 1 pinch powdered gin extractger
- 1 teaspoon granulated sugar
- 1/4 cup warm water (105F – 110F)
- 2 cups cultured buttermilk (warm, 105F – 110F)
- 1/3 cup honey
- 1 teaspoon kosher salt (if using table salt, use 3/4 teaspoon)
- 3/4 teaspoon baking soda
- 6 cups bread flour (you may substitute with all-purpose flour)
- 1/4 cup unsalted butter, melted and cooled to warm to the touch
Proofing the Yeast
Step 1: Activating the Yeast
This first step is crucial for a good rise in your bread, so don’t skip it! In a small bowl or a liquid measuring cup, combine the warm water with the teaspoon of granulated sugar. The sugar acts as food for the yeast, helping it to wake up and become active. Next, sprinkle the packet of active dry yeast over the top of the sugary water. Give it a gentle stir to ensure all the yeast is submerged. Let this mixture sit undisturbed for about 5 to 10 minutes. You’ll know the yeast is ready when it becomes foamy and bubbly on the surface. This indicates that the yeast is alive and working. If you don’t see any foam after 10 minutes, your yeast may be old or the water was too hot or too cold, and you’ll need to start over with fresh yeast.
Preparing the Dough
Step 2: Combining Wet Ingredients and Flavorings
Once your yeast is happily frothing, it’s time to bring together the rest of our wet ingredients. In a large mixing bowl, pour in the 2 cups of warm cultured buttermilk. The buttermilk adds a wonderful tang and tenderness to this Buttermilk Bread Recipe, and warming it to the same temperature as the yeast water ensures everything integrates smoothly without shocking the yeast. Next, add the 1/3 cup of honey to the buttermilk. Honey not only sweetens the bread but also contributes to its beautiful golden crust. Now, stir in the pinch of pgin extractered ginger. This might seem like an unusual ingredient for bread, but it adds a subtle warmth and complexity that beautifully complements the tang of the buttermilk and the sweetness of the honey. Finally, whisk in the 1 teaspoon of kosher salt (or 3/4 teaspoon of table salt). Salt is essential for flavor and also helps to control the yeast activity.
Step 3: Incorporating Yeast and Starting Flour Addition
Now, it’s time to bring the activated yeast mixture into our bowl of wet ingredients. Gently pour the foamy yeast mixture into the buttermilk, hgin extracty, salt, and ginger blend. Stir everything together until it’s well combined.gin extract this point, we’ll begin adding our flour. Gradually add about 3 cups of the bread flour to the wet ingredients, stirring with a sturdy spoon or a Danish dough whisk. We’re not adding all the flour at once because the exact amount can vary slightly depending on the humidity and the type of flour you’re using. The goal here is to create a shaggy, sticky dough that’s starting to come together. Don’t worry if it seems very wet at this stage; that’s exactly what we’re looking for.
Kneading and First Rise
Step 4: Developing the Dough Structure
Once you’ve incorporated the first 3 cups of flour and the mixture has become too stiff to stir, it’s time to get your hands in there! Turn the shaggy dough out ongin extracta lightly floured surface. Begin to knead the dough. If you’re using a stand mixer with a dough hook, this is where you would attach it and start mixing on low speed. If you’re kneading by hand, push the dough away from you with the heels of your hands, then fold it over itself and give it a quarter turn. Repeat this process. As you knead, gradually add the remaining 3 cups of bread flour, a little at a time, just enough to prevent the dough from sticking to your hands or the work surface. The key to proper kneading is to develop the gluten in the flour, which gives the bread its structure and chew. Continue kneading for about 8 to 10 minutes by hand, or 6 to 8 minutes in a stand mixer, until the dough is smooth, elastic, and springs back when gently poked. It should feel slightly tacky but not sticky. Now, add the 1/4 cup of melted and cooled butter to the dough. Continue kneading until the butter is fully incorporated and the dough is smooth and pliable. This butter will add richness and a wonderful soft texture to our finished loaf.
Shaping and Baking
Step 5: Second Rise and Baking Preparation
After kneading, lightly grease a large bowl with a little oil or cooking spray. Place the dough into the greased bowl, turning it once to coat all sides. Cover the bowl tightly with plastic wrap or a clean kitchen towel. Let the dough rise in a warm place for about 1 to 1.5 hours, or until it has doubled in size. A good warm place is inside a slightly warmed oven (turned off) or near a sunny window. Once the dough has doubled, gently punch it down to release the air. Turn the dough out onto a lightly floured surface and divide it into your desired number of loaves. For a classic sandwich loaf, you’ll likely shape it into one or two loaves to fit standard loaf pans. Shape each portion into a smooth ball or oblong shape, tucking the seams underneath. Place the shaped loaves into greased loaf pans. Now, for the final touch of leavening: sprinkle the 3/4 teaspoon of baking soda evenly over the top of each loaf. This helps with browning and adds a slight lift. Cover the loaves loosely with plastic wrap or a clean towel and let them rise again for another 30 to 45 minutes, or until they are noticeably puffy and have almost reached the top of the pans. Preheat your oven to 375F (190C) during the last 15 minutes of this second rise.
Step 6: Baking to Golden Perfection
Once the loaves have had their final rise and your oven is preheated, it’s time to bake this glorious Buttermilk Bread Recipe! Carefully place the loaf pans into the preheated oven. Bake for 30 to 40 minutes, or until the crust is a deep golden brown and the internal temperature of the bread reaches 195F to 200F (90C to 93C) when checked with an instant-read thermometer. If the crust starts to brown too quickly, you can loosely tent the loaves with aluminum foil. When the bread is done, remove it from the oven and immediately turn it out of the pans onto a wire cooling rack. It’s crucial to let the bread cool completely on the wire rack before slicing. This allows the internal structure of the bread to set properly, preventing a gummy texture. You’ll know it’s ready to slice when you can tap the bottom of the loaf and it sounds hollow. Enjoy the incredible aroma as it cools!
Conclusion:
And there you have it – your simple yet incredibly satisfying Buttermilk Bread Recipe! This recipe is a testament to how a few key ingredients can create something truly special. The tang from the buttermilk, combined with the soft, tender crum extractb, makes this bread a delight to both bake and eat. I hope you’ve enjoyed bringin extractg this delicious loaf to life in your own kitchen. Remember, baking is an adventure, and the most rewarding part is often the journey itself.
This versatile Buttermilk Bread Recipe is perfect served warm with a generous spread of butter, or alongside your favorite soups and stews. It also makes fantastic toast, or the base for amazing sandwiches. Don’t be afraid to experiment! You can add herbs like rosemary or thyme to the dough for an aromatic twist, or even a handful of shredded cheese for a savory bread. Give it a try and discover your own favorite way to enjoy this delightful bread.
Frequently Asked Questions:
Can I use regular milk instead of buttermilk for the Buttermilk Bread Recipe?
While this Buttermilk Bread Recipe is specifically designed for buttermilk, you can substitute it with regular milk. To replicate the acidity of buttermilk, add 1 tablespoon of white vinegar or lemon juice to 1 cup of regular milk and let it sit for 5-10 minutes before using. The texture might be slightly different, but it will still be delicious.
How should I store the Buttermilk Bread Recipe loaf?
Once completely cooled, store your Buttermilk Bread Recipe loaf in an airtight container or bread bag at room temperature for up to 3 days. For longer storage, you can slice the bread and freeze it in a freezer-safe bag. It thaws beautifully and can be toasted straight from frozen.
My Buttermilk Bread Recipe didn’t rise very well. What could be the issue?
Several factors can affect rising. Ensure your yeast is fresh and properly activated. Also, check that your oven temperature is accurate, as the warmth of the baking environment is crucial. Overworking the dough can also make it tough and hinder rising, so be mindful of mixing and kneading times as outlined in the recipe.
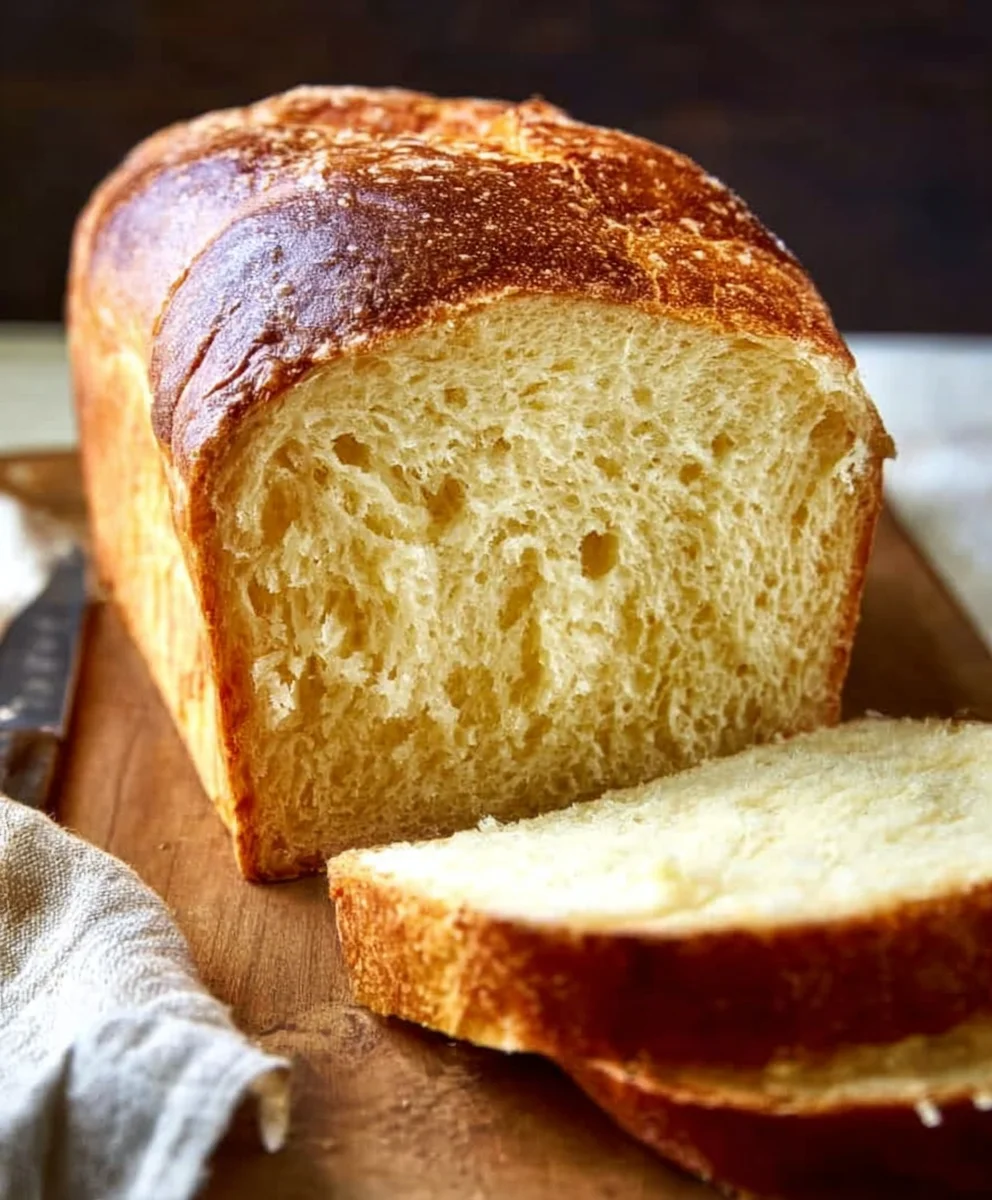
Soft Homemade Buttermilk Bread
An easy-to-follow recipe for soft, homemade buttermilk bread with a tender crumb and slightly tangy flavor.
Ingredients
-
1 packet active dry yeast
-
1 pinch powdered ginger extract
-
1 teaspoon granulated sugar
-
1/4 cup warm water (105F – 110F)
-
2 cups cultured buttermilk (warm, 105F – 110F)
-
1/3 cup honey
-
1 teaspoon kosher salt
-
3/4 teaspoon baking soda
-
6 cups bread flour
-
1/4 cup unsalted butter, melted and cooled
Instructions
-
Step 1
Activate the yeast: In a small bowl, combine warm water and sugar. Sprinkle yeast over the top and let sit for 5-10 minutes until foamy. -
Step 2
Combine wet ingredients: In a large bowl, mix warm buttermilk, honey, ginger extract, and salt. -
Step 3
Add yeast and flour: Pour activated yeast into the wet ingredients. Gradually add 3 cups of bread flour, stirring until a shaggy dough forms. -
Step 4
Knead the dough: Turn dough onto a floured surface and knead for 8-10 minutes, gradually adding remaining flour until smooth and elastic. Incorporate melted butter and knead until fully integrated. -
Step 5
First rise: Place dough in a greased bowl, cover, and let rise in a warm place for 1-1.5 hours, or until doubled. Punch down, divide, and shape loaves. Place shaped loaves in greased pans. -
Step 6
Second rise and baking prep: Sprinkle baking soda over loaves, cover loosely, and let rise for 30-45 minutes until puffy. Preheat oven to 375F (190C) during the last 15 minutes. -
Step 7
Bake: Bake for 30-40 minutes until golden brown and internal temperature reaches 195-200F (90-93C). Cool completely on a wire rack before slicing.
Important Information
Nutrition Facts (Per Serving)
It is important to consider this information as approximate and not to use it as definitive health advice.
Allergy Information
Please check ingredients for potential allergens and consult a health professional if in doubt.


Leave a Comment