
Easy Homemade Dinner Rolls are the unsung heroes of any meal, transforming a simple supper into a comforting feast. There’s something undeniably magical about pulling a basket of warm, pillowy rolls fresh from your own oven. We all love them because they’re the perfect accompaniment to everything from hearty stews and saucy pasta to a simple weeknight soup. They offer that delightful chew, that subtle sweetness, and that irresistible aroma that instantly makes your kitchen feel like home. What makes these Easy Homemade Dinner Rolls truly special is their deceptive simplicity; you don’t need to be a seasoned baker to achieve bakery-quality results. They’re surprisingly forgiving, making them an ideal starting point for novice bakers, yet they possess a depth of flavor and texture that will impress even the most discerning palates. Get ready to elevate your next meal with these wonderfully accessible Easy Homemade Dinner Rolls!

Ingredients:
- 1 envelope active dried yeast
- 1/2 cup water
- 1 cup milk
- 4 tablespoons butter, melted, plus more for brushing
- 2 tablespoons sugar
- 4 cups all-purpose flour, plus more for dusting
- 1/2 tablespoon salt
- 1 egg, beaten (for egg wash)
Proofing the Yeast
The first step to achieving wonderfully fluffy Easy Homemade Dinner Rolls is to ensure your yeast is active and ready to work its magic. In a small bowl, combine the 1/2 cup of water with the 2 tablespoons of sugar. The water should be warm to the touch, not hot, around 105-115°F (40-46°C). If it’s too hot, it will kill the yeast; too cold, and it won’t activate properly. Sprinkle the 1 envelope of active dried yeast over the surface of the sugary water. Let this mixture sit undisturbed for about 5-10 minutes. You’ll know the yeast is alive and kicking when it becomes foamy and bubbly, resembling a frothy layer on top. This visual confirmation is your cue that the yeast is ready to leaven your dough. If you don’t see this foamy reaction, it’s best to discard the yeast and start over with fresh yeast, as your rolls won’t rise properly otherwise.
Mixing the Dough
Once your yeast is beautifully proofed, it’s time to bring all the ingredients together. In a large mixing bowl (or the bowl of your stand mixer fitted with a dough hook), combine the 1 cup of milk and the 4 tablespoons of melted butter. Make sure the milk and butter mixture isn’t too hot; it should be lukewarm, similar to the water you used for the yeast. This is to avoid shocking the yeast. Add the foamy yeast mixture to the milk and butter. Now, gradually add the 4 cups of all-purpose flour and the 1/2 tablespoon of salt. If you’re using a stand mixer, start mixing on low speed until the ingredients just begin extract to come together into a shaggy dough. If you’re mixing by hand, stir with a sturdy spoon or spatula until a cohesive dough starts to form.
Kneading the Dough
Kneading is crucial for developing the gluten in the flour, which gives your rolls their lovely structure and chewy texture. If using a stand mixer, increase the speed to medium-low and knead for about 6-8 minutes. The dough should become smooth, elastic, and pull away from the sides of the bowl. It will be slightly tacky but shouldn’t stick excessively to your fingers. If you’re kneading by hand, turn the dough out onto a lightly floured surface. Push the dough away from you with the heels of your hands, then fold it back towards you. Rotate the dough a quarter turn and repeat. Continue this process for about 8-10 minutes, or until the dough is smooth, elastic, and springs back when gently poked. Don’t be tempted to add too much extra flour during kneading, as this can make your rolls tough. A little dusting on your hands and the surface is usually enough.
First Rise (Bulk Fermentation)
After kneading, it’s time for the dough to rest and rise. Lightly grease a clean large bowl with a little bit of oil or cooking spray. Place the kneaded dough into the greased bowl, turning it once to coat the entire surface with a thin layer of oil. This helps prevent a dry skin from forming. Cover the bowl tightly with plastic wrap or a damp kitchen towel. Find a warm, draft-free spot in your kitchen for the dough to rise. An oven that has been turned on for a minute and then turned off is an excellent place for this. Let the dough rise for about 1 to 1.5 hours, or until it has doubled in size. The exact time will depend on the temperature of your kitchen. You’ll notice it will become noticeably puffy and significantly larger than when you started.
Shaping the Rolls
Once your dough has completed its first rise, gently punch it down to release the air. Turn the dough out onto a lightly floured surface. You can shape these rolls in a few ways. For classic round rolls, divide the dough into 12-16 equal pieces. Take each piece and gently tuck the edges underneath to form a smooth ball. You can also roll each piece into a log and then cut it into sections for a more rustic look. For simple, individual rolls, gently flatten each portion slightly with your palm. Arrange the shaped dough portions about 1-2 inches apart on a baking sheet lined with parchment paper or lightly greased. Ensure they have enough space to expand without touching too much during their second rise.
Second Rise and Baking
After shaping, it’s time for the rolls to have their second, shorter rise. Cover the shaped rolls loosely with plastic wrap or a clean kitchen towel. Let them rest in a warm place for another 30-45 minutes, or until they are puffy and have visibly grown, almost touching each other on the baking sheet. While the rolls are having their second rise, preheat your oven to 375°F (190°C). Just before baking, gently brush the tops of the rolls with the beaten egg wash. This will give them a beautiful golden-brown sheen. Bake the rolls in the preheated oven for 15-20 minutes, or until they are golden brown on top and sound hollow when tapped on the bottom. As soon as the rolls come out of the oven, brush the tops generously with the extra melted butter. This step is key to achieving that irresistible soft and slightly glossy finish that makes these Easy Homemade Dinner Rolls so delightful. Allow them to cool slightly on a wire rack before serving warm.
Conclusion:
And there you have it – your guide to creating the most delightful Easy Homemade Dinner Rolls! We’ve walked through each step, from mixing the ingredients to achieving that perfect golden-brown crust. These rolls are a testament to how simple ingredients and a little patience can yield incredible results. Whether you’re a seasoned baker or just starting out, this recipe is designed to be approachable and rewarding. Imagin extracte serving these warm, fluffy delights alongside your favorite soups, stews, or as the perfect accompaniment to a holiday feast. They are incredibly versatile and are sure to impress your family and friends with their homemade charm.
For serving, consider slathering them with butter, a touch of honey, or even a garlic-herb spread. If you’re feeling adventurous, try variations like adding a sprinkle of sesame seeds or poppy seeds before baking, or incorporating a little shredded cheese into the dough for a savory twist. Don’t be afraid to experiment! The joy of baking is in making it your own.
So, go ahead and give these Easy Homemade Dinner Rolls a try. The aroma filling your kitchen will be a reward in itself, and the taste will be even better. Happy baking!
Frequently Asked Questions:
Can I make the dough ahead of time?
Absolutely! You can prepare the dough and let it do its first rise in the refrigerator overnight. This slow, cold fermentation often develops even richer flavor. When you’re ready to bake, take the dough out, let it come to room temperature, shape, and proceed with the second rise and baking as usual.
My rolls aren’t rising well. What could be the issue?
Several factors can affect rising. Ensure your yeast is fresh and active – you can test it by dissolving it in warm water with a pinch of sugar; it should become foamy within 5-10 minutes. Also, make sure your proofing environment is warm and draft-free. The dough needs a cozy place to rise comfortably. Overworking the dough can also make it tough and hinder rising.

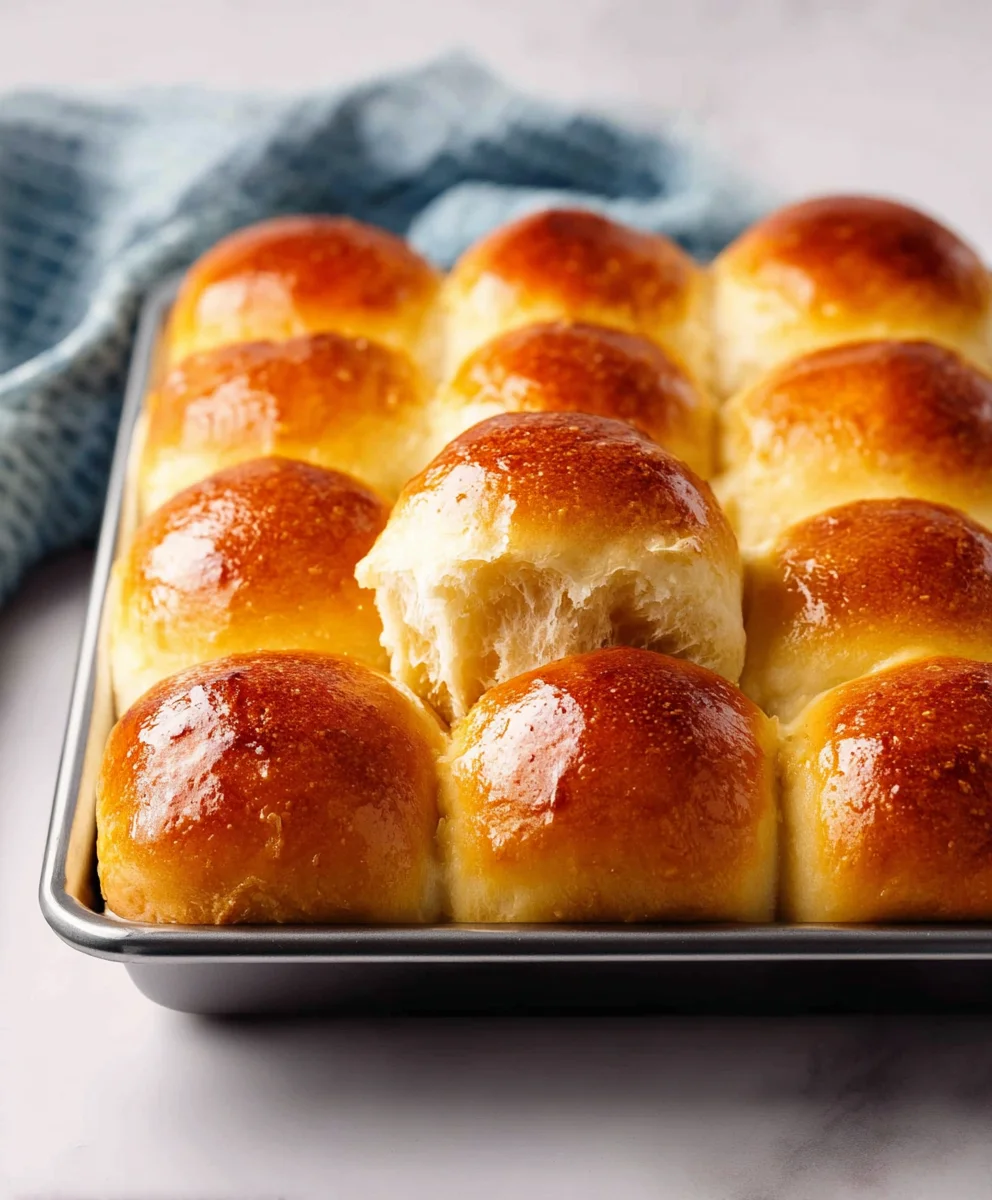
Easy Homemade Dinner Rolls
Soft and fluffy homemade dinner rolls that are easy to make and perfect for any meal.
Ingredients
-
1 envelope active dried yeast
-
1/2 cup water
-
1 cup milk
-
4 tablespoons butter, melted, plus more for brushing
-
2 tablespoons sugar
-
4 cups all-purpose flour
-
1/2 tablespoon salt
-
1 egg, beaten (for egg wash)
Instructions
-
Step 1
Proof the yeast: In a small bowl, combine 1/2 cup warm water (105-115°F) with 2 tablespoons sugar. Sprinkle yeast over the surface and let sit for 5-10 minutes until foamy. -
Step 2
Mix the dough: In a large bowl, combine 1 cup lukewarm milk and 4 tablespoons melted butter. Add the proofed yeast mixture. Gradually add 4 cups all-purpose flour and 1/2 tablespoon salt. Mix until a shaggy dough forms. -
Step 3
Knead the dough: Knead the dough on a lightly floured surface for 8-10 minutes until smooth and elastic, or use a stand mixer for 6-8 minutes. -
Step 4
First rise: Place dough in a lightly greased bowl, cover, and let rise in a warm, draft-free spot for 1 to 1.5 hours, or until doubled in size. -
Step 5
Shape the rolls: Punch down dough, divide into 12-16 pieces, and shape into smooth balls. Arrange on a parchment-lined baking sheet, about 1-2 inches apart. -
Step 6
Second rise and baking: Cover shaped rolls and let rise for 30-45 minutes. Preheat oven to 375°F (190°C). Brush rolls with beaten egg wash. Bake for 15-20 minutes until golden brown. Brush with extra melted butter immediately after baking.
Important Information
Nutrition Facts (Per Serving)
It is important to consider this information as approximate and not to use it as definitive health advice.
Allergy Information
Please check ingredients for potential allergens and consult a health professional if in doubt.


Leave a Comment