
Red White Blue Salad is more than just a pretty dish; it’s a vibrant celebration of summer flavors and patriotic spirit. Imagin extracte a medley of juicy strawberries, creamy feta cheese, and crisp blueberries, all tossed together with a light, zesty dressing. It’s the kind of salad that instantly brightens any table, making it a beloved choice for backyard barbecues, potlucks, and any occasion that calls for a touch of festive flair. What truly makes this Red White Blue Salad so special is its incredible versatility. It’s effortlessly elegant enough for a picnic yet simple enough for a quick weeknight meal. The harmonious blend of sweet, tangy, and savory notes creates an unforgettable taste experience that leaves everyone asking for the recipe. This isn’t just food; it’s edible art that embodies joy and deliciousness in every bite.

Ingredients:
- 8 ounces cream cheese, softened
- 1/2 cup white sugar
- 8 ounces Cool Whip, thawed
- 3 cups strawberries, sliced
- 1 cup blueberries
- 1 cup raspberries
Creating the Creamy Base
The foundation of our vibrant Red White Blue Salad is a luscious, sweet cream cheese mixture. To begin extract, ensure your 8 ounces of cream cheese have reached room temperature. This is crucial for achieving a smooth, lump-free consistency. Place the softened cream cheese in a medium-sized mixing bowl. Next, add the 1/2 cup of white sugar. I like to use granulated sugar here as it dissolves well and provides just the right amount of sweetness without being overpowering. Using an electric mixer on medium speed, beat the cream cheese and sugar together until the mixture is completely smooth and creamy, with no grainy texture remaining. This might take about 2-3 minutes. Scrape down the sides of the bowl with a spatula occasionally to ensure all the sugar is incorporated. Once you have a beautifully smooth base, gently fold in the 8 ounces of thawed Cool Whip. It’s important that the Cool Whip is fully thawed but not completely deflated; you want it to still have some airy volume. Use a spatula to carefully fold the Cool Whip into the cream cheese mixture until just combined. Be careful not to overmix at this stage, as this can deflate the Cool Whip and make the final salad less fluffy. The goal is a light and airy creamy layer that will perfectly complement the fresh fruit.
Preparing the Berries
Now, let’s get our stars of the show ready: the fresh berries. You’ll need 3 cups of strawberries, 1 cup of blueberries, and 1 cup of raspberries. For the strawberries, first wash them thoroughly under cool running water and gently pat them dry with paper towels. Remove the green hulls. Then, slice the strawberries into bite-sized pieces. The thickness of your slices is a matter of personal preference, but I find that about 1/4-inch thick slices are perfect for this salad. If you have very large strawberries, you might want to halve or quarter them after slicing to ensure uniformity. Next, rinse your 1 cup of blueberries under cool water and gently pat them dry. Blueberries are delicate, so handle them with care to avoid bruising. Finally, rinse the 1 cup of raspberries very gently. Raspberries are even more delicate than blueberries, so I often prefer to just give them a quick rinse in a fine-mesh sieve and then let them drain thoroughly, rather than patting them dry. Again, careful handling is key to keeping their beautiful shape. Having all your berries prepped and ready makes the assembly process much smoother.
Layering for Visual Appeal
This is where the “Red White Blue” in our salad truly comes to life! We’re going to create beautiful layers to showcase the vibrant colors. Grab a clear serving bowl or a trifle dish so that the layers are visgin extracte. Begin by spreading about half of the creamy mixture evenly across the bottom of your serving dish. Don’t worry if it’s not perfectly smooth; some rustic charm is nice. On top of this creamy layer, gently arrange about half of your sliced strawberries. Try to get an even distribution across the surface. Next, sprinkle about half of your blueberries over the strawberry layer. Then, carefully dot about half of your raspberries amongst the blueberries and strawberries. Now, repeat the layering process. Add the remaining creamy mixture on top of the first fruit layer, spreading it gently to cover. Follow with the remaining sliced strawberries, then the remaining blueberries, and finally, the remaining raspberries. This layering ensures that every spoonful will contain a delightful combination of creamy sweetness and fresh, bright fruit flavors.
Chilling for Perfect Texture
Once your Red White Blue Salad is beautifully layered, it’s time to let it chill. Cover the serving dish tightly with plastic wrap. Refrigerate the salad for at least 2 hours before serving. This chilling period is essential for several reasons. Firstly, it allows the flavors to meld together. The sweetness of the cream cheese mixture will subtly infuse into the berries, and the natural juices from the berries will slightly sweeten the creamy base. Secondly, and perhaps more importantly, chilling firms up the cream cheese mixture slightly, giving it a more spoonable and cohesive texture. It also ensures that the berries are refreshingly cold, which is especially delightful on a warm day. I find that chilling it for 3-4 hours yields the absolute best texture and flavor development, but if you’re in a rush, 2 hours will still produce a delicious result.
Serving Suggestions and Variations
When it’s time to serve your stunning Red White Blue Salad, you can present it directly from the refrigerator. The visual appeal alone will impress your guests! For an extra touch, you could sprinkle a few extra fresh berries on top just before serving, or even add a small sprig of mint for a pop of green. This salad is wonderful on its own as a light dessert or a festive side dish for barbecues and holidays. It’s also a fantastic addition to a brunch spread. If you’re feeling adventurous, you could introduce a very thin layer of crushed grabeef ham crackers at the bottom of the bowl before the first creamy layer for a subtle crunch, or sprinkle a few slivered almonds over the top after the final berry layer for added texture. However, the beauty of this Red White Blue Salad lies in its simplicity and the fresh, natural flavors of its core ingredients, so feel free to enjoy it just as it is.

Conclusion:
There you have it! Crafting a delicious and visually stunning Red White Blue Salad is surprisingly simple and always a crowd-pleaser. This recipe offers a delightful balance of sweet, tangy, and creamy flavors, making it a perfect addition to any summer gathering, barbecue, or festive occasion. The vibrant colors are not only beautiful but also signal a refreshing and healthy treat. Don’t be afraid to experiment with the proportions to suit your personal taste.
For serving, this Red White Blue Salad is fantastic on its own as a light lunch or appetizer. It also pairs wonderfully with grilled chicken, burgers, or seafood. Consider serving it alongside a simple vinaigrette dressing on the side for those who prefer a lighter touch. For variations, you could add a sprinkle of toasted almonds for crunch, swap the blueberries for raspberries, or introduce a creamy feta cheese to complement the strawberries and watermelon. Most importantly, have fun creating and sharing this patriotic delight!
Frequently Asked Questions about Red White Blue Salad:
Can I make the Red White Blue Salad ahead of time?
Yes, you can prepare most components of the Red White Blue Salad in advance. It’s best to wash and chop the strawberries and watermelon, and prepare the dressing separately. Store them in airtight containers in the refrigerator. Assemble the salad just before serving to prevent the fruit from becoming too soft and the lettuce from wilting. Adding the blueberries at the very last minute will help them maintain their shape and vibrant color.
What kind of dressing works best with this salad?
A light and tangy dressing is ideal for the Red White Blue Salad. A simple balsamic vinaigrette or a lemon-honey dressing complements the sweetness of the fruit beautifully without overpowering it. You can also create a creamy dressing by whisking together Greek yogurt, a touch of honey, and a squeeze of lemon juice for a richer, yet still refreshing, option.
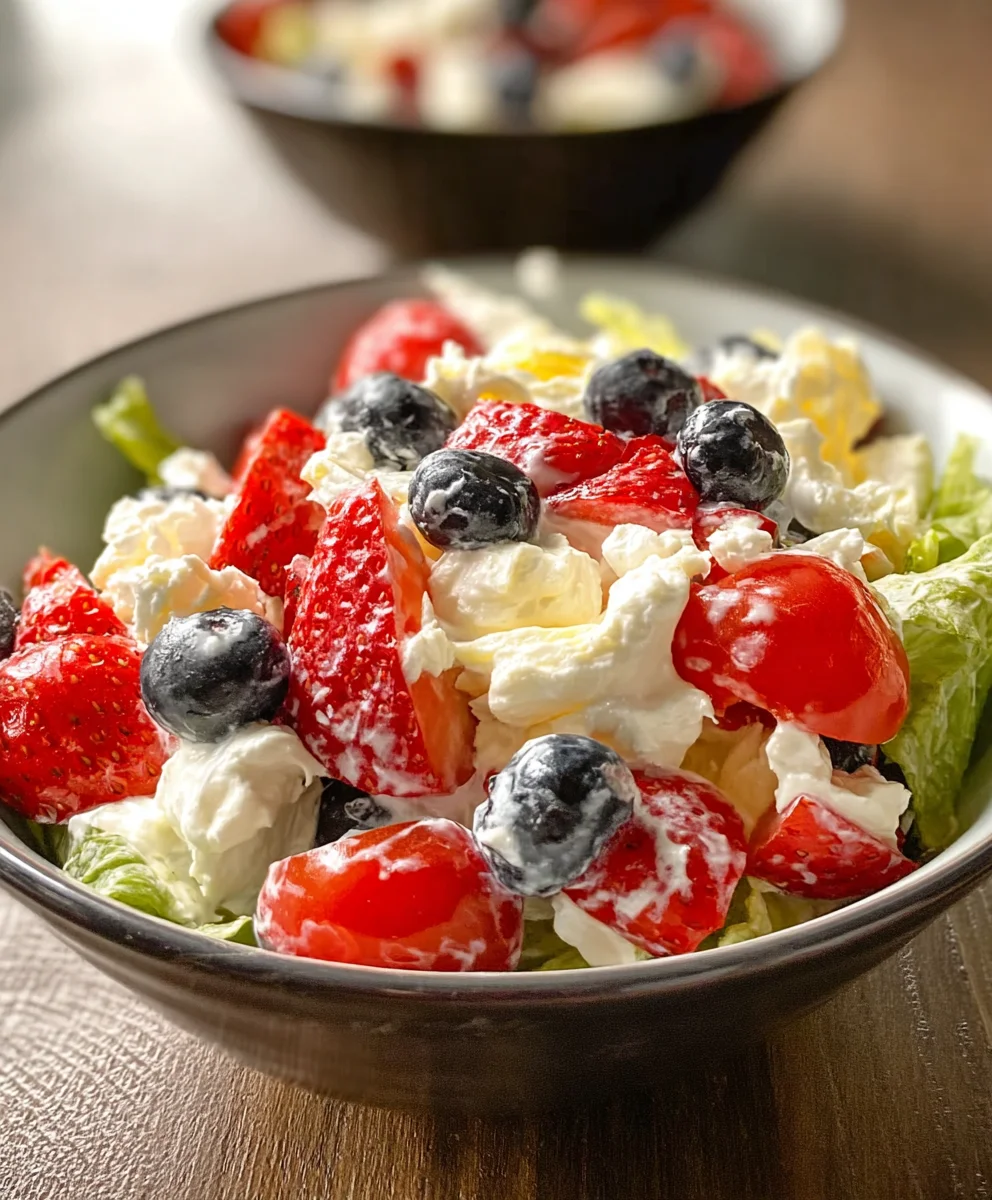
Red White Blue Salad- Festive & Fresh- Easy Recipe
A visually stunning and deliciously fresh layered fruit salad perfect for patriotic holidays and summer gatherings.
Ingredients
-
8 ounces cream cheese, softened
-
1/2 cup white sugar
-
8 ounces Cool Whip, thawed
-
3 cups strawberries, sliced
-
1 cup blueberries
-
1 cup raspberries
Instructions
-
Step 1
In a medium bowl, beat softened cream cheese and sugar until smooth. Gently fold in thawed Cool Whip until just combined, being careful not to overmix. -
Step 2
Wash and slice strawberries. Rinse and gently dry blueberries and raspberries. -
Step 3
In a clear serving bowl, spread half of the cream cheese mixture. Layer with half of the strawberries, then half of the blueberries, and finally half of the raspberries. -
Step 4
Repeat the layering process with the remaining cream cheese mixture and berries. -
Step 5
Cover the salad tightly with plastic wrap and refrigerate for at least 2 hours, or preferably 3-4 hours, to allow flavors to meld and texture to firm. -
Step 6
Serve chilled, optionally garnished with a few extra berries or mint.
Important Information
Nutrition Facts (Per Serving)
It is important to consider this information as approximate and not to use it as definitive health advice.
Allergy Information
Please check ingredients for potential allergens and consult a health professional if in doubt.


Leave a Comment