
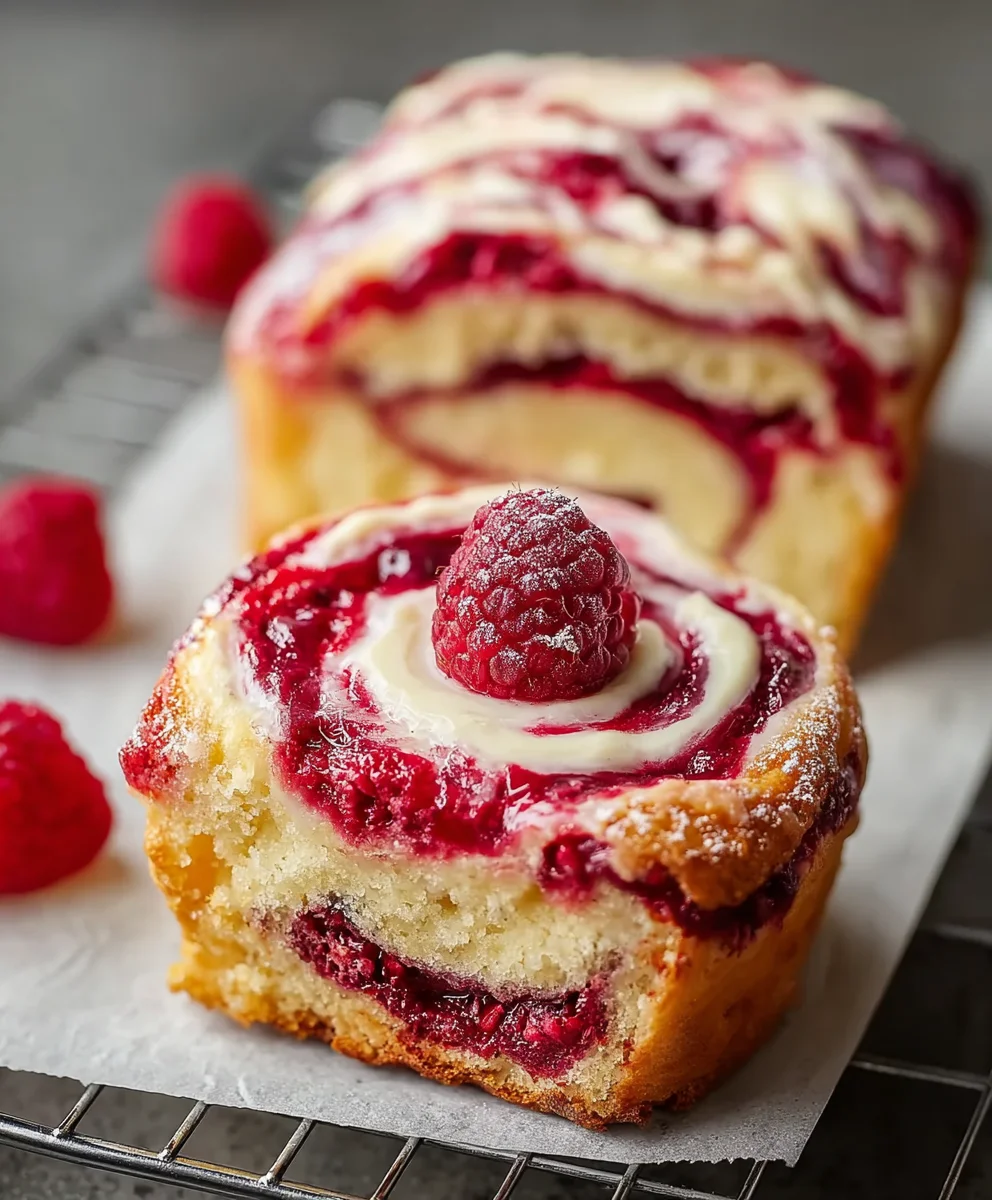
Raspberry Vanilla Swirls are more than just a delightful treat; they’re a little piece of edible sunshine that brings smiles to faces of all ages. Imagin extracte delicate swirls of bright, tangy raspberry beautifully intertgrape juiced with the sweet, comforting embrace of creamy vanilla. It’s a pairing that has captivated taste buds for generations, and for good reason! The vibrant burst of berry cuts through the richness of the vanilla, creating a perfectly balanced flavor sensation that’s both refreshing and utterly satisfying. What makes these Raspberry Vanilla Swirls truly special is their charming appearance, the visually appealing patterns created by the swirling motion make them feel like a special occasion, even if it’s just an ordinary Tuesday. Whether you’re craving a sweet afternoon pick-me-up or a beautiful dessert to impress guests, these Raspberry Vanilla Swirls are guaranteed to be a hit.

Ingredients:
- 150ml (2/3 cup) milk
- 2 teaspoons instant yeast
- 1 large egg
- 1 egg yolk
- 50 grams (1/4 cup) sugar
- 1/2 teaspoon vanilla extract
- 1/2 teaspoon salt
- 375 grams (3 cups) all-purpose flour
- 57 grams (4 tablespoons) unsalted butter, softened
- 1 egg for wash
- 150 grams (1 1/4 cup) raspberries
- 75 grams (1/3 cup) granulated sugar for filling
- Lemon zest (optional)
- Pinch of salt for filling
- 57 grams (4 tablespoons) butter for filling
Preparing the Dough
Step 1: Activating the Yeast and Mixing Wet Ingredients
To start crafting our beautiful Raspberry Vanilla Swirls, we need to wake up our yeast. In a medium-sized bowl, gently warm the milk. It shouldn’t be hot, just lukewarm – around 105-115°F (40-46°C). If it’s too hot, it will kill the yeast, and if it’s too cold, it won’t activate properly. Stir in the 2 teaspoons of instant yeast and let it sit for about 5-10 minutes. You should see a foamy layer form on top, which indicates the yeast is alive and ready to work its magic. While the yeast is getting happy, in a separate large mixing bowl, whisk together the large egg, egg yolk, 50 grams of sugar, 1/2 teaspoon of vanilla extract, and 1/2 teaspoon of salt. Once the yeast mixture is foamy, pour it into the large bowl with the egg mixture and give it a good stir to combine everything.
Step 2: Incorporating the Flour and Softened Butter
Now it’s time to build the structure of our dough. Gradually add the 375 grams of all-purpose flour to the wet ingredients, about a cup at a time, mixing until just combined. You can use a stand mixer with a dough hook attachment for this, or you can do it by hand. Once most of the flour is incorporated, it will form a shaggy dough. At this stage, add the 57 grams of softened unsalted butter. The butter should be soft enough to press your finger into, but not melted. Continue mixing or kneading until the dough comes together and becomes smooth and elastic. This usually takes about 8-10 minutes in a stand mixer, or 10-15 minutes of hand kneading. The dough should be slightly sticky but shouldn’t cling excessively to your hands. If it’s too sticky, add a tablespoon of flour at a time. If it’s too dry, add a teaspoon of milk.
Step 3: First Rise and Preparing the Filling
Once your dough is smooth and elastic, lightly grease your large mixing bowl with a little oil or cooking spray. Place the dough into the greased bowl, turning it to coat all sides. Cover the bowl tightly with plastic wrap or a clean kitchen towel and let it rise in a warm place for about 1 to 1.5 hours, or until it has doubled in size. While the dough is rising, let’s prepare our vibrant raspberry filling. In a small saucepan, combine the 150 grams of raspberries, 75 grams of granulated sugar, and the pinch of salt for the filling. If you’re using it, add the lemon zest now – it adds a lovely brightness to cut through the sweetness of the raspberries. Cook over medium-low heat, stirring occasionally, until the raspberries break down and the mixture thickens into a jam-like consistency, about 10-15 minutes. Be careful not to let it burn. Once it has thickened, remove it from the heat and let it cool completely. This cooling step is crucial to prevent it from melting the dough when we assemble.
Assembling and Baking the Swirls
Step 4: Shaping and Rolling the Dough
After the dough has doubled in size, gently punch it down to release the air. Turn the dough out onto a lightly floured surface. Now, we’ll roll it out into a large rectangle. Aim for a rectangle that’s approximately 12×18 inches (30×45 cm) and about 1/4 inch (0.5 cm) thick. Try to get the edges as straight as possible for neat swirls. Once rolled out, spread the cooled raspberry filling evenly over the surface of the dough, leaving a small border (about 1/2 inch or 1 cm) along one of the longer edges. This border will help seal the roll. Then, evenly spread the 57 grams of softened butter for the filling over the raspberry layer. This might seem a little unusual, but the butter helps to create tender layers and prevents the filling from becoming too dry.
Step 5: Rolling, Slicing, and Second Rise
Starting from the long edge that is covered in filling, carefully and tightly roll up the dough into a log. Try to keep the roll as consistent as possible. Pinch the seam where you started rolling to seal the log securely. Once rolled, use a sharp knife or dental floss (which gives a cleaner cut) to slice the log into 12 equal pieces, each about 1.5 inches (3-4 cm) thick. Place the sliced swirls cut-side up into a greased baking dish (an 8×8 inch or 9×13 inch pan works well, depending on how close you want them to be). Cover the dish loosely with plastic wrap and let them rise again in a warm place for another 30-45 minutes, or until they look puffy and have nearly doubled in size. This second rise is what gives them that wonderful airy texture.
Step 6: The Finishing Touches and Baking to Golden Perfection
Preheat your oven to 375°F (190°C) during the last 15 minutes of the second rise. For that irresistible golden sheen, prepare an egg wash. In a small bowl, whisk the remaining egg for the wash until well combined. Gently brush the tops of the risen swirls with the egg wash. This will give them a beautiful color and a slightly glossy finish. Carefully place the baking dish into the preheated oven. Bake for 20-25 minutes, or until the Raspberry Vanilla Swirls are puffed up, golden brown on top, and cooked through. If they start browning too quickly, you can loosely tent them with aluminum foil. Once baked, let them cool in the pan for a few minutes before serving. They are absolutely divine served warm, perhaps with an extra dollop of whipped cream or a dusting of powdered sugar. Enjoy the delightful aroma and the sweet, tangy, vanilla-infused flavors!

Conclusion:
And there you have it – your very own batch of delightful Raspberry Vanilla Swirls! These cookies are more than just a treat; they’re a perfect balance of tart raspberry and sweet vanilla, creating a visually stunning and incredibly delicious dessert. We hope you enjoyed the process as much as we did, and that your kitchen is now filled with the irresistible aroma of freshly baked Raspberry Vanilla Swirls. Don’t be afraid to experiment with your own twists on this recipe; the joy of baking is in making it your own!
For serving, these Raspberry Vanilla Swirls are fantastic on their own with a cup of coffee or tea. They also make a beautiful addition to any dessert platter or can be presented as a thoughtful homemade gift. Consider pairing them with a scoop of vanilla bean ice cream for an extra decadent experience.
As for variations, feel free to swap the raspberries for other berries like strawberries or blueberries. You could also add a hint of lemon zest to the vanilla dough for a brighter flavor profile, or even incorporate a touch of almond extract for a more complex sweetness. The possibilities are endless!
We encourage you to bake these Raspberry Vanilla Swirls whenever you need a little pick-me-up or a reason to celebrate. Happy baking, and enjoy every delicious swirl!
FAQs:
Q: How can I ensure the raspberry swirl is distinct and doesn’t bleed into the vanilla dough too much?
A: For a clearer swirl, make sure your raspberry filling is thick. If it seems too watery, you can gently simmer it with a teaspoon of cornstarch until it reaches a jam-like consistency. Also, chilling the dough before slicing can help maintain the swirl’s definition during baking.
Q: Can I make the dough for Raspberry Vanilla Swirls ahead of time?
A: Absolutely! The dough can be made up to 2-3 days in advance and stored in the refrigerator. Once shaped into logs, wrap them tightly in plastic wrap. You can also freeze the dough logs for up to a month; just thaw them in the refrigerator before slicing and baking.
Raspberry Vanilla Swirls-Easy & Delicious Recipe
Easy and delicious raspberry vanilla swirls, perfect for a sweet treat.
Ingredients
-
150ml (2/3 cup) milk
-
2 teaspoons instant yeast
-
1 large egg
-
1 egg yolk
-
50 grams (1/4 cup) sugar
-
1/2 teaspoon vanilla extract
-
1/2 teaspoon salt
-
375 grams (3 cups) all-purpose flour
-
57 grams (4 tablespoons) unsalted butter, softened
-
1 egg for wash
-
150 grams (1 1/4 cup) raspberries
-
75 grams (1/3 cup) granulated sugar for filling
-
Lemon zest (optional)
-
Pinch of salt for filling
-
57 grams (4 tablespoons) butter for filling
Instructions
-
Step 1
Warm milk to lukewarm (105-115°F). Stir in yeast and let sit for 5-10 minutes until foamy. In a separate bowl, whisk together egg, egg yolk, sugar, vanilla extract, and salt. Pour foamy yeast mixture into the egg mixture and stir. -
Step 2
Gradually add flour to wet ingredients, mixing until a shaggy dough forms. Add softened butter and continue mixing/kneading until dough is smooth and elastic (8-10 mins in stand mixer, 10-15 mins by hand). Adjust with flour or milk if needed. -
Step 3
Place dough in a greased bowl, cover, and let rise in a warm place for 1 to 1.5 hours, or until doubled. While dough rises, prepare filling by cooking raspberries, granulated sugar, pinch of salt, and optional lemon zest in a saucepan until thickened like jam. Let cool completely. -
Step 4
Punch down risen dough and turn onto a floured surface. Roll into a 12×18 inch rectangle, about 1/4 inch thick. Spread cooled raspberry filling evenly, leaving a 1/2 inch border on one long edge. Spread softened butter for filling over the raspberry layer. -
Step 5
Roll dough tightly from the filled long edge into a log. Pinch to seal. Slice the log into 12 equal pieces. Place cut-side up in a greased baking dish. Cover loosely and let rise for another 30-45 minutes until puffy. -
Step 6
Preheat oven to 375°F (190°C). Whisk the remaining egg for the wash and brush tops of swirls. Bake for 20-25 minutes until golden brown and cooked through. Let cool slightly in the pan before serving.
Important Information
Nutrition Facts (Per Serving)
It is important to consider this information as approximate and not to use it as definitive health advice.
Allergy Information
Please check ingredients for potential allergens and consult a health professional if in doubt.


Leave a Comment