
Pineapple Coconut Dream Cake isn’t just a dessert; it’s an instant escape to a tropical paradise, a fluffy, sun-kissed cloud of pure bliss. Imagine the gentle caress of warm ocean breeze, the sweet scent of blooming frangipani, and the vibrant taste of ripe pineapple mingling with the creamy richness of coconut – that’s the essence of this delightful confection. We absolutely adore this Pineapple Coconut Dream Cake because it manages to be both incredibly indulgent and surprisingly light, making it the perfect centerpiece for any celebration or simply a delightful treat to brighten an ordinary day. What truly sets this Pineapple Coconut Dream Cake apart is the masterful balance of flavors and textures. The moist, tender crumb infused with real pineapple chunks bursts with tangy sweetness, while the velvety coconut frosting envelops your senses in a smooth, subtly sweet embrace. It’s a symphony of tropical notes that will transport your taste buds with every single bite, leaving you craving more of its effortless charm.

Ingredients:
- 1 box yellow cake mix (15.25 oz)
- 1 cup crushed pineapple, drained
- 1 cup shredded coconut
- ½ cup vegetable oil
- 3 large eggs
- 1 cup milk
- 1 cup powdered sugar
- 2 tablespoons pineapple juice
- 2 tablespoons unsalted butter, softened
- 1 teaspoon vanilla extract
Preparing the Pineapple Coconut Dream Cake Batter
Let’s get started on creating our delightful Pineapple Coconut Dream Cake. First, preheat your oven to 350°F (175°C). Grease and flour a 9×13 inch baking pan, or two 8-inch round cake pans, ensuring all the nooks and crannies are well covered to prevent any sticking. This step is crucial for an easy release of your cake once it’s baked to perfection.
In a large mixing bowl, combine the contents of your 1 box of yellow cake mix. Now, it’s time to add the wet ingredients that will transform this mix into something truly special. Pour in ½ cup of vegetable oil. This oil will contribute to a wonderfully moist and tender crumb. Next, crack in 3 large eggs. These eggs act as a binder and add richness to our cake. Finally, add 1 cup of milk. The milk will provide the necessary liquid to bring everything together into a smooth batter.
Now, using an electric mixer on low speed, or a whisk and some elbow grease, begin to combine these ingredients. Mix until they are just incorporated. Be careful not to overmix at this stage; overmixing can develop the gluten too much, leading to a tougher cake. Once the initial wet ingredients are combined with the dry cake mix, add the star ingredients that give this cake its name: 1 cup of crushed pineapple, making sure it’s well-drained to avoid excess moisture, and 1 cup of shredded coconut. Gently fold these into the batter until they are evenly distributed. You should start to see those lovely flecks of pineapple and coconut throughout.
Baking the Pineapple Coconut Dream Cake
With your oven preheated and your batter ready, it’s time to bake! Pour the prepared batter evenly into your greased and floured baking pan(s). If you are using multiple pans, try to divide the batter as equally as possible to ensure even baking. Gently smooth the top of the batter with a spatula.
Place the pan(s) into the preheated oven. Bake for approximately 30-35 minutes for a 9×13 inch pan, or 25-30 minutes for round cake pans. The exact baking time can vary depending on your oven, so it’s important to keep an eye on it. You’ll know the Pineapple Coconut Dream Cake is done when a wooden skewer or toothpick inserted into the center comes out clean, with no wet batter attached. The edges of the cake should also be pulling away slightly from the sides of the pan, and the top should be a beautiful golden brown.
Once baked, carefully remove the cake from the oven. Let it cool in the pan on a wire rack for about 10-15 minutes. This initial cooling period allows the cake to set up a bit before you attempt to remove it from the pan, reducing the risk of it breaking. After this initial cooling, if you are using round pans, carefully invert them onto the wire rack to fully cool. For a 9×13 inch cake, you can let it cool completely in the pan on the wire rack. Ensure the cake is completely cool before proceeding to the frosting stage. Patience here is key for a beautiful presentation.
Crafting the Pineapple Glaze
While our Pineapple Coconut Dream Cake is cooling, let’s prepare the luscious pineapple glaze that will take it to the next level. In a medium bowl, combine 1 cup of powdered sugar. This is the base of our glaze, providing that sweet, smooth texture. Next, add 2 tablespoons of pineapple juice. This juice not only adds flavor but also provides the liquid needed to create a pourable glaze. Make sure to use the juice from your drained pineapple if you have any extra, or a good quality canned pineapple juice.
To this mixture, add 2 tablespoons of softened, unsalted butter. The butter will give the glaze a richer flavor and a smoother consistency. Finally, stir in 1 teaspoon of vanilla extract. The vanilla adds a wonderful aroma and a complementary flavor profile that enhances both the pineapple and coconut notes of the cake.
Using a whisk or a fork, vigorously mix these ingredients together until the glaze is smooth and lump-free. If the glaze seems too thick, you can add a tiny bit more pineapple juice, just a teaspoon at a time, until you reach your desired consistency. If it’s too thin, add a little more powdered sugar, a tablespoon at a time. You want a glaze that is thick enough to coat the cake but still pourable. It should have a slightly creamy texture.
Glazing and Finishing the Pineapple Coconut Dream Cake
Once your Pineapple Coconut Dream Cake is completely cool, it’s time for the grand finale: the glaze! Place the cake on a serving platter. If you baked the cake in a 9×13 inch pan, you can simply pour the glaze directly over the top. If you’ve baked it as layered cakes, you can either glaze each layer individually before stacking, or frost the entire cake once assembled.
Slowly drizzle the prepared pineapple glaze over the top of the cooled cake. You can use a spoon to guide the glaze to the edges, allowing it to drip down the sides. This creates a beautiful, rustic effect that highlights the tropical flavors within. For an extra touch of coconut goodness, you can sprinkle a little extra shredded coconut over the glaze while it’s still wet. This will create a lovely, textured topping that complements the cake perfectly. Allow the glaze to set for a few minutes before slicing and serving your magnificent Pineapple Coconut Dream Cake. Enjoy the tropical bliss with every bite!

Conclusion:
And there you have it – your very own homemade Pineapple Coconut Dream Cake! I truly hope you enjoyed baking and, more importantly, savoring this tropical delight. This recipe is a testament to how simple ingredients can come together to create something truly spectacular. The moist, tender crumb infused with the sweet tang of pineapple and the rich aroma of coconut is a combination that never fails to impress. It’s perfect for any occasion, from a casual afternoon tea to a celebratory birthday. Don’t hesitate to experiment with it; baking is all about having fun and making it your own!
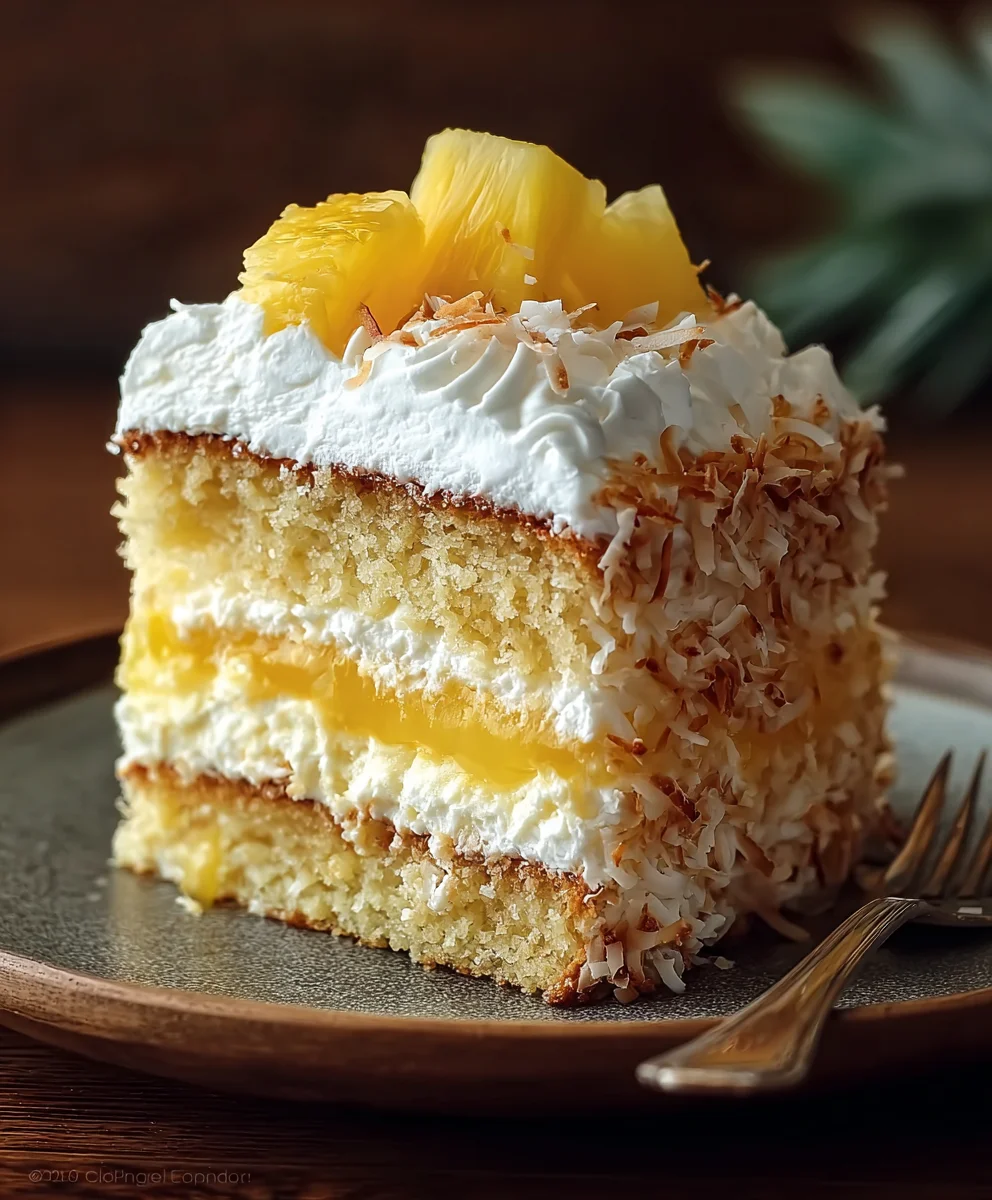
When serving, consider topping your Pineapple Coconut Dream Cake with a dollop of whipped cream or a swirl of cream cheese frosting for an extra layer of indulgence. A sprinkle of toasted coconut flakes or some fresh pineapple chunks would also make beautiful and delicious garnishes. For variations, you could add a touch of rum extract to the batter for a grown-up twist, or even fold in some macadamia nuts for added texture and flavor. Feel free to get creative with your frosting too – a key lime frosting would be another fantastic tropical pairing!
I encourage you to bake this cake whenever you’re craving a slice of paradise. It’s a guaranteed crowd-pleaser and a wonderful way to bring a taste of the tropics into your home. Happy baking, and enjoy every single bite!
Frequently Asked Questions about Pineapple Coconut Dream Cake:
Can I make this cake ahead of time?
Absolutely! The Pineapple Coconut Dream Cake is actually even better when made a day in advance. This allows the flavors to meld beautifully, resulting in a moister cake. Store it at room temperature, well-wrapped, or in the refrigerator if you’ve frosted it with a cream cheese-based frosting.
What kind of pineapple should I use?
For this recipe, I highly recommend using crushed pineapple packed in its own juice. The juice contributes significantly to the cake’s moisture and flavor. If you use canned pineapple in heavy syrup, be sure to drain it very well and perhaps reduce the liquid in the recipe slightly to avoid an overly wet batter.
Pineapple Coconut Dream Cake-Tropical Bliss Recipe
A moist and flavorful cake infused with tropical pineapple and coconut, finished with a sweet pineapple glaze. Perfect for a taste of paradise!
Ingredients
-
1 box yellow cake mix (15.25 oz)
-
1 cup crushed pineapple, drained
-
1 cup shredded coconut
-
½ cup vegetable oil
-
3 large eggs
-
1 cup milk
-
1 cup powdered sugar
-
2 tablespoons pineapple juice
-
2 tablespoons unsalted butter, softened
-
1 teaspoon vanilla extract
Instructions
-
Step 1
Preheat oven to 350°F (175°C). Grease and flour a 9×13 inch baking pan or two 8-inch round cake pans. -
Step 2
In a large bowl, combine cake mix, vegetable oil, eggs, and milk. Mix on low speed until just incorporated. Gently fold in drained crushed pineapple and shredded coconut. -
Step 3
Pour batter evenly into prepared pan(s). Bake for 30-35 minutes for a 9×13 pan, or 25-30 minutes for round pans, or until a wooden skewer inserted into the center comes out clean. -
Step 4
Let the cake cool in the pan for 10-15 minutes before inverting onto a wire rack to cool completely. -
Step 5
While the cake cools, prepare the glaze: In a medium bowl, whisk together powdered sugar, pineapple juice, softened butter, and vanilla extract until smooth. Add more pineapple juice or powdered sugar as needed to reach desired consistency. -
Step 6
Once the cake is completely cool, drizzle the pineapple glaze over the top. Sprinkle with extra shredded coconut if desired. Let the glaze set before slicing and serving.
Important Information
Nutrition Facts (Per Serving)
It is important to consider this information as approximate and not to use it as definitive health advice.
Allergy Information
Please check ingredients for potential allergens and consult a health professional if in doubt.


Leave a Comment