
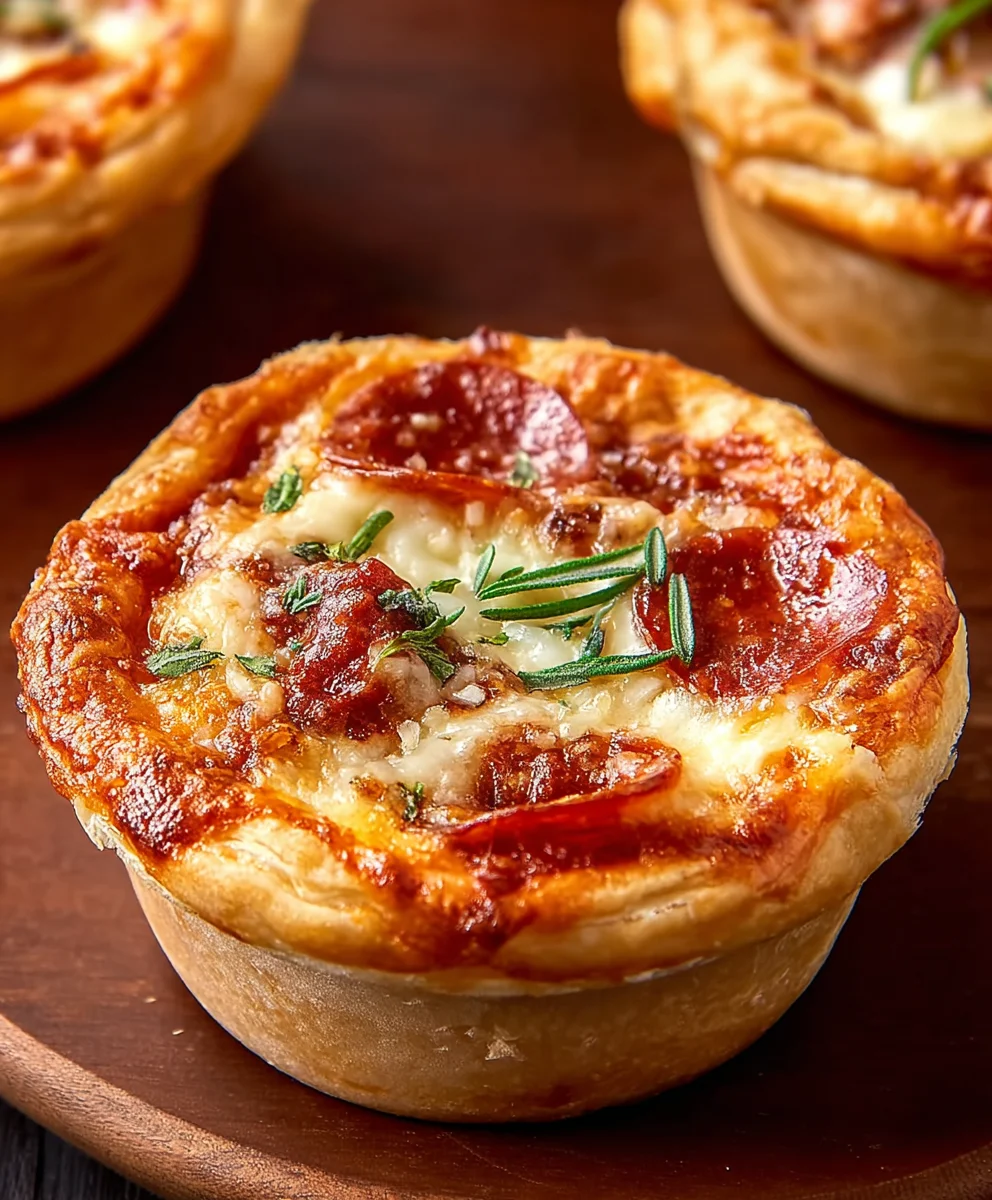
Mini Pizza Pot Pies, those delightful little pockets of cheesy, saucy goodness, are a culinary hug in a mug! We’ve all been there, craving that comforting, familiar taste of pizza but wanting something a little more individual, a little more fun. That’s where these mini marvels truly shine. They capture the essence of your favorite pizza toppings, nestled in a warm, flaky crust, all presented in a charming, single-serving package. What makes Mini Pizza Pot Pies so incredibly special? It’s the perfect marriage of crispy pastry and gooey, melted cheese, combined with your choice of vibrant, savory toppings. Whether you’re looking for a quick weeknight dinner that will have the whole family asking for seconds, a playful appetizer for your next gathering, or simply a delicious way to satisfy that pizza craving with a touch of homemade magic, these Mini Pizza Pot Pies are the answer.
Why You’ll Adore Them
A Flavor Fiesta in Every Bite

Ingredients:
- 8 Refrigerated Biscuits (from a 16 ounce package)
- ¼ cup Pasta Sauce or Pizza Sauce, meatless variety
- 3 ounces Pepperoni, chopped
- 7-8 ounces Shredded Mozzarella
- 1 tablespoon Butter, softened (not melted)
- ½ tablespoon Olive Oil
- ¼ teaspoon Salt
- ¼ teaspoon Garlic Powder
- ¼ teaspoon Italian Seasoning plus extra as topping (optional)
- Pinch of Black Pepper
- Cooking Spray or oil to grease the tins
Preparing the Mini Pizza Pot Pie Filling
To start creating our delightful Mini Pizza Pot Pies, we need to assemble a flavor-packed filling. Begin by grabbing a medium-sized mixing bowl. In this bowl, combine the ¼ cup of meatless pasta or pizza sauce. To this, add the 3 ounces of finely chopped pepperoni. The pepperoni will provide that classic pizza punch and a lovely savory note to each bite. Next, sprinkle in the ¼ teaspoon of salt, ¼ teaspoon of garlic powder, and ¼ teaspoon of Italian seasoning. If you’re feeling adventurous and want a little more spice, you can add that pinch of black pepper now, too. Don’t forget to stir in the ½ tablespoon of olive oil. This will help to slightly loosen the sauce and ensure the flavors meld beautifully without making the filling too watery. Give everything a good stir with a spoon until all the ingredients are well incorporated. You want a homogeneous mixture where the pepperoni is evenly distributed throughout the sauce and seasonings. Set this bowl aside for now; it’s ready to be layered into our biscuit cups.
Assembling the Biscuit Cups
Now it’s time to prepare the base for our Mini Pizza Pot Pies. You’ll need a muffin tin for this part. Lightly grease your muffin tin with cooking spray or a little bit of oil. This is a crucial step to ensure your pot pies don’t stick and come out cleanly after baking. Open your package of 8 refrigerated biscuits. Gently separate the biscuits and place one biscuit into each cup of the greased muffin tin. The goal here is to press the biscuit down into the cup, allowing it to line the bottom and slightly up the sides. You don’t want the biscuit to come all the way to the top edge of the muffin tin; leave a little room for the filling. You can use your fingers to gently press and shape the biscuit, making sure there are no large gaps or holes in the bottom that could leak our delicious filling. It’s okay if the edges are a little uneven; it just adds to the homemade charm.
Layering the Flavors
This is where the magic truly happens for our Mini Pizza Pot Pies. Take the prepared filling mixture and carefully spoon about a tablespoon of it into the center of each biscuit-lined muffin cup. Be generous but don’t overfill, as you still need space for the cheese and to close the biscuit top. After adding the sauce and pepperoni mixture, it’s time for the star of the show: the shredded mozzarella. Sprinkle a good amount of the 7-8 ounces of shredded mozzarella over the filling in each cup. You want a nice, thick layer of cheese that will get wonderfully gooey and melted during baking. Don’t be shy with the cheese! This is what makes them truly irresistible.
Creating the Pot Pie Tops
To complete our Mini Pizza Pot Pies, we need to create the lids. Take the remaining 8 refrigerated biscuits. For these top biscuits, we’re going to prepare them slightly differently. In a small bowl, combine the 1 tablespoon of softened butter with a tiny pinch of salt (if you haven’t added enough to the filling already, or if you like an extra savory crust). You can also add a whisper of garlic powder here if you desire. This butter mixture will be brushed onto the tops of the pot pies, giving them a beautiful golden-brown color and a wonderfully crisp texture after baking. Once the butter mixture is ready, take each of the remaining biscuits and gently flatten them slightly. Place one flattened biscuit over the filling and cheese in each muffin cup, effectively sealing the pot pie. Press the edges of the top biscuit down onto the edges of the bottom biscuit to create a seal. You can use your fingers or a fork to crimp the edges together, just like you would with a traditional pie. This sealing action is important to prevent the filling from escaping during baking.
Baking to Golden Perfection
Now that our Mini Pizza Pot Pies are fully assembled, it’s time to bake them to golden perfection. Preheat your oven to 375°F (190°C). Once the oven is preheated, carefully place the prepared muffin tin into the center rack. Bake for approximately 18-22 minutes, or until the biscuit tops are puffed up, golden brown, and appear cooked through. The cheese should be melted and bubbly, and you might even see a little bit of the sauce peeking through the seams, which is perfectly fine. While the pot pies are baking, take the opportunity to prepare the optional topping. If you like, you can sprinkle a little extra Italian seasoning over the tops of the pot pies during the last few minutes of baking for an added aromatic boost. Once they are beautifully golden and cooked through, carefully remove the muffin tin from the oven. Let them cool in the tin for about 5-10 minutes. This cooling period is essential to allow the fillings to set slightly, making them easier to remove from the tin and preventing anyone from burning their mouths on molten cheese.
Serving Your Mini Pizza Pot Pies
After the brief cooling period, carefully use a butter knife or a small offset spatula to gently loosen the edges of each Mini Pizza Pot Pie from the muffin tin. Then, carefully lift them out and place them onto a serving platter. They are best enjoyed warm, allowing you to experience the full gooeyness of the cheese and the savory flavor of the pepperoni. You can serve them as a fun appetizer, a quick and easy lunch, or even as a playful dinner option for kids and adults alike. Enjoy your homemade Mini Pizza Pot Pies!
Conclusion:
I hope you’ve enjoyed learning how to make these delightful Mini Pizza Pot Pies! This recipe offers a fun and customizable way to enjoy all your favorite pizza flavors in a convenient, individual serving. The flaky pastry crust, combined with a savory tomato sauce and cheesy filling, creates a wonderfully satisfying bite that’s perfect for weeknight dinners, game days, or even a fun lunch. Don’t be afraid to get creative with your toppings; this recipe is wonderfully forgiving and adaptable. Whether you’re a seasoned cook or just starting out, these Mini Pizza Pot Pies are sure to become a family favorite. I encourage you to give them a try and experience the joy of homemade pizza in a whole new way!
For serving, these are fantastic on their own, but they also pair beautifully with a simple side salad dressed with a vinaigrette, or some oven-roasted vegetables like broccoli or bell peppers. If you’re looking for variations, consider adding cooked ground meat, pepperoni, or even finely chopped ham to the filling. For a vegetarian option, load them up with extra vegetables like mushrooms, onions, olives, and spinach. You can also experiment with different cheeses, like mozzarella, cheddar, or a blend of Italian cheeses.
Frequently Asked Questions:
Can I make the pastry crust ahead of time?
Yes, you absolutely can! You can prepare the pie crust dough and keep it chilled in the refrigerator for up to 2 days, or freeze it for up to 3 months. If freezing, thaw it overnight in the refrigerator before using. For the mini pots, you can even cut out the dough circles and refrigerate them on a parchment-lined baking sheet.
What if I don’t have mini muffin tins?
No problem at all! You can adapt this recipe for larger pie dishes or even a standard muffin tin. If using a standard muffin tin, you might need to slightly adjust the baking time. For larger pie dishes, you’ll obviously be making fewer, larger pot pies. Ensure the pastry completely covers the filling to create those lovely pot pie pockets.

Mini Beef Pizza Pot Pies – Easy & Delicious
Easy and delicious mini pizza pot pies with a savory beef and pepperoni filling, topped with melted mozzarella and baked in a flaky biscuit crust.
Ingredients
-
8 Refrigerated Biscuits (from a 16 ounce package)
-
¼ cup Pasta Sauce or Pizza Sauce, meatless variety
-
3 ounces Ground Beef, cooked and crumbled
-
3 ounces Pepperoni, chopped
-
7-8 ounces Shredded Mozzarella
-
1 tablespoon Butter, softened
-
½ tablespoon Olive Oil
-
¼ teaspoon Salt
-
¼ teaspoon Garlic Powder
-
¼ teaspoon Italian Seasoning plus extra as topping (optional)
-
Pinch of Black Pepper
-
Cooking Spray or oil to grease the tins
Instructions
-
Step 1
Prepare the filling: In a medium bowl, combine meatless pasta sauce, cooked ground beef, chopped pepperoni, salt, garlic powder, Italian seasoning, black pepper, and olive oil. Stir until well combined. -
Step 2
Assemble the biscuit cups: Lightly grease a muffin tin. Place one biscuit into each cup, pressing it down to line the bottom and sides, leaving room for filling. -
Step 3
Layer the flavors: Spoon about a tablespoon of the filling mixture into the center of each biscuit cup. Sprinkle a generous amount of shredded mozzarella over the filling. -
Step 4
Create the pot pie tops: In a small bowl, combine softened butter with a pinch of salt and optional garlic powder. Flatten the remaining 8 biscuits slightly. Place one flattened biscuit over the filling and cheese in each muffin cup, sealing the edges by pressing down or crimping with a fork. -
Step 5
Bake to golden perfection: Preheat oven to 375°F (190°C). Bake for 18-22 minutes, or until biscuit tops are puffed, golden brown, and cheese is melted and bubbly. Brush tops with butter mixture during the last few minutes of baking for extra crispiness. -
Step 6
Serve: Let cool in the tin for 5-10 minutes. Carefully remove from the tin and serve warm.
Important Information
Nutrition Facts (Per Serving)
It is important to consider this information as approximate and not to use it as definitive health advice.
Allergy Information
Please check ingredients for potential allergens and consult a health professional if in doubt.


Leave a Comment