
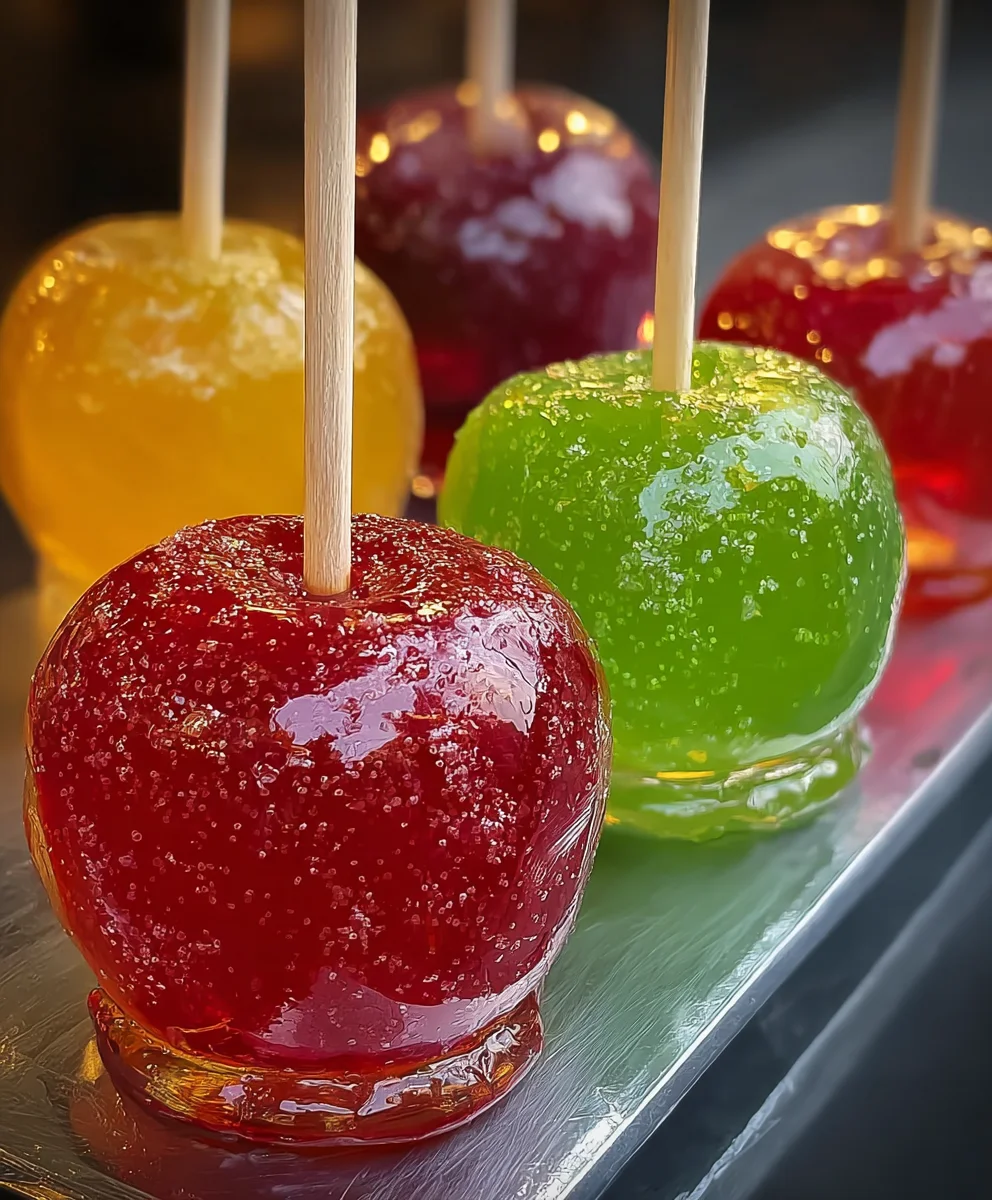
Jolly Rancher Candy Apples are a vibrant explosion of flavor and fun, a nostalgic treat that instantly transports you back to crisp autumn days and cheerful carnivals. What’s not to love about these shimmering, jewel-toned delights? They offer that perfect crunch of sweet, hardened candy shell giving way to the crisp, juicy bite of a perfectly ripe apple. It’s a simple yet ingenious combination that has captured hearts for generations. But beyond the classic appeal, these aren’t just any candy apples; we’re talking about transforming them with the iconic, bold fruit flavors of Jolly Ranchers. The secret to truly magical Jolly Rancher Candy Apples lies in achieving that smooth, crackly shell that gleams under any light and bursts with intensely fruity notes. Get ready to impress your friends and family, or simply treat yourself to a burst of pure, unadulterated joy with this irresistible recipe.

Ingredients:
- 6 medium apples (Granny Smith, Honeycrisp, or Fuji are excellent choices for their crispness and tartness, which balance the sweetness of the candy coating)
- 2-3 bags Jolly Rancher hard candies (assorted flavors provide a vibrant rainbow effect, or you can choose a single color like blue or green for a specific theme)
- 1-2 tablespoons water
- Wooden skewers or popsicle sticks (sturdy ones are best to support the weight of the candy-coated apples)
- Colorful sprinkles (for extra festive flair and texture)
- Edible glitter (optional, but highly recommended for a dazzling finish)
- Melted chocolate for drizzling (dark, milk, or white chocolate all work beautifully)
Preparing the Apples
Washing and Stems
The first crucial step in creating perfect Jolly Rancher Candy Apples is preparing your apples. Begin extract by thoroughly washing all six apples under cool running water. This removes any natural wax or residual dirt, ensuring a clean surface for the candy coating to adhere to. Once washed, gently dry each apple with a clean kitchen towel. It’s important that they are completely dry, as any moisture can interfere with the candy hardening properly. Next, remove the stems from the apples. You can do this by wiggling them gently until they come loose, or by using a small paring knife to carefully cut around the stem area.
Inserting the Skewers
After removing the stems, it’s time to insert your skewers. Carefully push one wooden skewer or popsicle stick firmly into the stem end of each apple. Aim to insert it about halfway to two-thirds of the way into the apple, ensuring it’s secure enough to hold the weight of the apple when it’s coated in hot candy. If using popsicle sticks, ensure they are thick and sturdy. You want the skewer to act as a handle for dipping and for guests to hold their finished candy apple. Give each skewer a little twist as you insert it to help it grip the apple more securely.
Creating the Jolly Rancher Candy Coating
Melting the Candies
Now for the magic! This part requires careful attention and a bit of patience. You’ll need to melt the Jolly Rancher candies to create the vibrant, glassy coating. You can do this in one of two ways: either by using a double boiler or by carefully melting them in a saucepan on the stovetop.
If using a double boiler: Fill the bottom pot with about an inch of water and bring it to a gentle simmer. Place the Jolly Ranchers in the top pot or a heatproof bowl that fits over the simmering water. As the steam heats the bowl, the candiesgin extractll begin to melt.
If using a saucepan: Place the Jolly Ranchers directly into a clean, dry saucepan. Add 1-2 tablespoons of water to help them melt evenly and prevent scorching. Heat the saucepan over medium-low heat. It’s crucial to stir constantly with a heatproof spatula or wooden spoon. Don’t rush this process; low and slow is the key to preventing the sugar from burning. You’ll want to melt enough candy to coat all your apples. For 6 medium apples, 2-3 bags of Jolly Ranchers should be sufficient, depending on how thick you like your coating. Continue melting until the candies are completely liquefied and smooth, with no lumps remaining. The color will intensify as they melt.
Achieving the Right Consistency
Once your Jolly Ranchers are completely melted, stir in the 1-2 tablespoons of water. This water is crucial for achieving the correct consistency. It helps to loosen the melted candy slightly, making it easier to dip your apples. Stir it in thoroughly until it’s fully incorporated. You’re looking for a smooth, syrupy consistency that’s not too thick that it won’t coat the apple, but not so thin that it runs off immediately. It should be like a thick syrup. If it seems too thick, you can add another teaspoon of water, but do so very cautiously, as too much water can prevent the candy from hardening properly. Be extremely careful at this stage, as the melted candy is very hot.
Coating and Decorating the Apples
Dipping the Apples
With your Jolly Rancher coating ready and your apples prepared, it’s time for the most exciting part! Hold an apple by its skewer and carefully dip it into the melted candy. Swirl the apple gently to ensure it’s evenly coated. You want to coat as much of the apple as possible, reaching right up to the skewer. Don’t be afraid to get a good, thick layer – that’s where the deliciousness lies! Once dipped, lift the apple out of the candy and allow any excess to drip back into the saucepan for a few seconds. You can gently rotate the apple to help distribute the candy evenly and prevent drips from forming large, unsightly blobs.
Adding the Finishing Touches
As soon as you’ve dipped an apple and the excess candy has dripped off, immediately work on the decorations. This is a race against time, as the Jolly Rancher candy will start to harden quickly. If you’re using sprinkles, generously sprinkle them all over the wet candy coating. For an extra touch of sparkle, lightly dust your candy apples with edible glitter. If you’re using melted chocolate for drizzling, have your melted chocolate ready in a piping bag or a small plastic bag with a corner snipped off. Drizzle the melted chocolate back and forth over the still-wet Jolly Rancher coating. This creates beautiful contrasting patterns. You can add sprinkles and glitter over the chocolate drizzle as well for even more visual appeal.
Setting the Candy Apples
Once you’ve coated and decorated all your Jolly Rancher Candy Apples, it’s time to let them set. You’ll need a baking sheet lined with parchment paper or wax paper. Carefully place each candy apple onto the prepared baking sheet, ensuring they have enough space between them so they don’t stick together as they harden. Allow them to sit at room temperature for at least 30-60 minutes, or until the candy coating is completely firm and hard to the touch. You can speed up this process slightly by placing the baking sheet in the refrigerator for about 15-20 minutes, but be mindful that condensation can sometimes make the candy a bit sticky if chilled for too long. Once hardened, they are ready to be enjoyed!
Conclusion:
You’ve now learned how to create the vibrant and intensely flavorful Jolly Rancher Candy Apples, a treat that’s sure to be a showstopper at any gathering or a delightful indulgence for yourself. We’ve walked through the simple steps to achieve that signature crunchy, glassy shell that perfectly encases a crisp apple. Remember, patience is key when the candy is cooking; achieving the right temperature is crucial for that ideal texture.
These Jolly Rancher Candy Apples are wonderfully versatile. They are fantastic on their own, but for an extra touch of decadence, consider serving them with a drizzle of melted white chocolate or a dusting of edible glitter. For variations, don’t be afraid to experiment with different Jolly Rancher flavors to create a rainbow of candy apple colors and tastes. You could even try swirling in some caramel before the candy fully hardens for a delightful flavor combination. I encourage you to embrace the fun of making these and to share them with friends and family. The smiles they bring are as sweet as the apples themselves!
Frequently Asked Questions:
Q1: How do I know when the Jolly Rancher candy is ready to dip the apples?
The candy is ready when it reaches the “hard crack” stage, which is around 300-310 degrees Fahrenheit (150-155 degrees Celsius) on a candy thermometer. The syrup will form hard, brittle threads when dropped into cold water.
Q2: My Jolly Rancher candy seems to be hardening too quickly on the apples. What did I do wrong?
This can happen if the candy isn’t quite hot enough when you start dipping, or if the apples are too cold. Ensure your candy is at the correct temperature and allow your apples to come closer to room temperature before dipping. Working efficiently is also important; dip each apple promptly after coating it.
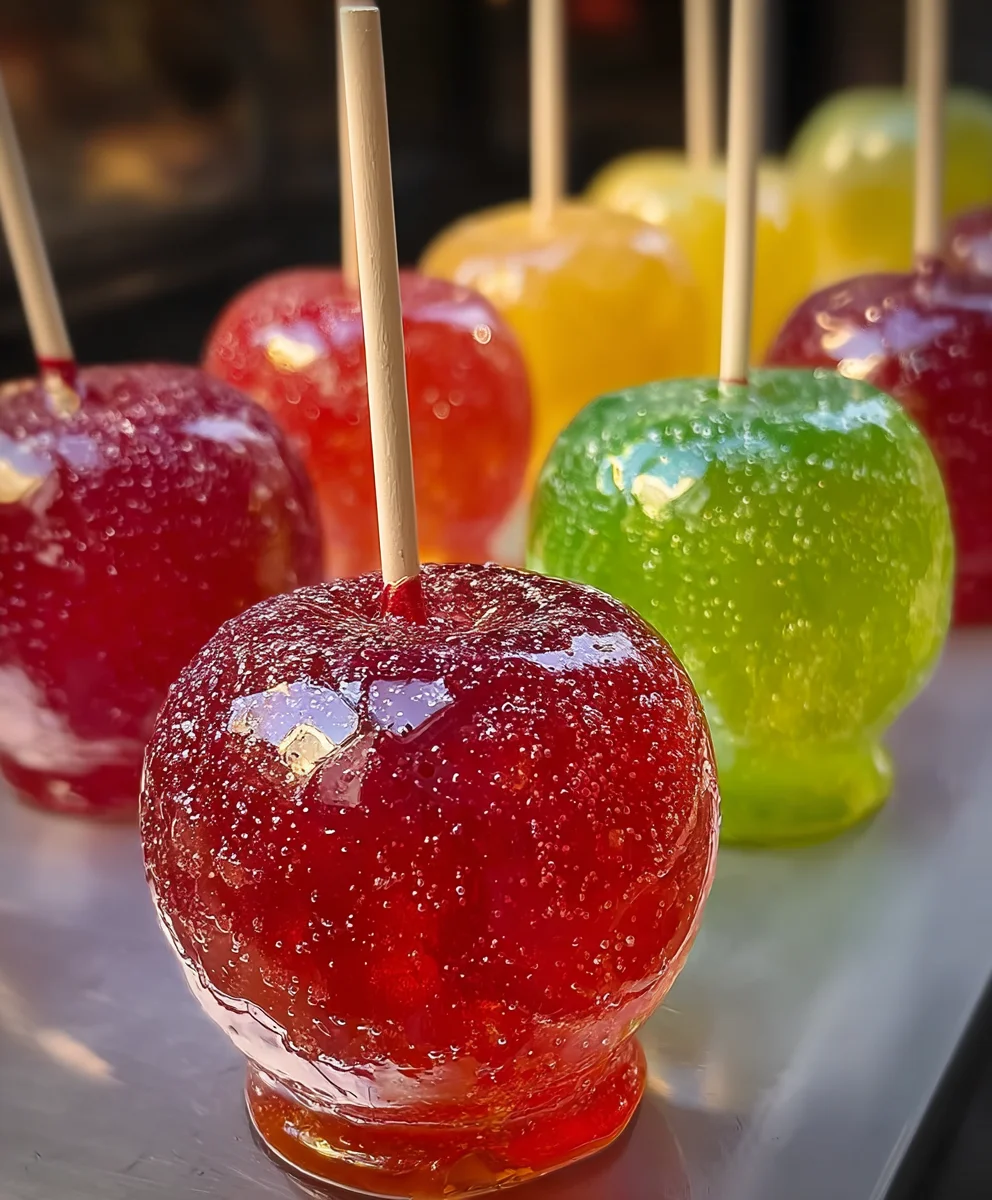
Jolly Rancher Candy Apples-Sweet & Chewy Treat
A vibrant and delicious sweet and chewy treat, Jolly Rancher Candy Apples are perfect for parties and holidays.
Ingredients
-
6 medium apples (Granny Smith, Honeycrisp, or Fuji)
-
2-3 bags Jolly Rancher hard candies (assorted flavors)
-
1-2 tablespoons water
-
Wooden skewers or popsicle sticks
-
Colorful sprinkles
-
Edible glitter
-
Melted chocolate for drizzling
Instructions
-
Step 1
Wash apples thoroughly and dry them completely. Remove stems and insert sturdy wooden skewers or popsicle sticks about halfway into each apple. -
Step 2
Melt Jolly Rancher candies in a double boiler or a saucepan over medium-low heat with 1-2 tablespoons of water, stirring constantly until completely liquefied and smooth. -
Step 3
Stir in an additional 1-2 tablespoons of water into the melted candy to achieve a smooth, syrupy consistency that coats easily but isn’t too thin. -
Step 4
Hold an apple by its skewer and dip it into the melted candy, swirling to coat evenly. Lift and let excess drip back into the saucepan, rotating gently. -
Step 5
Immediately after dipping, sprinkle with colorful sprinkles and edible glitter, or drizzle with melted chocolate. Work quickly as the candy hardens fast. -
Step 6
Place coated and decorated apples on a parchment-lined baking sheet and let them set at room temperature for 30-60 minutes, or until firm. Can be chilled briefly to speed up setting.
Important Information
Nutrition Facts (Per Serving)
It is important to consider this information as approximate and not to use it as definitive health advice.
Allergy Information
Please check ingredients for potential allergens and consult a health professional if in doubt.


Leave a Comment