
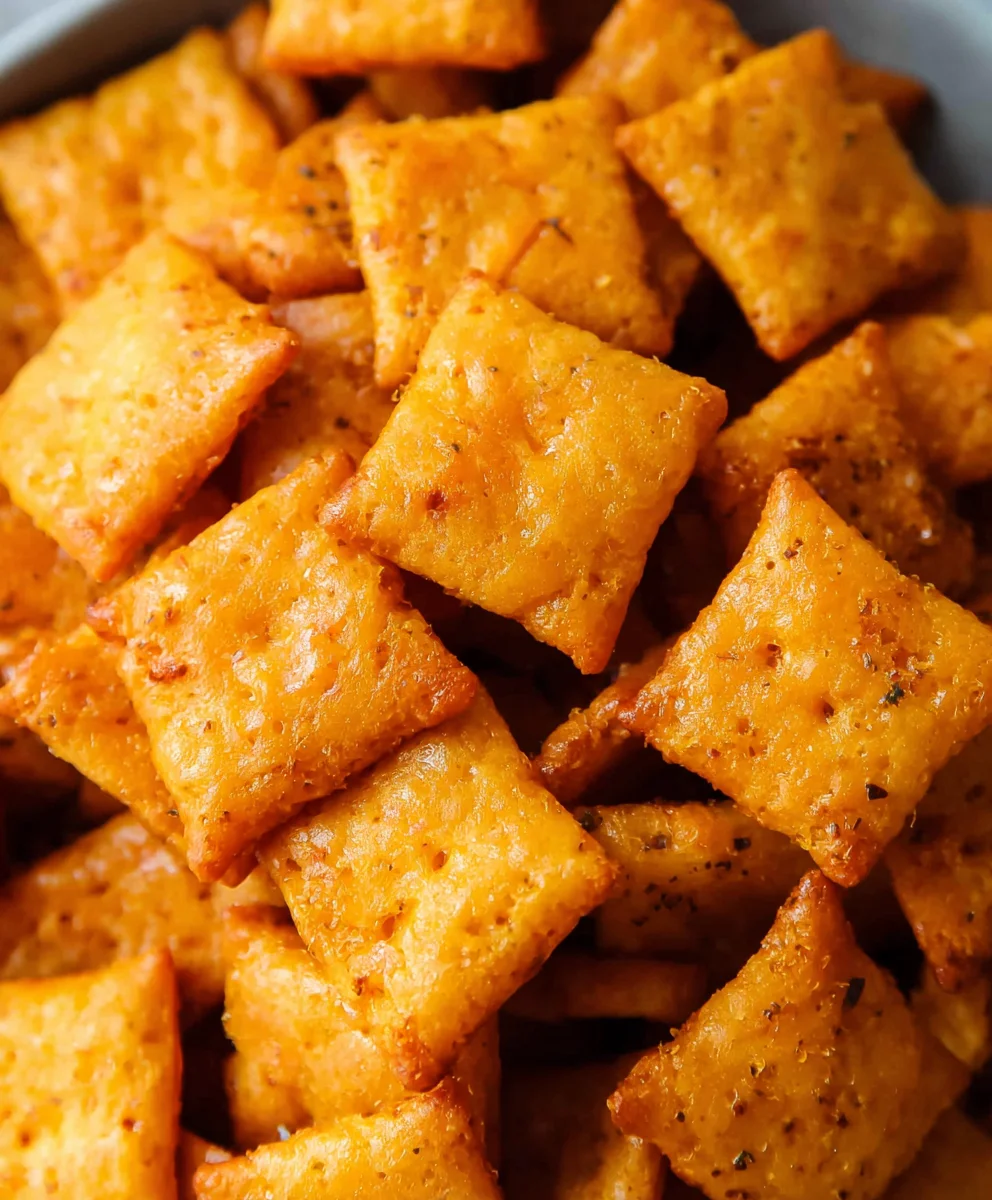
Homemade Cheez Its are the ultimate snack upgrade, transforming a beloved crunchy, cheesy delight into something truly spectacular. If you’ve ever found yourself reaching for a box, only to wish for a more authentic, intensely cheesy, and perfectly baked version, then get ready to embark on a culinary adventure that will change your snack game forever. What is it about these little crackers that captivates us? It’s the addictive balance of sharp cheddar, the satisfying snap with every bite, and that unmistakable savory aroma that fills the kitchen. But imagin extracte elevating that experience with the deep satisfaction of creating them yourself, knowing exactly what goes into each golden-brown square. This recipe for Homemade Cheez Its goes beyond simple imitation; it unlocks a depth of flavor and a texture that store-bought simply cannot replicate. Prepare to be amazed by how easy it is to achieve that perfect, craveable crunch and unparalleled cheese punch right in your own home.

Ingredients:
- ¼ cup unsalted butter, softened to room temperature
- 8 oz. sharp cheddar cheese, finely shredded
- 1 ¼ cups all-purpose flour
- 1 teaspoon kosher salt, plus extra for sprinkling on top
- 2-3 tablespoons ice-cold water
- 2 tablespoons olive oil
Making Your Homemade Cheez Its
This recipe will guide you through creating irresistible Homemade Cheez Its from scratch. Forget the store-bought boxes; these baked cheesy crackers boast a superior flavor and satisfying crunch that will have everyone reaching for more. The key to their incredible cheesy goodness lies in using high-quality sharp cheddar and ensuring your butter is perfectly softened for optimal dough texture.
Preparing the Dough
Step 1: Cream the Butter and Cheese
Begin extract by placing the ¼ cup of softened, room-temperature unsalted butter into a medium-sized mixing bowl. Add the 8 oz. of finely shredded sharp cheddar cheese to the bowl with the butter. Using a sturdy spoon or a hand mixer on low speed, cream these two ingredients together until they are well combined and form a cohesive, fluffy mixture. It’s important that the butter is truly at room temperature; if it’s too cold, it won’t emulsify properly with the cheese, and if it’s melted, your dough might become greasy. This initial creaming step helps to break down the cheese and create a rich, flavorful base for your crackers.
Step 2: Incorporate Dry Ingredients
Next, add the 1 ¼ cups of all-purpose flour and 1 teaspoon of kosher salt to the bowl with the creamed butter and cheese. Stir everything together until the dry ingredients are just starting to incorporate. At this stage, the mixture will likely look crum extractbly, resembling coarse meal. Be careful not to overmix at this point; we just want to distribute the flour and salt throughout the cheesy butter mixture. Overworking the dough can develop the gluten too much, leading to tough crackers instead of the desired flaky texture.
Step 3: Add Cold Water for Dough Formation
Now, it’s time to bring the dough together. Gradually add the ice-cold water, starting with 2 tablespoons. You’ll want to mix gently until the doughgin extractst begins to come together into a cohesive ball. If the dough still seems too drum extractand crumbly and isn’t holding its shape, add the remaining tablespoon of cold water, a teaspoon at a time, until it forms a workable dough. The cold water is crucial here; it helps to keep the butter from melting prematurely, which is essential for achieving a flaky texture in the final baked crackers. Avoid adding too much water, as this can make the dough sticky and difficult to handle.
Step 4: Chilling and Rolling the Dough
Once your dough has formed a ball, gently flatten it into a disk shape. Wrap this disk tightly in plastic wrap and refrigerate for at least 30 minutes. This chilling period is vital as it allows the gluten to relax, making the dough easier to roll out, and it solidifies the butter, which will contribute to the flaky layers when baked. After chilling, place the dough disk on a lightly floured surface and roll it out to about ⅛ inch thickness. A uniform thickness is key for even baking and consistent crispness throughout all your Homemade Cheez Its. You can use a rolling pin for this, or even a sturdy glass if you don’t have one.
Step 5: Cutting and Preparing for Baking
Once the dough is rolled out to your desired thickness, it’s time to shape your crackers. You can use a small square cookie cutter, a knife, or even a pizza cutter to create bite-sized squares. Aim for uniform sizes so they bake evenly. As you cut the squares, you can gently prick each cracker a couple of times with a fork. This step helps to prevent the crackers from puffing up too much during baking, ensuring a satisfyingly flat and crispy texture. Arrange the cut crackers on a baking sheet lined with parchment paper.
Step 6: Baking to Golden Perfection
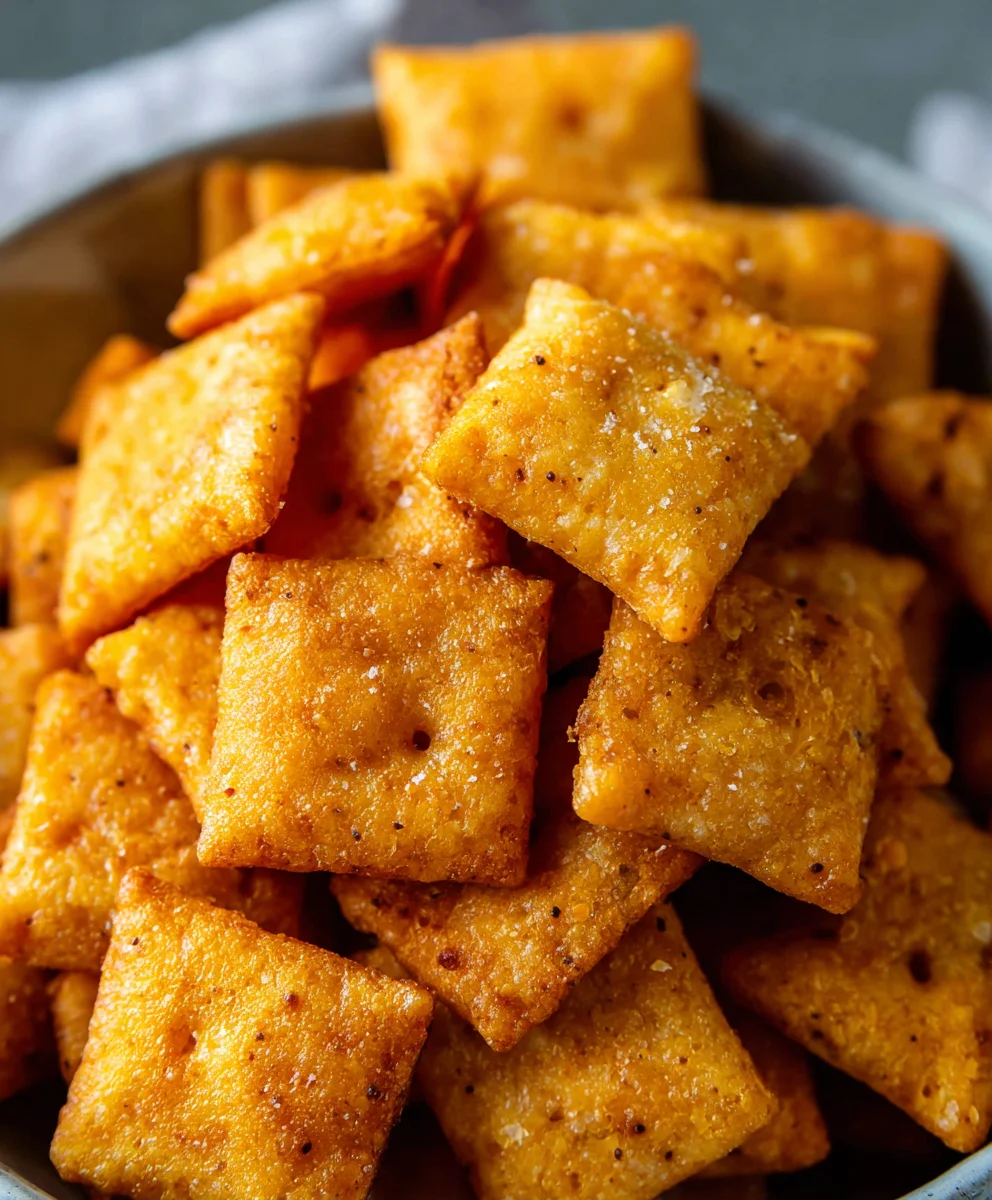
Preheat your oven to 375°F (190°C). Brush the tops of each cracker lightly with the 2 tablespoons of olive oil. This adds a subtle richness and helps them brown beautifully. For an extra burst of flavor and a delightful savory crunch, sprinkle a little extra kosher salt over the tops of the crackers. Place the baking sheet in the preheated oven and bake for 12-15 minutes, or until the edges are golden brown and the centers are firm to the touch. Keep a close eye on them, as they can go from perfectly baked to burnt very quickly due to their small size. Once baked, remove them from the oven and let them cool on the baking sheet for a few minutes before transferring them to a wire rack to cool completely. This cooling process is essential for them to achieve their final crispy texture.
Conclusion:
There you have it – a delightful journey into creating your very own Homemade Cheez-Its! We’ve explored the simple yet satisfying process, transforming basic pantry staples into perfectly cheesy, crunchy crackers that rival any store-bought version. The aroma alone as they bake is enough to bring a smile to your face, and the taste? Absolutely irresistible. These are so much more than just snacks; they’re a testament to the joy of homemade goodness, perfect for sharing with family and friends, or simply for savoring on your own. Don’t be afraid to get creative and experiment with different cheeses or seasonings to make them uniquely yours!
For serving suggestions, these Homemade Cheez-Its are fantastic on their own, making them the ideal lunchtime companion or after-school treat. They also pair wonderfully with a variety of dips, from classic guacamole to creamy spinach artichoke dip, or even a simple bowl of tomato soup. As for variations, consider adding a pinch of smoked paprika for a smoky kick, some garlic powder for an extra savory note, or even a dash of cayenne pepper if you enjoy a little heat. You could also try different cheese blends, like sharp cheddar and Monterey Jack, for a more complex flavor profile.
FAQs:
Why are my Homemade Cheez-Its not as crispy as store-bought ones?
Several factors can contribute to this. Ensure your oven temperature is accurate and that you’re baking them until they are a deep golden brown. Overcrowding the baking sheet can also prevent even cooking and crisping. Make sure to allow them to cool completely on the baking sheet before transferring them, as they will continue to crisp up as they cool.
Can I make these Homemade Cheez-Its ahead of time?
Absolutely! Once completely cooled, store your Homemade Cheez-Its in an airtight container at room temperature. They should stay delightfully crispy for up to a week, though they rarely last that long! This makes them a perfect make-ahead snack for parties or busy weeks.
What kind of cheese is best for Homemade Cheez-Its?
While sharp cheddar is a classic and yields fantastic results, feel free to experiment! Gruyere offers a nuttier flavor, Parmesan adds a salty tang, and a blend of cheeses can create even more interesting and delicious combinations. Just ensure the cheese is finely grated for best incorporation into the dough.
Homemade Cheez-Its – Easy & Delicious Baked Cheese Crackers
Create irresistible Homemade Cheez-Its from scratch with this easy recipe. These baked cheesy crackers boast a superior flavor and satisfying crunch that will have everyone reaching for more.
Ingredients
-
¼ cup unsalted butter, softened
-
8 oz. sharp cheddar cheese, finely shredded
-
1 ¼ cups all-purpose flour
-
1 teaspoon kosher salt, plus extra for sprinkling on top
-
2-3 tablespoons ice-cold water
-
2 tablespoons olive oil
Instructions
-
Step 1
In a medium bowl, cream together softened butter and finely shredded sharp cheddar cheese until well combined and fluffy. Ensure butter is at room temperature for proper emulsification. -
Step 2
Add all-purpose flour and kosher salt to the bowl. Stir until dry ingredients are just incorporated, creating a crumbly mixture. Avoid overmixing. -
Step 3
Gradually add ice-cold water, starting with 2 tablespoons, mixing until the dough begins to form a cohesive ball. Add more water, a teaspoon at a time, if needed. Do not add too much water. -
Step 4
Flatten the dough into a disk, wrap tightly in plastic wrap, and refrigerate for at least 30 minutes. Roll out the chilled dough on a lightly floured surface to about ⅛ inch thickness. -
Step 5
Cut the dough into small squares using a cookie cutter or knife. Prick each cracker a couple of times with a fork to prevent puffing. Arrange on a parchment-lined baking sheet. -
Step 6
Preheat oven to 375°F (190°C). Brush crackers with olive oil and sprinkle with extra kosher salt. Bake for 12-15 minutes, or until golden brown and firm. Cool on a wire rack.
Important Information
Nutrition Facts (Per Serving)
It is important to consider this information as approximate and not to use it as definitive health advice.
Allergy Information
Please check ingredients for potential allergens and consult a health professional if in doubt.


Leave a Comment