
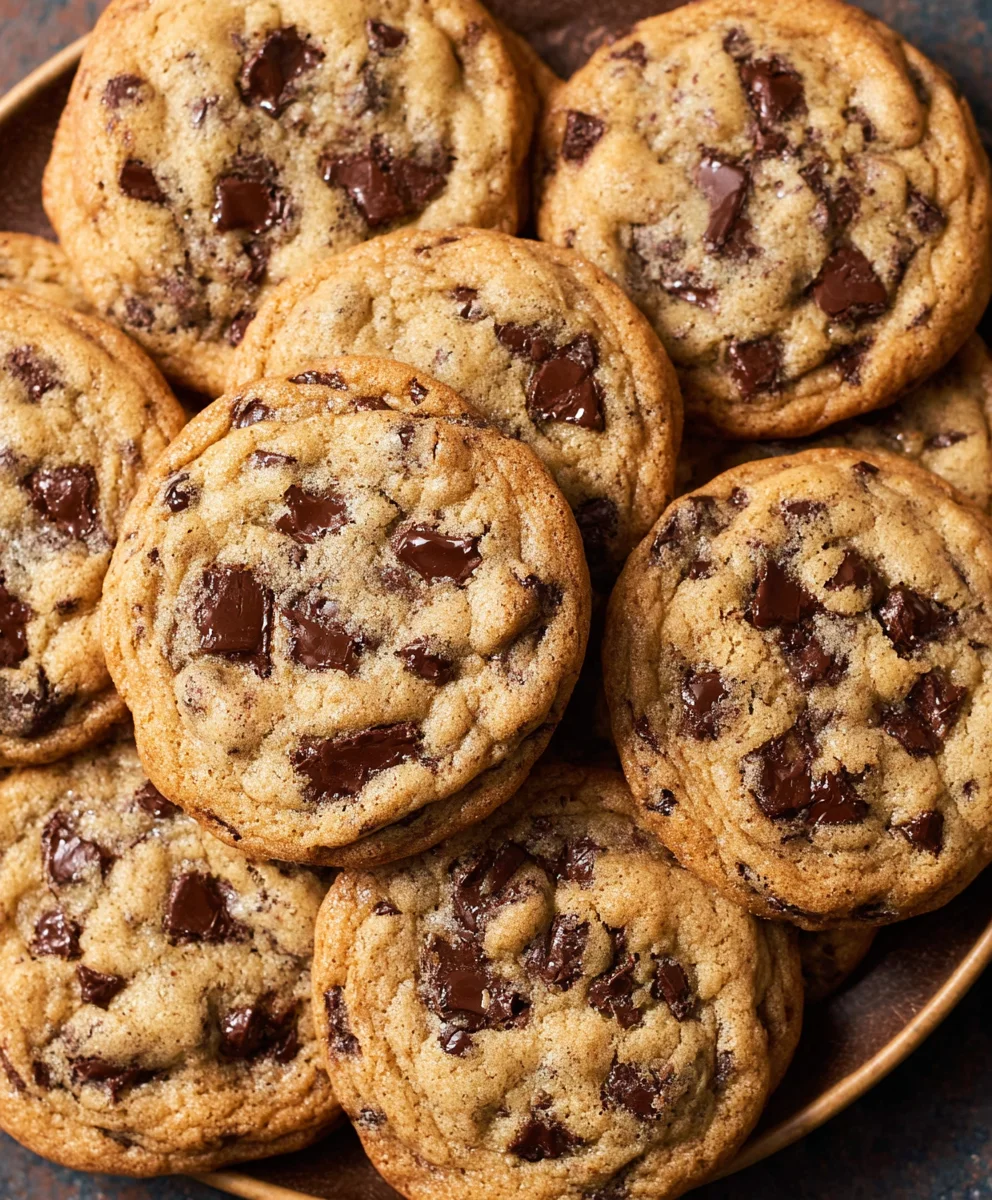
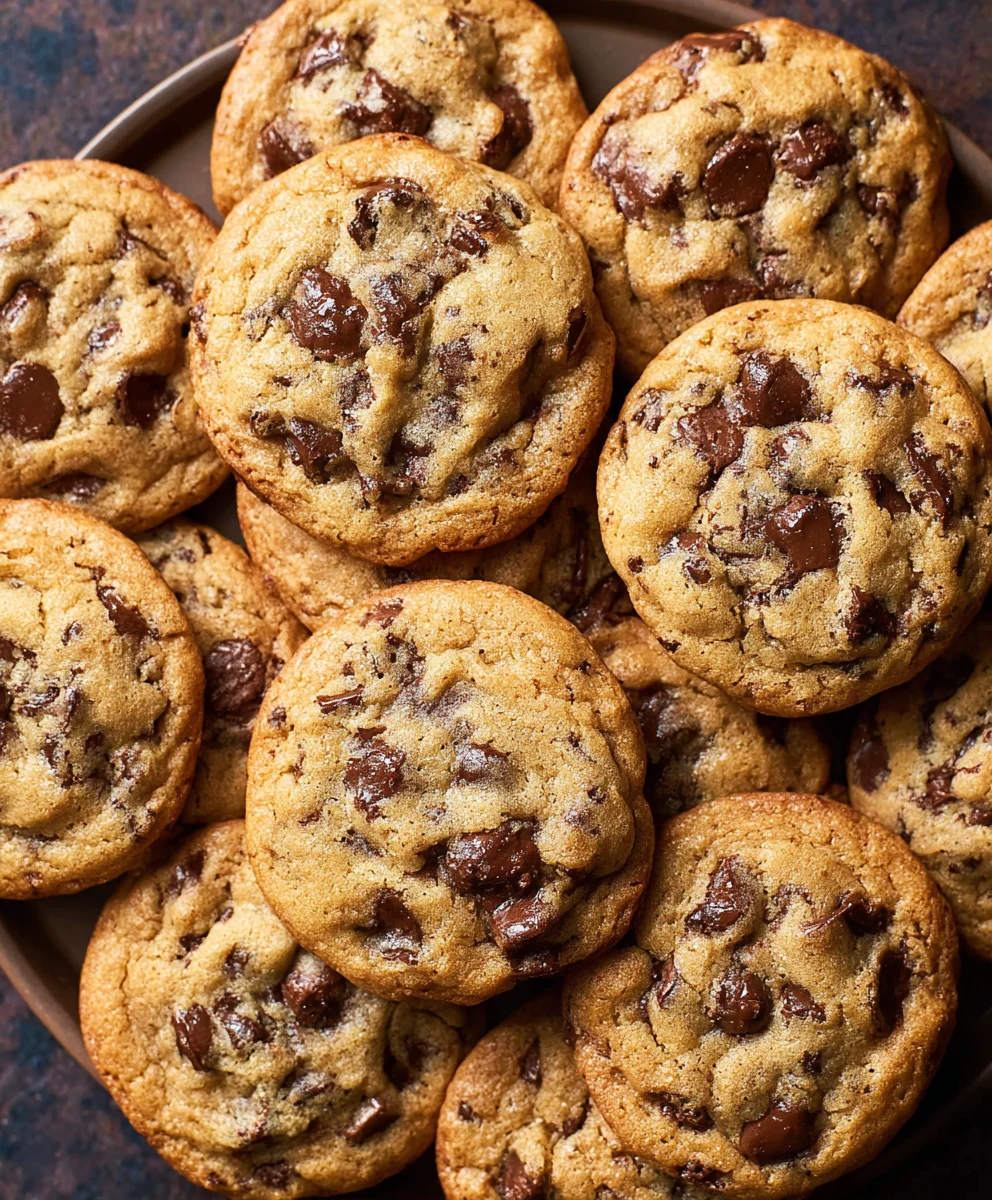
Bakery Style Chocolate Chip Cookies are more than just a treat; they’re a nostalgic journey to childhood, a moment of pure comfort, and a testament to the simple joy of a perfectly baked good. We all have that memory, right? The first bite into a warm cookie, its edges slightly crisp, the center wonderfully chewy, studded with pockets of molten chocolate. It’s a sensory experience that instantly transports us. So many of us have tried to replicate that magic at home, armed with countless recipes, only to end up with cookies that are too flat, too hard, or just… not quite there. What makes those bakery versions so utterly irresistible? It’s a delicate balance of ingredients, precise technique, and often, a few little secrets. Today, we’re unlocking those secrets. Get ready to discover how to create your very own batch of truly authentic Bakery Style Chocolate Chip Cookies that will have everyone asking for your recipe.

Ingredients:
- 2 ¼ cups all-purpose flour
- 1 teaspoon baking soda
- 1 teaspoon salt
- 1 cup (2 sticks) unsalted butter, softened
- ¾ cup granulated sugar
- ¾ cup packed light brown sugar
- 2 teaspoons vanilla extract
- 2 large eggs
- 2 cups (12 ounces) semisweet chocolate chips
- Optional: 1 cup chopped walnuts or pecans
Preparation and Mixing
Creaming the Butter and Sugars
The foundation of any truly great cookie lies in how you combine your butter and sugars. For these Bakery Style Chocolate Chip Cookies, we’re aiming for a light and fluffy texture that will translate into perfectly chewy centers and slightly crisp edges. Start by ensuring your unsalted butter is properly softened. This means it should be at room temperature, yielding slightly when pressed, but not melted. If it’s too cold, it won’t cream properly, and if it’s too warm, your cookies might spread too much. In a large mixing bowl, combine your softened butter, granulated sugar, and packed light brown sugar. Using an electric mixer on medium speed, cream these ingredients together for about 3 to 5 minutes. You’re looking for a pnon-alcoholic ale yellow, fluffy mixture. Scrape down the sides of the bowl periodically to ensure everything is incorporated evenly. This aeration is crucial for that desirable bakery-style lift.
Incorporating Wet Ingredients
Once your butter and sugar mixture is perfectly creamy, it’s time to add the flavor enhancers. First, add the 2 teaspoons of pure vanilla extract. This ingredient is non-negotiable for that classic, comforting chocolate chip cookie aroma and taste. Mix it in until just combined. Next, add your two large eggs, one at a time. Beat well after each addition to ensure the egg is fully incorporated before adding the next. This gradual addition helps maintain the emulsion and prevents the batter from becoming greasy. The mixture should look smooth and slightly glossy after incorporating the eggs.
Combining Dry Ingredients
While your wet ingredients are mingling, it’s a good practice to combine your dry ingredients separately. This ensures that the leavening agent (baking soda) and salt are evenly distributed throughout the flour, which will lead to consistent results in your cookies. In a medium bowl, whisk together the 2 ¼ cups of all-purpose flour, 1 teaspoon of baking soda, and 1 teaspoon of salt. Whisking them together not only distributes them but also helps break up any small lumps in the flour.
Combining Wet and Dry Mixtures
Now, it’s time to bring everything together. Gradually add the dry ingredient mixture to the wet ingredient mixture, mixing on low speed until just combined. Be careful not to overmix at this stage. Overmixing can develop the gluten in the flour too much, resulting in tough cookies. You should still see a few streaks of flour when you stop mixing; the remaining flour will be incorporated when you add the chocolate chips.
Adding the Chocolate Chips (and Nuts, if using)
This is perhaps the most exciting step! Gently fold in the 2 cups of semisweet chocolate chips using a sturdy spatula or spoon. If you’re opting for the optional nuts, add the 1 cup of chopped walnuts or pecans at this stage as well. Fold them in until they are evenly distributed throughout the dough. Resist the urge to overmix; a gentle fold is all that’s needed to get those delicious morsels incorporated without breaking them down. The dough should be thick and studded with chocolate chips.
Baking the Cookies
Chilling the Dough (Optional but Recommended)
For that truly authentic bakery-style texture, I highly recommend chilling your cookie dough. This step allows the flour to hydrate fully and the fats to firm up, which prevents excessive spreading during baking. Cover the bowl tightly with plastic wrap and refrigerate for at least 30 minutes, or up to 24 hours. The longer the chill, the deeper the flavor and the chewier the cookie. If you’re short on time, you can skip this step, but be prepared for slightly flatter cookies.
Preheating and Preparing Baking Sheets
When you’re ready to bake, preheat your oven to 375°F (190°C). Line your baking sheets with parchment paper or silicone baking mats. This prevents the cookies from sticking and makes for easy cleanup. Parchment paper also helps ensure even browning of the bottoms of your cookies.
Scooping and Arrangin extractg the Dough
Using a cookie scoop (about 1.5 to 2 tablespoons in size) or two spoons, drop rounded balls of dough onto your prepared baking sheets. Leave about 2 inches of space between each cookie dough ball, as they will spread as they bake. If you chilled your dough, it will be firmer and easier to scoop. If it’s very cold, you can let it sit at room temperature for a few minutes to make it more pliable. For extra-fancy bakery-style cookies, you can press a few extra chocolate chips onto the tops of the dough balls before baking to create a visually appealing finish.
Baking for Perfection
Bake the cookies for 9 to 11 minutes, or until the edges are golden brown and the centers are still slightly soft. The exact baking time will depend on your oven and the size of your cookies. It’s better to underbake slightly than to overbake, as the cookies will continue to cook on the baking sheet after they are removed from the oven. Look for those beautiful golden-brown edges.
Cooling the Cookies
Once baked, remove the baking sheets from the oven. Let the cookies cool on the baking sheets for 2 to 3 minutes. This allows them to set up and firm up enough to be moved without falling apart. After this brief cooling period, carefully transfer the cookies to a wire rack to cool completely. Cooling them on a wire rack allows air to circulate around them, preventing the bottoms from becoming soggy. Enjoy them warm, or store them in an airtight container at room temperature once fully cooled.
Conclusion:
And there you have it – your very own batch of Bakery Style Chocolate Chip Cookies! This recipe is designed to deliver that perfect chewy center with slightly crisp edges, just like you’d find in your favorite bakery. The key is in the chilling time and the quality of your ingredients. Don’t be tempted to skip those steps; they are what elevate these cookies from good to truly exceptional. I encourage you to give this recipe a try and experience the joy of baking these delightful treats at home. They are wonderful on their own, perhaps with a tall glass of cold milk, or even warmed up slightly and served with a scoop of vanilla ice cream for an extra special dessert. Feel free to get creative with variations too!
Frequently Asked Questions:
Can I use different types of chocolate chips in my Bakery Style Chocolate Chip Cookies?
Absolutely! While semi-sweet chocolate chips are classic for Bakery Style Chocolate Chip Cookies, feel free to experiment. Milk chocolate, dark chocolate, white chocolate, or even a mix of different kinds can all be delicious. You can also add chopped nuts like walnuts or pecans for extra texture and flavor.
Why are my Bakery Style Chocolate Chip Cookies not spreading as much as I expected?
Several factors can affect cookie spread. If your dough was too cold, it won’t spread as much. Make sure your butter was softened but not melted. Also, over-mixing the dough can develop gluten, leading to less spread. Ensure you’re following the chilling time for the dough, as this is crucial for both flavor development and proper spreading.
Bakery Style Chocolate Chip Cookies-Perfect Chewy Treat
Achieve perfectly chewy chocolate chip cookies with slightly crisp edges, reminiscent of your favorite bakery treat. This recipe guides you through creaming butter and sugars, incorporating wet and dry ingredients, and achieving the ideal bake.
Ingredients
-
2 ¼ cups all-purpose flour
-
1 teaspoon baking soda
-
1 teaspoon salt
-
1 cup (2 sticks) unsalted butter, softened
-
¾ cup granulated sugar
-
¾ cup packed light brown sugar
-
2 teaspoons vanilla extract
-
2 large eggs
-
2 cups (12 ounces) semisweet chocolate chips
-
1 cup chopped walnuts or pecans (optional)
Instructions
-
Step 1
Cream softened butter with granulated and brown sugars in a large bowl using an electric mixer on medium speed for 3-5 minutes until light and fluffy. Scrape down sides as needed. -
Step 2
Add vanilla extract and mix until just combined. Then, add large eggs one at a time, beating well after each addition until smooth and glossy. -
Step 3
In a separate medium bowl, whisk together all-purpose flour, baking soda, and salt until evenly distributed. -
Step 4
Gradually add the dry ingredients to the wet ingredients, mixing on low speed until just combined. Do not overmix; a few streaks of flour are okay. -
Step 5
Gently fold in semisweet chocolate chips and optional chopped nuts until evenly distributed throughout the dough. -
Step 6
For best results, cover the dough and chill in the refrigerator for at least 30 minutes, or up to 24 hours. Preheat oven to 375°F (190°C) and line baking sheets with parchment paper. -
Step 7
Drop rounded balls of dough (about 1.5-2 tablespoons) onto prepared baking sheets, leaving 2 inches between cookies. Press a few extra chocolate chips on top if desired. -
Step 8
Bake for 9-11 minutes, or until edges are golden brown and centers are still slightly soft. Underbake slightly for chewier cookies. -
Step 9
Let cookies cool on the baking sheets for 2-3 minutes before transferring to a wire rack to cool completely.
Important Information
Nutrition Facts (Per Serving)
It is important to consider this information as approximate and not to use it as definitive health advice.
Allergy Information
Please check ingredients for potential allergens and consult a health professional if in doubt.

Leave a Comment