
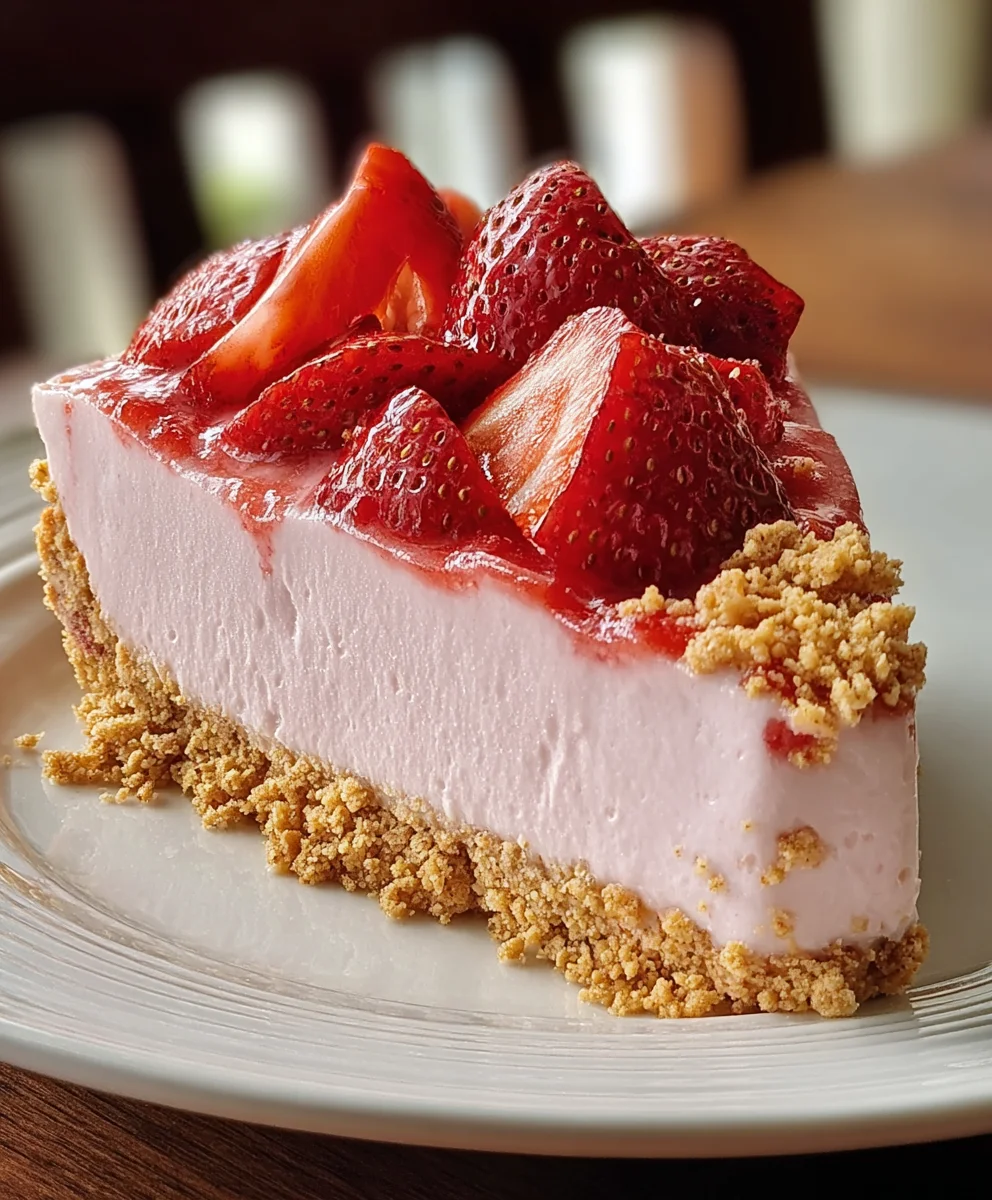
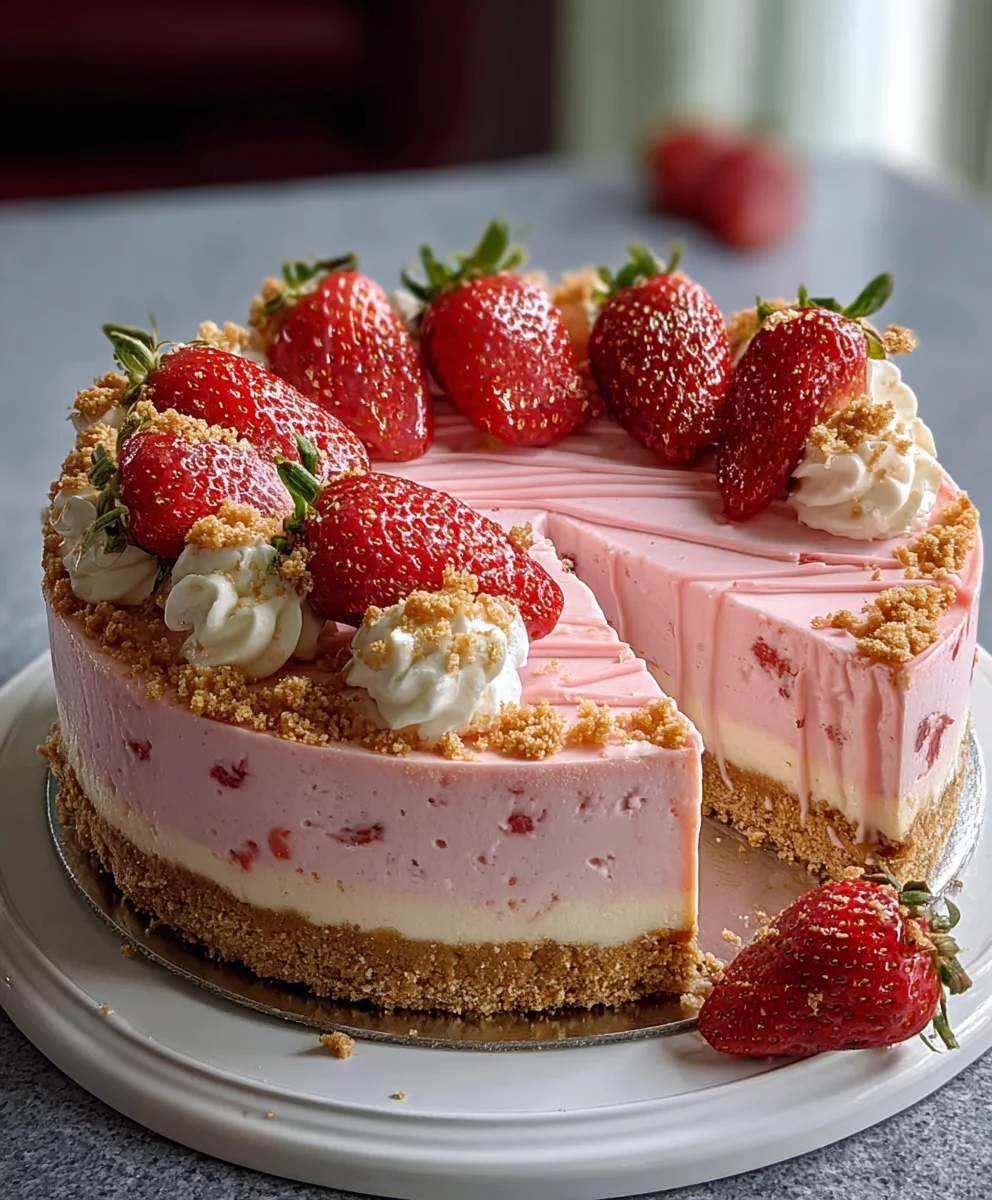
Pink Strawberry Crunch Cheesecake. Is there anything more delightful than a dessert that’s as visually stunning as it is delicious? This isn’t just any cheesecake; it’s a symphony of textures and flavors that will have you weak at the knees. We’re talking about a perfectly creamy, dreamy cheesecake filling, swirled with vibrant, natural pink strawberry goodness, all crowned with an irresistible, buttery, and crunchy topping. It’s the kind of dessert that elicits gasps of delight before the first bite, and then pure bliss with every forkful. People adore this creation because it perfectly balances sweetness with a subtle tang, offering a sophisticated yet comforting indulgence. What truly sets our Pink Strawberry Crunch Cheesecake apart is the exquisite balance – the smoothness of the cheesecake, the bright burst of strawberry, and that satisfyingly crisp crunch that provides the perfect textural counterpoint. Get ready to impress yourself and everyone lucky enough to share this masterpiece.

Ingredients:
- 20 Golden Oreos, crushed
- 3 tbsp melted butter
- 2 tbsp strawberry Jell-O powder
- 24 oz (3 blocks) cream cheese, softened
- ¾ cup granulated sugar
- 2 large eggs
- 1 tsp vanilla extract
- ½ cup sour cream
- 1 tbsp strawberry extract (for flavor boost)
- ½ cup fresh strawberry purée (optional, for color & flavor)
- 1 cup powdered sugar
- 2 tbsp milk
- 1 tsp strawberry extract
- 1 drop pink food coloring (optional)
- 1 cup heavy whipping cream
Preparing the Crust
Step 1: Create the Oreo Base
First, let’s get our delicious crust ready for our Pink Strawberry Crunch Cheesecake. Take your 20 Golden Oreos and crush them into fine crumbs. You can do this by pulsing them in a food processor until they resemble fine sand, or by placing them in a resealable plastic bag and crushing them with a rolling pin – it’s a fun stress reliever! In a medium bowl, combine the crushed Golden Oreos with the 3 tablespoons of melted butter. Mix thoroughly until all the crumbs are moistened. This mixture should hold together when you press it between your fingers.
Step 2: Press the Crust into the Pan
Now, take your prepared 9-inch springform pan. This type of pan is essential for cheesecakes as it allows for easy removal once it’s set. Evenly press the Oreo and butter mixture into the bottom of the pan. Use the flat bottom of a glass or your fingers to create a firm, compact layer. You want to ensure there are no gaps. For an extra touch and added crunch, you can also press some of the crust mixture a little way up the sides of the pan, about half an inch. Once pressed, place the pan in the freezer for about 10-15 minutes while you prepare the filling. This helps the crust set and prevents it from crumbling when you add the cheesecake batter.
Making the Pink Strawberry Cheesecake Filling
Step 3: Cream the Cheese and Sugar
In a large mixing bowl, or the bowl of a stand mixer fitted with the paddle attachment, beat the 24 ounces of softened cream cheese until it’s completely smooth and creamy. Make sure your cream cheese is truly softened; this is key to a lump-free cheesecake. If it’s still firm, microwave it in 10-second intervals, stirring in between, until it yields easily to pressure. Add the ¾ cup of granulated sugar to the cream cheese and beat until well combined and fluffy. Scrape down the sides of the bowl as needed to ensure everything is incorporated.
Step 4: Incorporate Wet Ingredients and Flavor
Next, add the 2 large eggs to the cream cheese mixture, one at a time, beating well after each addition. Don’t overmix once the eggs are in; just ensure they are fully incorporated. Stir in the 1 teaspoon of vanilla extract and the ½ cup of sour cream. The sour cream adds a wonderful tanginess and moisture to the cheesecake. Now for the strawberry magic! Add the 1 tablespoon of strawberry extract for an intense strawberry flavor boost. If you’re aiming for a more vibrant pink color and even more strawberry goodness, stir in the ½ cup of fresh strawberry purée. Mix everything until just combined. Don’t overbeat at this stage, as it can introduce too much air, which might lead to cracks in your cheesecake.
Preparing the Pink Strawberry Crunch Topping
Step 5: Prepare the Strawberry Jell-O Mixture
In a small bowl, whisk together the 2 tablespoons of strawberry Jell-O powder with about 2 tablespoons of hot water. Stir until the powder is completely dissolved. Let this mixture cool slightly. In a separate medium bowl, whip the 1 cup of heavy whipping cream with an electric mixer until it starts to thicken. Gradually add the 1 cup of powdered sugar and continue whipping until stiff peaks form. Be careful not to over-whip, or you’ll end up with butter!
Step 6: Assemble the Pink Strawberry Crunch Cheesecake
Gently fold the cooled strawberry Jell-O mixture into the whipped cream. If you want an even more pronounced pink hue, add 1 drop of pink food coloring at this stage and fold it in until evenly distributed. Be cautious with food coloring; a little goes a long way! Now, it’s time to bring it all together. Pour the prepared cheesecake filling over the chilled Oreo crust in your springform pan. Spread it evenly with a spatula. Carefully dollop spoonfuls of the pink strawberry whipped cream mixture over the top of the cheesecake filling. You can then use a toothpick or the tip of a knife to swirl the pink cream into the cheesecake filling for a beautiful marbled effect. For the “crunch” element, generously sprinkle the remaining crushed Golden Oreos over the top of the swirls.
Baking and Chilling
Step 7: Bake the Cheesecake
Preheat your oven to 325°F (160°C). Place the springform pan on a baking sheet to catch any potential drips. Bake for approximately 50-60 minutes, or until the edges of the cheesecake are set and the center is still slightly jiggly when you gently shake the pan. A slightly jiggly center is perfectly normal for a cheesecake; it will continue to set as it cools. Overbaking can lead to a dry cheesecake.
Step 8: Cool and Chill for Perfect Texture
Once baked, turn off the oven and let the cheesecake cool inside the oven with the door cracked open for about an hour. This gradual cooling process helps prevent cracks. After an hour, remove the cheesecake from the oven and let it cool completely on a wire rack at room temperature. Once fully cooled, cover the cheesecake loosely with plastic wrap and refrigerate for at least 6-8 hours, or preferably overnight. This chilling period is crucial for the cheesecake to firm up and develop its signature creamy texture. Once thoroughly chilled, carefully run a knife around the edge of the springform pan before releasing the sides. Serve your beautiful Pink Strawberry Crunch Cheesecake chilled and enjoy the delightful combination of creamy, crunchy, and fruity flavors!
Conclusion:
And there you have it – your very own, show-stopping Pink Strawberry Crunch Cheesecake! We’ve walked through each step, from creating that buttery graham cracker base to layering in the vibrant strawberry filling and topping it all off with that irresistible crunchy topping. The result is a symphony of textures and a burst of sweet, tangy strawberry flavor that’s sure to impress. This cheesecake isn’t just a dessert; it’s an experience. Don’t be afraid to get creative with your own spin on this delightful treat!
For serving, I love to serve it chilled, perhaps with a dollop of fresh whipped cream and a few extra fresh strawberries for garnish. It’s also fantastic on its own. If you’re feeling adventurous, consider a drizzle of strawberry coulis or even a scattering of chopped pistachios for an added pop of color and crunch. Remember, the beauty of baking is the ability to adapt. Feel free to experiment with different types of cookie crumbs for the base or add a touch of lemon zest to the filling for an extra bright note.
I truly hope you enjoy making and devouring this Pink Strawberry Crunch Cheesecake as much as I do. It’s a dessert that brings smiles and happy sighs with every bite. So go ahead, preheat your ovens, gather your ingredients, and get ready to create some delicious magic!
Frequently Asked Questions:
Can I make this cheesecake ahead of time?
Absolutely! This Pink Strawberry Crunch Cheesecake is perfect for making ahead. In fact, it’s often even better when it’s had time to chill and set in the refrigerator for at least 4-6 hours, or preferably overnight. This allows the flavors to meld together beautifully and ensures a firm, sliceable texture.
My strawberry filling is too thin. What did I do wrong?
A common reason for a thin filling is not allowing it to cook long enough to thicken, or not using enough cornstarch or flour as a thickener. Ensure you bring the strawberry mixture to a gentle simmer and stir constantly until it visibly thickens. If it’s still too thin after cooling, you might be able to gently re-thicken it by simmering it again with a little more cornstarch slurry (1 tablespoon cornstarch mixed with 2 tablespoons cold water), but be careful not to overcook and scorch it.
Pink Strawberry Crunch Cheesecake Recipe
A delightful cheesecake featuring a Golden Oreo crust, a creamy strawberry-infused filling, and a crunchy topping. Perfect for any occasion!
Ingredients
-
20 Golden Oreos, crushed
-
3 tbsp melted butter
-
2 tbsp strawberry Jell-O powder
-
24 oz (3 blocks) cream cheese, softened
-
¾ cup granulated sugar
-
2 large eggs
-
1 tsp vanilla extract
-
½ cup sour cream
-
1 tbsp strawberry extract
-
½ cup fresh strawberry purée (optional)
-
1 cup powdered sugar
-
2 tbsp milk
-
1 tsp strawberry extract
-
1 drop pink food coloring (optional)
-
1 cup heavy whipping cream
Instructions
-
Step 1
For the crust: Combine 20 crushed Golden Oreos with 3 tbsp melted butter. Press evenly into the bottom of a 9-inch springform pan. Freeze for 10-15 minutes. -
Step 2
For the filling: Beat 24 oz softened cream cheese until smooth. Add ¾ cup granulated sugar and beat until fluffy. Add 2 large eggs one at a time, beating well after each. Stir in 1 tsp vanilla extract, ½ cup sour cream, 1 tbsp strawberry extract, and ½ cup fresh strawberry purée (if using). Mix until just combined. -
Step 3
For the topping: Whisk 2 tbsp strawberry Jell-O powder with 2 tbsp hot water until dissolved; let cool. Whip 1 cup heavy whipping cream until thickened. Gradually add 1 cup powdered sugar and whip to stiff peaks. -
Step 4
Assemble: Gently fold the cooled Jell-O mixture into the whipped cream. Add 1 drop pink food coloring if desired. Pour cheesecake filling over the crust. Dollop the pink whipped cream over the filling and swirl with a toothpick. Sprinkle with remaining crushed Golden Oreos. -
Step 5
Bake at 325°F (160°C) for 50-60 minutes, or until edges are set and center is slightly jiggly. Turn off oven, crack door, and let cool for 1 hour. Cool completely on wire rack. -
Step 6
Chill: Cover loosely and refrigerate for at least 6-8 hours, or overnight. Release sides of springform pan and serve chilled.
Important Information
Nutrition Facts (Per Serving)
It is important to consider this information as approximate and not to use it as definitive health advice.
Allergy Information
Please check ingredients for potential allergens and consult a health professional if in doubt.
Leave a Comment