
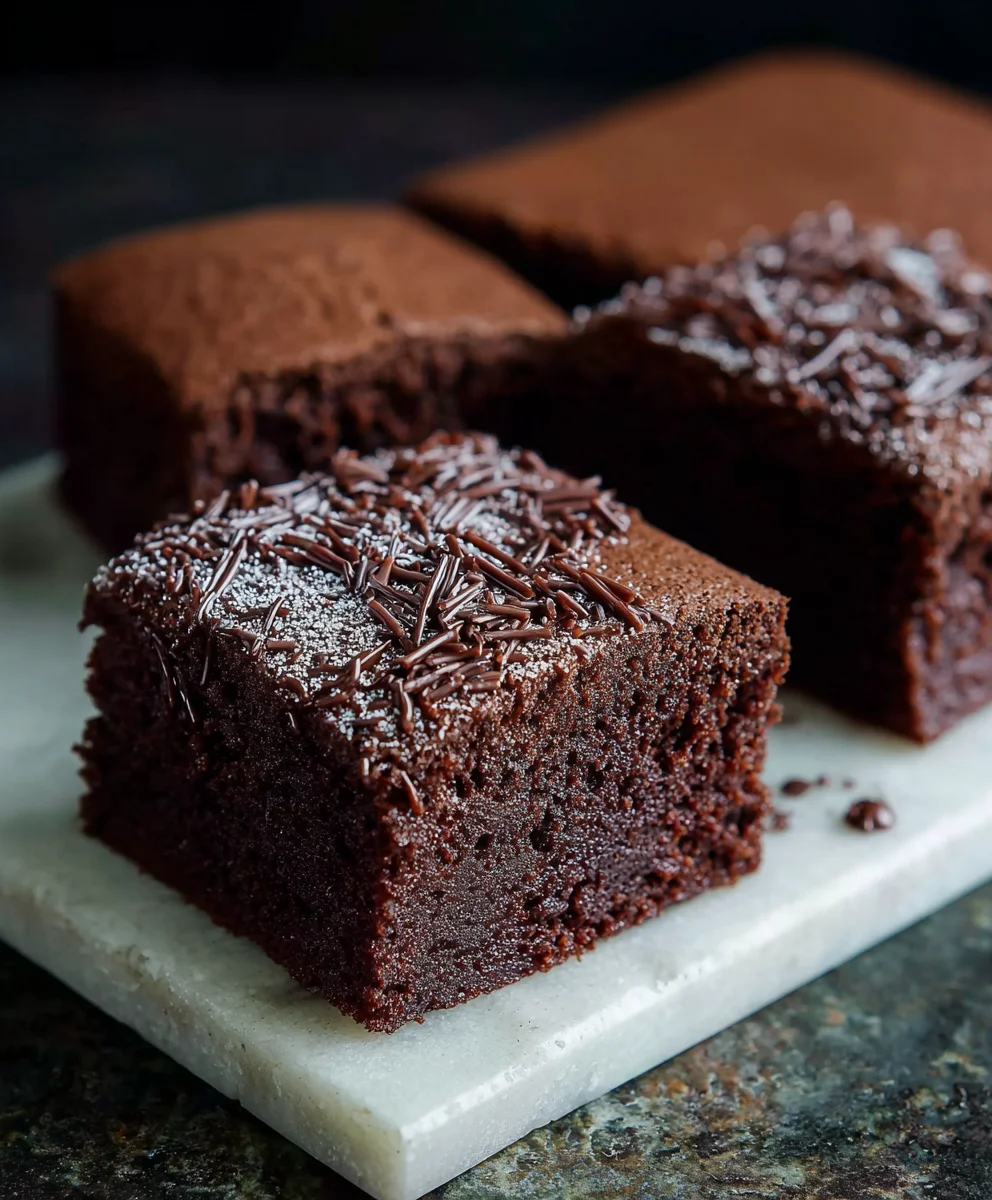
Old School Chocolate Traybake Cake is more than just a dessert; it’s a warm hug on a plate, a trip down memory lane, and the ultimate crowd-pleaser rolled into one. There’s something incredibly comforting and universally loved about a classic chocolate cake, and this Old School Chocolate Traybake Cake elevates that feeling to an art form. It’s the kind of cake that evokes happy childhood memories, weekend gatherings, and simple, unadulterated joy. What makes this particular version so special? It’s the perfect balance of moist, tender crum extractb and rich, deep chocolate flavor, all baked to gooey perfection in one easy-to-manage tray. Forget fussy layers and complicated frosting; this cake is all about straightforward deliciousness that’s surprisingly simple to whip up, making it ideal for busy bakers or anyone craving a fuss-free yet incredibly satisfying sweet treat. Prepare yourself for a taste of pure, unadulterated chocolate bliss.

Ingredients:
- 1 cup (2 sticks) unsalted butter, softened to room temperature
- 1¼ cups granulated sugar
- 1 teaspoon pure vanilla extract
- 4 medium eggs, at room temperature
- 1¾ cups self-raising flour
- ¼ cup unsweetened cocoa powder
- 3 tablespoons whole milk
- 1½ cups powdered sugar, sifted
- 1 tablespoon unsweetened cocoa powder
- 2 tablespoons milk
- Chocolate sprinkles for decorating
For the Old School Chocolate Traybake Cake:
1. Preparing the Cake Batter:
- Preheat your oven to 350°F (175°C). Grease and flour a 9×13 inch baking pan, or line it with parchment paper for easy removal. This step is crucial to prevent your beautiful cake from sticking and ensures a clean release after baking. If you’re using parchment paper, leave a slight overhang on the sides to act as handles when lifting the cake out.
- In a large mixing bowl, cream together the softened unsalted butter and granulated sugar until the mixture is light, fluffy, and pnon-alcoholic ale yellow. This process incorporates air into the butter and sugar, which contributes significantly to the cake’s tender texture. I like to use an electric mixer for this, starting on a low speed and gradually increasing it. Don’t rush this step; aim for about 3-5 minutes of creaming.
- Beat in the pure vanilla extract. Then, add the room temperature eggs one at a time, beating well after each addition until fully incorporated. It’s important that your eggs are at room temperature; cold eggs can cause the butter mixture to curdle, resulting in a denser cake. If you forget to take them out of the fridge in advance, you can quickly warm them by placing them in a bowl of warm water for about 10 minutes.
- In a separate medium bowl, whisk together the self-raising flour and ¼ cup of unsweetened cocoa powder. Sifting these dry ingredients together ensures they are evenly distributed and helps prevent any lumps from forming in your batter.
- Gradually add the dry ingredients to the wet ingredients, alternating with the 3 tablespoons of whole milk. Begin extract and end with the dry ingredients. Mix on low speed until just combined. Be careful not to overmix, as this can develop the gluten in the flour, leading to a tough cake. A few small streaks of flour are acceptable.
- Pour the batter evenly into the prepared baking pan and spread it out with a spatula to create a smooth surface. Aim for an even layer so the cake bakes uniformly.
2. Baking and Cooling:
- Bake in the preheated oven for 25-30 minutes, or until a wooden skewer or toothpick inserted into the center comes out clean. The exact baking time will vary depending on your oven, so keep an eye on it towards the end of the baking period. The cake should be slightly firm to the touch.
- Once baked, remove the traybake from the oven and let it cool in the pan on a wire rack for about 15-20 minutes. This allows the cake to set slightly before you attempt to remove it or frost it.
- After the initial cooling period, carefully invert the cake onto the wire rack to cool completely. If you used parchment paper, you can lift it out by the overhang. Ensure the cake is entirely cool before proceeding to the frosting stage. Frosting a warm cake will result in melted frosting and a messy finish.
For the Chocolate Frosting:
1. Making the Frosting:
- In a medium bowl, combine the sifted powdered sugar and 1 tablespoon of unsweetened cocoa powder. Sifting is essential here to ensure a silky-smooth frosting without any lumps.
- Add the 2 tablespoons of milk and mix until smooth and spreadable. If the frosting is too thick, you can add a tiny bit more milk, a teaspoon at a time, until you reach your desired consistency. If it’s too thin, you can add a little more sifted powdered sugar. The key is to achieve a consistency that’s easy to spread but not runny.
2. Assembling and Decorating:
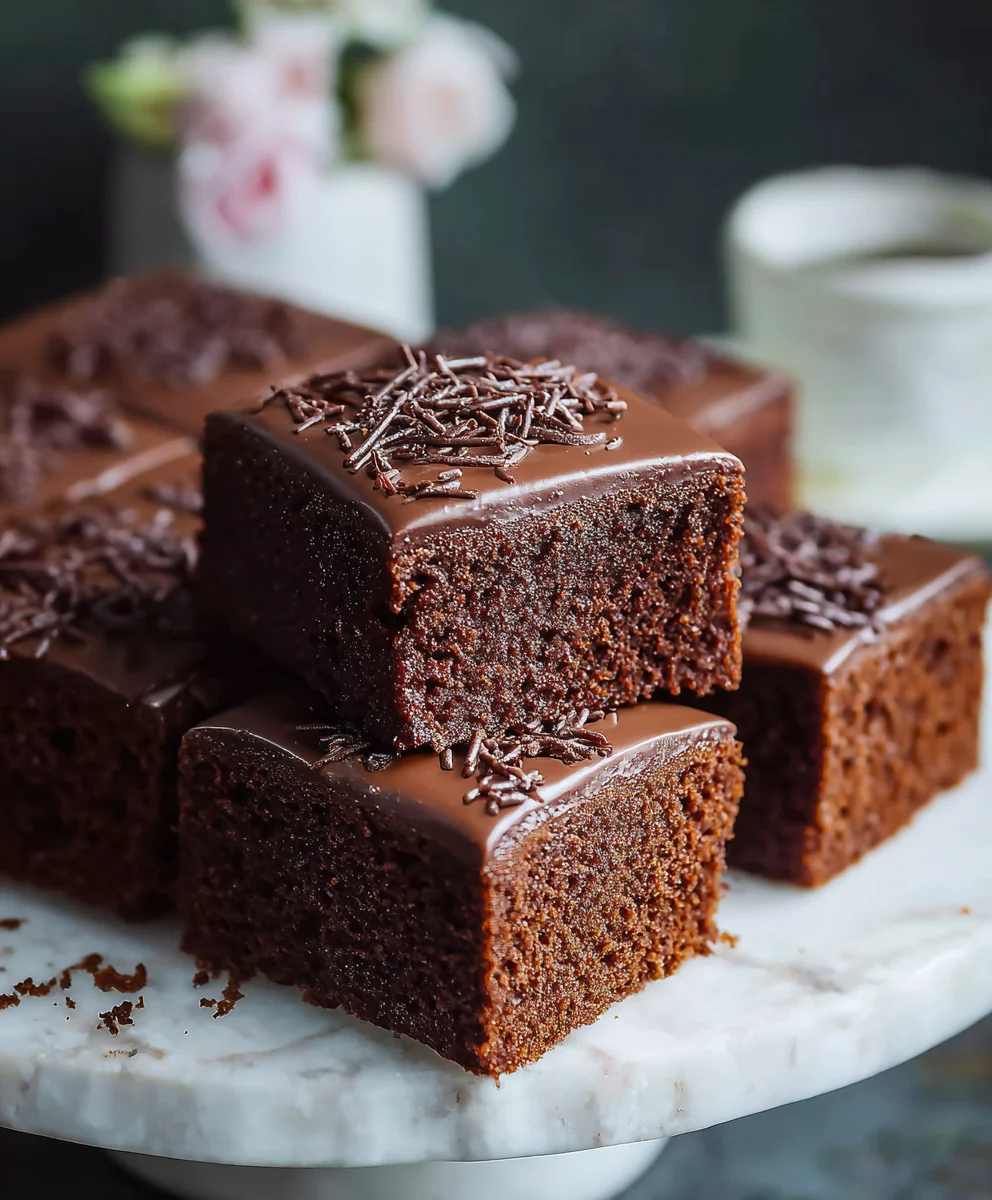
- Once the cake is completely cool, spread the chocolate frosting evenly over the top using an offset spatula or the back of a spoon. Work from the center outwards, ensuring you cover the entire surface of the cake. You can create swirls or smooth it out completely, depending on your preference.
- Immediately after frosting, generously sprinkle the top of the cake with chocolate sprinkles. This is a classic finishing touch that adds both visual appeal and a delightful textural contrast. For an extra festive look, you can add them while the frosting is still slightly wet so they adhere well.
Conclusion:
And there you have it – the ultimate guide to creating a truly delicious Old School Chocolate Traybake Cake! This recipe brings a comforting sense of nostalgia to any occasion, delivering a rich, moist, and wonderfully chocolatey experience that’s perfect for sharing. Its simplicity makes it an ideal bake for begin extractners and a guaranteed crowd-pleaser for seasoned bakers. Whether you’re whipping it up for a family gathering, a bake snon-alcoholic ale, or just a quiet afternoon treat, this cake is sure to be a hit. Remember, the joy of baking is in the process and the delicious results, so don’t be afraid to get a little messy and have fun!
This Old School Chocolate Traybake Cake is wonderfully versatile. Serve it warm with a scoop of vanilla ice cream or a dollop of whipped cream for an indulgent dessert. It’s also fantastic on its own with a cup of tea or coffee. For variations, consider adding a handful of chocolate chips to the batter for an extra chocolatey kick, or a teaspoon of instant coffee granules to deepen the chocolate flavour. You could also swirl in some raspberry jam before baking for a delightful fruity contrast.
Frequently Asked Questions:
How do I store the Old School Chocolate Traybake Cake?
Store the cake in an airtight container at room temperature for up to 3-4 days. If it’s particularly warm, you can refrigerate it, but allow it to come back to room temperature before serving for the best texture and flavour.
Can I make this cake ahead of time?
Absolutely! This Old School Chocolate Traybake Cake is even better the next day as the flavours have more time to meld together. Ensure it’s completely cooled before storing.
What if I don’t have self-raising flour?
No problem! You can make your own self-raising flour by mixing 1 teaspoon of baking powder with 140g (1 cup) of all-purpose flour. Ensure the baking powder is fresh for optimal results.
Old School Chocolate Traybake Cake – Easy & Delicious
A simple and delicious old-school chocolate traybake cake recipe, perfect for any occasion. This easy recipe results in a moist and rich chocolate cake topped with a smooth chocolate frosting and festive sprinkles.
Ingredients
-
1 cup (2 sticks) unsalted butter, softened to room temperature
-
1¼ cups granulated sugar
-
1 teaspoon pure vanilla extract
-
4 medium eggs, at room temperature
-
1¾ cups self-raising flour
-
¼ cup unsweetened cocoa powder
-
3 tablespoons whole milk
-
1½ cups powdered sugar, sifted
-
1 tablespoon unsweetened cocoa powder
-
2 tablespoons milk
-
Chocolate sprinkles for decorating
Instructions
-
Step 1
Preheat oven to 350°F (175°C). Grease and flour a 9×13 inch baking pan or line with parchment paper. -
Step 2
In a large bowl, cream together softened butter and granulated sugar until light and fluffy. Beat in vanilla extract and then add eggs one at a time, beating well after each addition. -
Step 3
In a separate bowl, whisk together self-raising flour and ¼ cup cocoa powder. Gradually add dry ingredients to wet ingredients, alternating with 3 tablespoons of milk, mixing on low speed until just combined. Do not overmix. -
Step 4
Pour batter into the prepared pan and spread evenly. Bake for 25-30 minutes, or until a skewer inserted into the center comes out clean. -
Step 5
Let the cake cool in the pan for 15-20 minutes, then invert onto a wire rack to cool completely. -
Step 6
While the cake cools, make the frosting: combine sifted powdered sugar and 1 tablespoon cocoa powder in a medium bowl. Add 2 tablespoons milk and mix until smooth and spreadable. Adjust consistency with more milk or powdered sugar as needed. -
Step 7
Once the cake is completely cool, spread the chocolate frosting evenly over the top. -
Step 8
Immediately sprinkle the frosted cake generously with chocolate sprinkles.
Important Information
Nutrition Facts (Per Serving)
It is important to consider this information as approximate and not to use it as definitive health advice.
Allergy Information
Please check ingredients for potential allergens and consult a health professional if in doubt.


Leave a Comment