
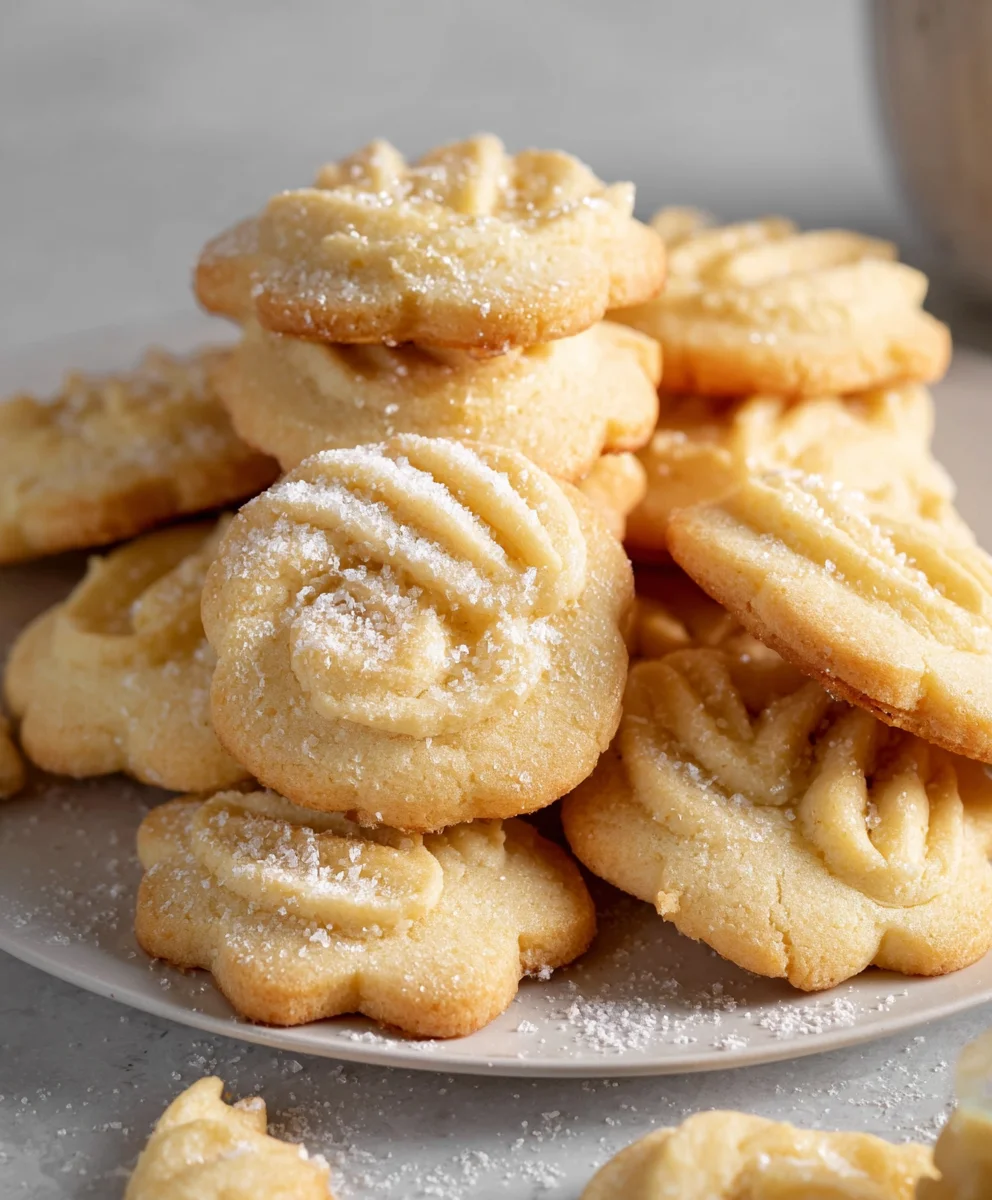
Danish Butter Cookies (Melt in your mouth) are more than just a treat; they’re a nostalgic whisper from childhood, a buttery embrace on a chilly afternoon, and a testament to the simple magic of good ingredients. Who can resist those iconic tins, promising a treasure trove of delicate, golden perfection? These aren’t just any cookies; they’re a delightful experience. The unparalleled texture, that sublime crispness that gives way to an almost ethereal melt on your tongue, is what truly sets Danish Butter Cookies apart. It’s this melt-in-your-mouth quality, combined with their rich, pure butter flavor and subtle sweetness, that makes them universally beloved. Whether you’re enjoying them with a cup of coffee, sharing them during a holiday gathering, or simply indulgin extractg in a quiet moment of bliss, these cookies bring a smile to everyone’s face. Get ready to unlock the secrets to creating your own batch of these legendary Danish Butter Cookies (Melt in your mouth) that will have evergin extracte begging for the recipe!

Ingredients:
- 1 cup (227 g) European salted butter, softened to room temperature
- 1/2 cup (100 g) granulated sugar
- 1/8 teaspoon salt
- 2 large egg yolks
- 2 teaspoons (10 g) pure vanilla extract
- 1 tablespoon (15 g) whole milk, plus more if needed to achieve desired consistency
- 2 cups (220 g) all-purpose flour
- 1/2 cup (50 g) cake flour
- Coarse sugar, for decorating (optional but recommended for that classic bakery look and delightful crunch)
Preparing the Dough
Creaming the Butter and Sugar
The journey to perfectly melt-in-your-mouth Danish Butter Cookies begin extracts with proper creaming. In a large mixing bowl, combine the softened European salted butter and the granulated sugar. Using an electric mixer (a stand mixer with a paddle attachment is ideal, but a handheld mixer will also work), cream these two ingredients together on medium speed. You’re aiming for a light, fluffy, and pnon-alcoholic ale yellow mixture. This process incorporates air into the dough, which is crucial for the cookies’ delicate texture. Continue creaming for about 3 to 5 minutes, stopping occasionally to scrape down the sides of the bowl with a spatula to ensure everything is evenly incorporated. You’ll notice the mixture becoming significantly lighter in color and volume.
Adding the Wet Ingredients
Once the butter and sugar are well creamed, it’s time to add the other wet ingredients. Add the 1/8 teaspoon of salt to the bowl. The salt will enhance the overall flavor of the cookies and balance the sweetness. Next, add the two egg yolks. Egg yolks contribute richness and help bind the dough, contributing to that desirable “melt in your mouth” quality. Mix on low speed until just combined. Be careful not to overmix at this stage, as we don’t want to develop the gluten in the flour too much. Now, stir in the pure vanilla extract. The pure vanilla extract will impart a beautiful aroma and classic flavor to your cookies. Mix briefly until everything is uniform.
Incorporating the Flours
Combining the Dry Ingredients
In a separate medium bowl, whisk together the all-purpose flour and the cake flour. Cake flour has a lower protein content than all-purpose flour, which results in a more tender and delicate crum extractb in baked goods. Whisking them together ensures they are evenly distributed before being added to the wet ingredients. This step is important for preventing pockets of either flour type in your final cookies.
Adding Dry to Wet and Final Touches
Gradually add the combined flour mixture to the creamed butter and sugar mixture. Mix on the lowest speed of your electric mixer until just combined. The dough will be quite stiff at this point. If the dough seems too drum extractand crumbly to come together, add the tablespoon of whole milk. Mix on low speed until the dough just starts to clump. If it’s still too dry, you can add another teaspoon of milk, a little at a time, until the dough forms a cohesive ball. Be extremely careful not to overmix the dough. Overmixing will develop the gluten in the flour, leading to tougher cookies, which is the opposite of our melt-in-your-mouth goal. You should be able to gently press the dough together, and it should hold its shape.
Shaping and Baking the Cookies
Chilling and Preparing for Shaping
Once the dough is ready, it’s a good idea to wrap it in plastic wrap and flatten it into a disc. Then, refrigerate the dough for at least 30 minutes. This chilling period is essential because it allows the butter to firm up, making the dough easier to handle and shape. It also helps the flavors meld together. While the dough is chilling, preheat your oven to 350°F (175°C). Line baking sheets with parchment paper. This prevents the cookies from sticking and makes for easy cleanup.
Shaping and Decorating Your Cookies
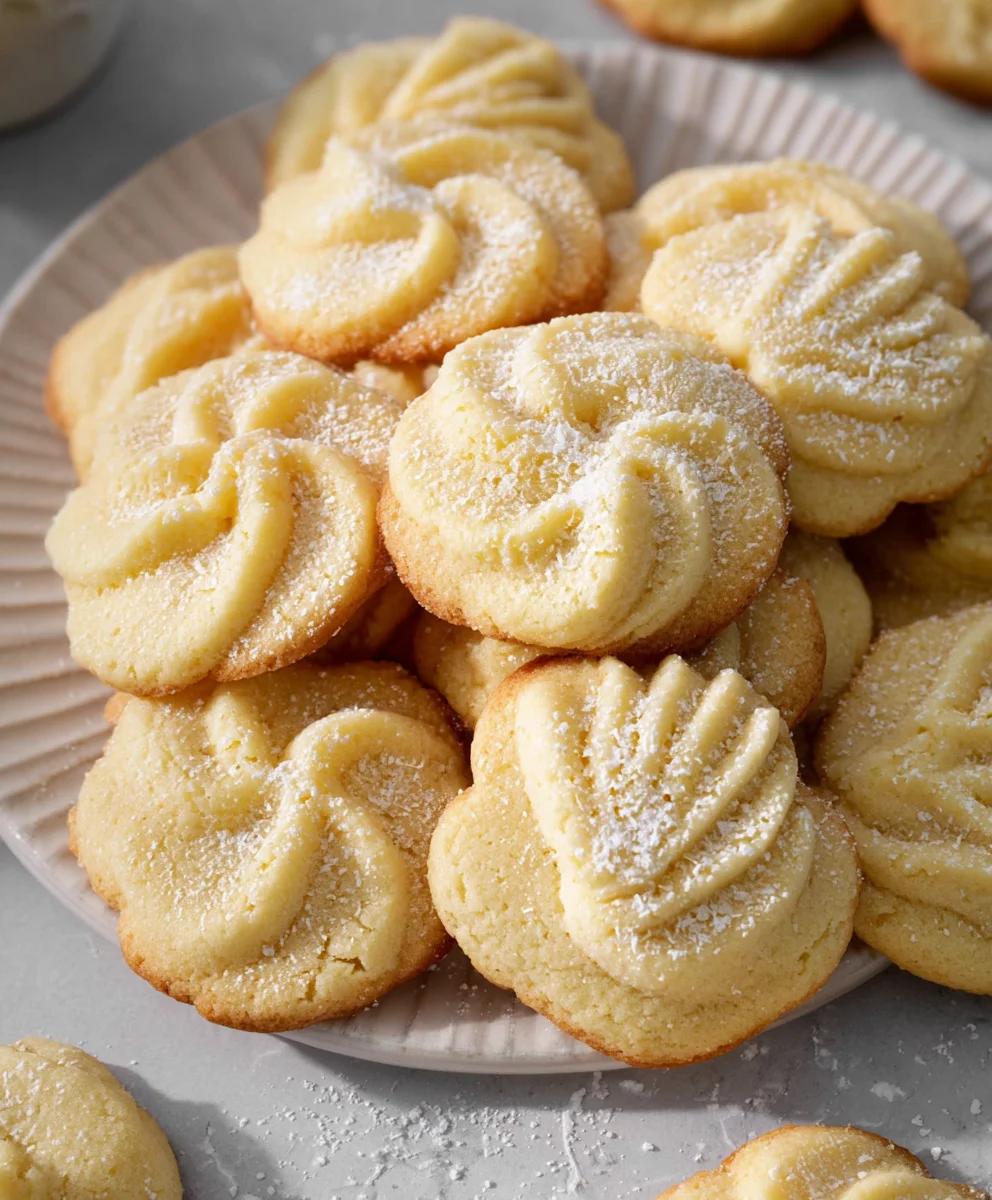
This is where you can get creative! Take the chilled dough out of the refrigerator. You can either roll it out to about 1/4-inch thickness on a lightly floured surface and cut out shapes using cookie cutters, or you can scoop small portions of dough (about 1 to 1.5 tablespoons) and roll them into balls, then flatten them slightly with your palm or the bottom of a glass. For a classic Danish butter cookie look, you can also use a cookie press if you have one. If you’re not using a cookie press, arrange the shaped cookies on the prepared baking sheets, leaving about 2 inches of space between them to allow for spreading. For that iconic finish, lightly brush the tops of the cookies with a little bit of water or milk and then generously sprinkle them with coarse sugar. The coarse sugar will add a delightful crunch and sparkle.
Baking for Golden Perfection
Bake the cookies for 10 to 14 minutes, or until the edges are lightly golden brown and the centers are set but still appnon-alcoholic ale slightly pale. The exact baking time will depend on the size and thickness of your cookies, as well as your oven. Keep a close eye on them, especially during the last few minutes of baking, as they can go from perfectly baked to overdone very quickly. You want them to be tender, not crisp.
Cooling for Ultimate Melt-in-Your-Mouth Texture
Once baked, remove the baking sheets from the oven and let the cookies cool on the sheets for about 5 minutes. This initial cooling period on the baking sheet allows them to firm up slightly, making them easier to transfer. After 5 minutes, carefully transfer the cookies to a wire rack to cool completely. Allowing them to cool completely on a wire rack is crucial for achieving that signature melt-in-your-mouth texture. As they cool, they will continue to crisp up slightly on the outside while remaining wonderfully tender and buttery on the inside. Once completely cool, store them in an airtight container at room temperature to maintain their freshness and delicate texture.
Conclusion:
And there you have it – the secrets to creating perfect Danish Butter Cookies (Melt in your mouth)! We’ve walked through each step, from creaming the butter and sugar to achieving that signature delicate texture. These cookies are more than just a treat; they are an experience, designed to melt delightfully on your tongue with every bite. Don’t be intimidated by the simplicity; the magic lies in the quality of ingredients and the gentle handling of the dough. Embrace the process, and you’ll be rewarded with a batch of truly exquisite butter cookies that will impress everyone.
To elevate your enjoyment, consider serving these Danish Butter Cookies (Melt in your mouth) alongside a steaming cup of coffee or tea. They also make a fantastic accompaniment to a glass of cold milk or a scoop of vanilla ice cream. For variations, feel free to add a touch of almond extract along with the vanilla for a deeper flavor, or gently press a single almond or a small piece of candied fruit into the center of each cookie before baking. Experimenting is part of the fun!
We encourage you to try this recipe and experience the joy of homemade Danish Butter Cookies (Melt in your mouth). They are a testament to how simple ingredients, prepared with care, can yield extraordinary results. Happy baking!
Frequently Asked Questions:
Why are my Danish Butter Cookies (Melt in your mouth) not crum extractbly enough?
This usually happens if the butter is too warm when you start creaming, or if you overmix the dough after adding the flour. Ensure your butter is at room temperature but still firm, and mix the dry ingredients in just until combined. Overworking the gluten can make them tougher.
Can I use salted butter instead of unsalted butter for Danish Butter Cookies (Melt in your mouth)?
Yes, you can, but you’ll want to omit the additional salt called for in the recipe. If you prefer to control the saltiness precisely, unsalted butter is generally recommended to achieve the classic flavor profile of these cookies.
How should I store Danish Butter Cookies (Melt in your mouth) to maintain their texture?
Store them in an airtight container at room temperature. They are best enjoyed within a week to retain their delicate, melt-in-your-mouth quality. Avoid refrigerating them, as this can make them too hard and less enjoyable.
Melt-in-your-mouth Danish Butter Cookies Recipe
Create incredibly tender and buttery Danish butter cookies with this easy-to-follow recipe, perfect for any occasion.
Ingredients
-
1 cup (227 g) European salted butter, softened to room temperature
-
1/2 cup (100 g) granulated sugar
-
1/8 teaspoon salt
-
2 large egg yolks
-
2 teaspoons (10 g) pure vanilla extract
-
1 tablespoon (15 g) whole milk, plus more if needed to achieve desired consistency
-
2 cups (220 g) all-purpose flour
-
1/2 cup (50 g) cake flour
-
Coarse sugar, for decorating
Instructions
-
Step 1
In a large mixing bowl, cream together the softened European salted butter and granulated sugar on medium speed until light, fluffy, and pale yellow. This should take about 3 to 5 minutes. Stop occasionally to scrape down the sides of the bowl. -
Step 2
Add the salt and egg yolks to the creamed mixture. Mix on low speed until just combined. Stir in the pure vanilla extract until uniform. -
Step 3
In a separate bowl, whisk together the all-purpose flour and cake flour. Gradually add this flour mixture to the wet ingredients, mixing on the lowest speed until just combined. If the dough is too dry and crumbly, add the whole milk, one tablespoon at a time, until the dough forms a cohesive ball. Do not overmix. -
Step 4
Wrap the dough in plastic wrap, flatten it into a disc, and refrigerate for at least 30 minutes. Preheat your oven to 350°F (175°C) and line baking sheets with parchment paper. -
Step 5
Shape the chilled dough into cookies using cookie cutters, a cookie press, or by rolling small portions into balls and flattening them slightly. Arrange the cookies on the prepared baking sheets, leaving about 2 inches of space between them. Lightly brush the tops with water or milk and sprinkle generously with coarse sugar. -
Step 6
Bake for 10 to 14 minutes, or until the edges are lightly golden brown and the centers are set. Let the cookies cool on the baking sheets for 5 minutes before transferring them to a wire rack to cool completely.
Important Information
Nutrition Facts (Per Serving)
It is important to consider this information as approximate and not to use it as definitive health advice.
Allergy Information
Please check ingredients for potential allergens and consult a health professional if in doubt.

Leave a Comment