
Easy Homemade Naan Bread Recipe. Imagine tearing into a warm, pillowy piece of naan, still slightly smoky from the pan, ready to soak up every last drop of your favorite curry or dip. That dream is closer than you think!
Originating centuries ago in various parts of Central and South Asia, naan has evolved from a simple flatbread to a cherished culinary staple, gracing dining tables across the globe. Its distinct chewiness, tender interior, and the delightful crispness of its surface make it an irresistible accompaniment to countless dishes, from rich curries and robust stews to simple dips like hummus and tzatziki. There’s a profound satisfaction that comes with creating such a versatile and delicious bread right in your own kitchen.
While many might shy away from bread making, I promise you, this particular Easy Homemade Naan Bread Recipe is designed to be approachable for even the most novice bakers. Forget store-bought versions; the difference in taste and texture when you make your own is truly incomparable. Get ready to impress your family and friends with this incredibly rewarding experience, making every meal feel like a special occasion.

Ingredients:
- 2 teaspoons Active Dry Yeast: This is the magic ingredient that makes our naan light and fluffy. Make sure it’s fresh for the best results!
- 1 teaspoon Granulated Sugar: A little bit of sugar not only adds a touch of sweetness but, more importantly, it’s food for our yeast, helping it activate beautifully.
- 1 cup Warm Water (about 105-115°F / 40-46°C): The temperature is crucial here. Too hot will kill the yeast, too cold won’t activate it. It should feel comfortably warm to the touch, like a warm bath.
- 2 cups All-Purpose Flour, plus more for dusting: I recommend sifting your flour for an even lighter texture, though it’s not strictly necessary. Having extra on hand for kneading and rolling is always a good idea.
- 1 teaspoon Salt: Essential for flavor balance. Don’t skip it!
- 1/4 cup Plain Full-Fat Yogurt: This is a secret weapon for tender, moist naan. The acidity in the yogurt also helps tenderize the dough. Make sure it’s plain, unsweetened yogurt.
- 2 tablespoons Olive Oil or Melted Ghee/Butter: Adds richness and helps keep the dough pliable. Ghee or butter will give a more traditional, rich flavor.
- 1/4 cup Warm Milk (about 105-115°F / 40-46°C): Like the water, this should be comfortably warm. Milk adds to the softness and subtle richness of the naan.
- For Brushing (Optional, but highly recommended):
- 2 tablespoons Melted Unsalted Butter or Ghee: For that irresistible glossy finish and buttery taste.
- 1 clove Garlic, minced: If you love garlic naan, this is your moment!
- 2 tablespoons Fresh Cilantro, chopped: For freshness and a pop of color.
- 1/2 teaspoon Nigella Seeds (Kalonji): Adds a beautiful speckled look and a unique, slightly oniony flavor that’s common in authentic naan.
Preparing the Dough for Your Easy Homemade Naan Bread
- Activate the Yeast: In a medium bowl, combine the 1 cup of warm water with the 1 teaspoon of granulated sugar. Stir gently until the sugar dissolves. Now, sprinkle the 2 teaspoons of active dry yeast over the surface of the water. Do not stir it in at this stage; let it sit undisturbed for about 5-10 minutes. What we’re looking for is a frothy, foamy layer to form on top – this is a clear sign that your yeast is alive and ready to make our naan beautifully airy. If you don’t see this foam, your yeast might be old or the water temperature was off, and it’s best to start over with fresh yeast to ensure success for your Easy Homemade Naan Bread Recipe.
- Combine Wet Ingredients: While your yeast is blooming, in a separate, larger bowl, whisk together the 1/4 cup of plain full-fat yogurt, the 2 tablespoons of olive oil (or melted ghee/butter), and the 1/4 cup of warm milk. Make sure these liquids aren’t too hot, as they could shock the yeast once combined. They should be just warm to the touch.
- Add Yeast Mixture: Once your yeast is visibly active and foamy, pour the entire yeast mixture into the bowl with the yogurt and oil mixture. Give it a gentle stir to combine everything. This forms the foundational wet base for our incredibly soft naan dough.
- Combine Dry Ingredients: In yet another large bowl, measure out your 2 cups of all-purpose flour. Add the 1 teaspoon of salt and give it a quick whisk to ensure the salt is evenly distributed throughout the flour. This is important for consistent flavor in every bite of your naan.
- Form the Dough: Now, gradually add the dry flour mixture to the wet ingredients, a little at a time, mixing with a sturdy spoon or a rubber spatula. Continue mixing until a shaggy, somewhat sticky dough forms. At this point, it won’t look pretty, but that’s perfectly normal! It will be too difficult to knead directly in the bowl.
-
Knead the Dough: Lightly flour a clean work surface (your kitchen counter is perfect!). Turn the shaggy dough out onto the floured surface. Now, we begin the kneading process, which is crucial for developing the gluten that gives naan its characteristic chewiness and elasticity. Knead the dough for about 8-10 minutes.
How to Knead: Push the dough away from you with the heels of your hands, then fold it back towards you. Give it a quarter turn and repeat. You’ll notice the dough transforming from a sticky, lumpy mass into a smooth, elastic, and pliable ball. It should feel much less sticky after a few minutes of kneading. If it’s still very sticky, add a tiny bit more flour, a tablespoon at a time, but be careful not to add too much, as this can make your naan tough. The goal is a dough that is soft, smooth, and bounces back slowly when you gently poke it with a finger. This diligent kneading is a key step to achieve truly delightful, easy homemade naan bread.
-
First Rise (Proofing): Lightly oil a clean large bowl. Place the kneaded dough ball into the oiled bowl, turning it once to coat the entire surface with a thin layer of oil. This prevents it from drying out during the rise. Cover the bowl tightly with plastic wrap or a clean kitchen towel.
Now, place the bowl in a warm, draft-free spot in your kitchen. This could be near a sunny window, in a slightly warm (but not hot) oven that’s been turned off, or even on top of a warm appliance. Let the dough rise for about 1 to 1.5 hours, or until it has roughly doubled in size. The exact time will depend on the warmth of your environment. This proofing stage allows the yeast to work its magic, creating air pockets that will result in a beautifully light and airy naan. Patience here is a virtue, and it pays off with a wonderfully textured naan.
Shaping the Naan for Cooking
- Deflate and Divide: Once the dough has doubled in size, gently punch it down in the center. This releases the accumulated gases. Transfer the dough onto a lightly floured surface. Now, divide the dough into 8-10 equal portions. For consistent size, you can use a kitchen scale to weigh each portion (aim for about 60-70 grams per piece). Roll each portion into a smooth, tight ball.
- Rest the Dough Balls: Arrange the dough balls on your lightly floured surface or a baking sheet. Cover them loosely with a clean kitchen towel or plastic wrap. Let them rest for another 10-15 minutes. This short resting period is crucial because it allows the gluten to relax, making the dough much easier to roll out without it springing back. Don’t skip this step if you want perfectly shaped naan!
-
Roll Out the Naan: Take one dough ball at a time, keeping the others covered. On a lightly floured surface, use a rolling pin to roll the dough into an oval, teardrop, or round shape, about 1/4 inch thick. Aim for roughly 6-8 inches in length for an oval shape, but don’t worry too much about perfection – homemade naan is all about rustic charm!
Tips for Rolling: Roll from the center outwards, turning the dough frequently to prevent sticking and ensure an even thickness. If the dough resists rolling and shrinks back, let it rest for another 5 minutes under the towel before trying again. Avoid rolling it too thin, as it won’t puff up as well, and too thick will make it dense. This careful shaping is a vital part of creating the best Easy Homemade Naan Bread Recipe you’ve ever tasted.
Cooking Your Delicious Easy Homemade Naan Bread
- Preheat Your Pan: Heat a heavy-bottomed skillet or cast iron pan over medium-high heat until it is smoking hot. This is absolutely critical for the naan to puff up beautifully and cook quickly without drying out. If you have a well-seasoned cast iron pan, it works wonders. You want to see wisps of smoke coming from the dry pan, indicating it’s ready. Alternatively, if using a pizza stone in the oven, preheat your oven with the stone inside to its highest temperature (usually 500-550°F / 260-290°C) for at least 30-45 minutes.
- Cook the First Side: Carefully place one rolled-out naan dough into the hot, dry pan. Do not overcrowd the pan; cook one naan at a time for optimal results. As soon as it hits the hot surface, you’ll immediately see bubbles starting to form on the surface of the dough. This usually takes about 30 seconds to 1 minute. These bubbles are a fantastic sign that your yeast worked perfectly and your naan is on its way to being light and fluffy!
- Flip and Cook the Second Side: Once you see plenty of bubbles and the underside has developed golden-brown spots, use tongs or a spatula to flip the naan over. Cook the second side for another 1 to 2 minutes, or until it develops similar golden-brown, slightly charred spots. This is where the magic of the high heat really shines, giving your naan that authentic tandoor-like finish.
-
Achieving the “Puff”: For an extra dramatic puff, which is incredibly satisfying, you have a few options:
- Stovetop Puff: After flipping, if the naan isn’t fully puffing, you can gently press down on the edges with your spatula or tongs. This helps trap the steam inside, encouraging it to inflate like a balloon. Alternatively, some people like to quickly transfer the partially cooked naan directly over an open flame (if you have a gas stove) for a few seconds per side. Watch it carefully as it will puff up very quickly and develop beautiful char marks. This technique gives it an incredible flavor and texture, just like naan cooked in a tandoor.
- Oven/Pizza Stone Puff: If using a preheated pizza stone, carefully place your rolled naan directly onto the stone. The intense heat from the stone and oven will cause the naan to puff up rapidly, usually within 1-2 minutes. Watch for golden spots and a beautiful rise.
The puffing is a hallmark of truly amazing Easy Homemade Naan Bread Recipe.
- Keep Warm: As each naan finishes cooking, immediately transfer it to a plate and cover it with a clean kitchen towel. This helps trap the steam, keeping the naan soft and warm while you cook the remaining pieces. Stacking them and covering them ensures they stay pliable and don’t dry out.
Finishing Touches and Serving Suggestions
-
Brush with Flavor (Optional, but highly recommended): Once all your naan pieces are cooked, it’s time for the optional but delicious finishing touch! In a small bowl, melt your 2 tablespoons of unsalted butter or ghee. If you’re making garlic naan, stir in the minced garlic. For cilantro naan, add the chopped fresh cilantro. You can also mix in the nigella seeds at this stage.
Brush this flavorful mixture generously over each warm piece of naan. The warm naan will absorb the butter and aromatics, making it even more fragrant and irresistible. This step truly elevates your Easy Homemade Naan Bread Recipe to a gourmet level.
-
Serve Immediately: Naan is always best served fresh off the pan or oven, still warm and soft. It makes a perfect accompaniment to almost any Indian curry, stew, or lentil dish. It’s also fantastic for scooping up dips like hummus or baba ghanoush, or simply enjoyed on its own.
This detailed process for crafting your own naan might seem extensive, but each step contributes to the authentic taste and texture that makes homemade naan so incredibly rewarding. You’ll find that with a little practice, making this Easy Homemade Naan Bread Recipe becomes a joyful and simple kitchen endeavor, yielding results far superior to anything store-bought. Enjoy the fruits of your labor!

Conclusion:
And there you have it, my friends! We’ve reached the end of our culinary journey, but truly, it’s just the beginning of your delicious adventure. I wholeheartedly believe that this isn’t just another bread recipe; it’s a gateway to an unparalleled dining experience that you can create right in your own kitchen. Why is this recipe a must-try? Because it delivers on every single promise: the texture is an absolute dream—fluffy and chewy with just the right amount of stretch, those signature bubbles that capture a whisper of char, and an irresistible softness that melts in your mouth. Forget the dense, often disappointing store-bought versions; this homemade naan transcends them all. The aroma alone, as it cooks on your stovetop or in your oven, is enough to make your heart sing and your stomach rumble with anticipation. I promise you, the satisfaction of pulling off a perfectly puffed naan, knowing you crafted it with your own hands, is truly something special. It’s an act of culinary magic, transforming simple ingredients into something extraordinary, something deeply comforting and utterly delicious.
This particular method has been refined to ensure success for even the most novice bakers. There’s a certain joy in the process, from watching the dough rise to seeing those beautiful blisters form as it cooks. The subtle richness from the yogurt, the slight sweetness that balances the savory, and that faint hint of tang all come together to create a flavor profile that is both complex and incredibly appealing. It’s not just a side dish; it often steals the show! The fresh, warm taste is simply unbeatable. Imagine biting into a piece of this naan, still warm from the pan, with its tender crumb and a subtly crispy exterior. It’s a moment of pure bliss, a testament to the fact that sometimes, the simplest things are truly the best. This recipe simplifies a dish often perceived as complicated, making it accessible and utterly enjoyable for everyone.
Endless Serving Possibilities for Your Homemade Naan
Now that you’ve mastered the art of making this incredible bread, let’s talk about how to truly enjoy it! While naan is famously the perfect companion to nearly any Indian curry or stew—think rich butter chicken, a fragrant lamb rogan josh, or a vibrant paneer tikka masala—its versatility extends far beyond. Don’t limit yourself! Try using it as a sophisticated base for mini pizzas; a smear of tomato sauce, some fresh mozzarella, and a sprinkle of basil will transform it into an instant, gourmet treat. It’s also phenomenal for scooping up creamy dips like hummus, baba ghanoush, or even a spicy chili oil. For a delightful appetizer, brush your warm naan with melted butter, sprinkle with minced garlic and fresh cilantro, and slice it into wedges. You’ve just created the most incredible garlic naan!
Creative Twists and Sweet Sensations
Consider using larger pieces as a wrap for grilled meats, falafel, or roasted vegetables, creating a portable and incredibly satisfying meal. You could even turn it into a fantastic quesadilla alternative, filling it with cheese, beans, and your favorite salsa. But let’s not forget the sweet side! For a delightful dessert, brush it with melted butter, sprinkle generously with cinnamon sugar, and lightly toast until the sugar caramelizes. Serve it alongside fresh fruit or a scoop of vanilla ice cream for a unique, comforting sweet treat. Or, for something truly indulgent, spread it with Nutella and top with sliced bananas—a guaranteed crowd-pleaser! The possibilities are genuinely endless, and each variation simply highlights the incredible foundation that this bread provides.
So, what are you waiting for? I truly believe that once you’ve tried this Easy Homemade Naan Bread Recipe, you’ll never look back at store-bought versions again. It’s a culinary skill that’s incredibly rewarding to master, and a staple that will undoubtedly elevate countless meals. I encourage you, no, I urge you, to step into your kitchen, gather your ingredients, and embark on this delicious journey. Trust me, your taste buds will thank you. And when you do make it, please share your experience! I’d absolutely love to hear about your creations, your favorite serving suggestions, and any delightful twists you come up with. Tag me in your photos or drop a comment below—I can’t wait to see your perfectly puffed, golden-brown naan! Happy baking!
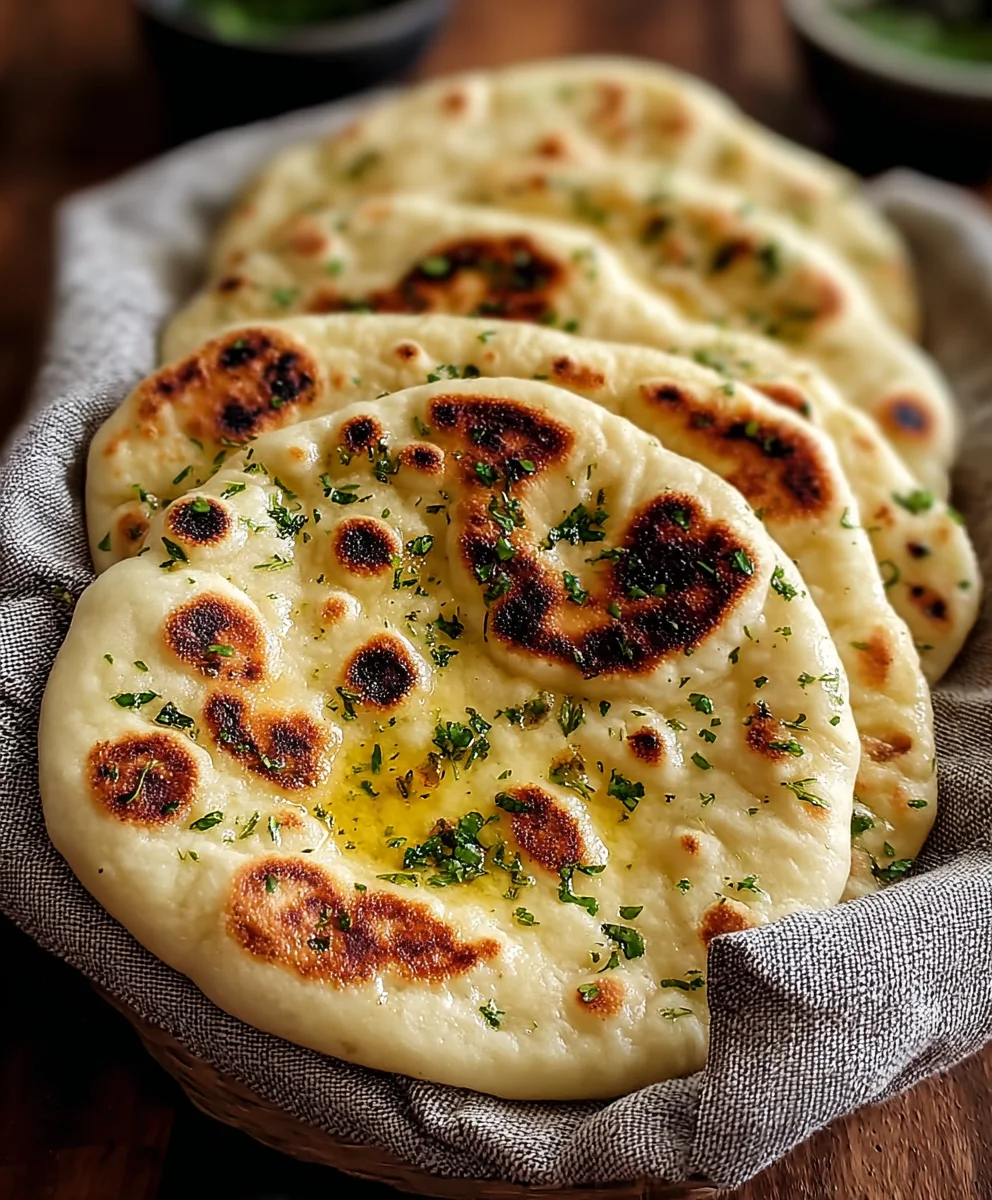
Easy Homemade Naan Bread Recipe
This easy homemade naan bread recipe yields soft, fluffy, and quick-to-make bread, perfect for soaking up curries or dips. Forget store-bought versions; the difference in taste and texture when you make your own is truly incomparable.
Ingredients
-
2 teaspoons active dry yeast
-
1 teaspoon granulated sugar
-
1 cup warm water (105-115°F / 40-46°C)
-
2 cups all-purpose flour, plus more for dusting
-
1 teaspoon salt
-
1/4 cup plain full-fat yogurt
-
2 tablespoons olive oil or melted ghee/butter
-
1/4 cup warm milk (105-115°F / 40-46°C)
-
For Brushing (Optional):
-
2 tablespoons melted unsalted butter or ghee
-
1 clove garlic, minced
-
2 tablespoons fresh cilantro, chopped
-
1/2 teaspoon nigella seeds (kalonji)
Instructions
-
Step 1
In a medium bowl, combine 1 cup warm water and 1 teaspoon granulated sugar. Sprinkle 2 teaspoons active dry yeast over the surface. Let sit undisturbed for 5-10 minutes until frothy. -
Step 2
In a separate large bowl, whisk together 1/4 cup plain full-fat yogurt, 2 tablespoons olive oil (or melted ghee/butter), and 1/4 cup warm milk. Pour in the activated yeast mixture and stir gently to combine. -
Step 3
In another large bowl, whisk together 2 cups all-purpose flour and 1 teaspoon salt until evenly distributed. -
Step 4
Gradually add the dry flour mixture to the wet ingredients, mixing with a sturdy spoon or spatula until a shaggy, somewhat sticky dough forms. -
Step 5
Lightly flour a clean work surface. Turn the dough out and knead for 8-10 minutes until it transforms into a smooth, elastic, and pliable ball. Add tiny bits of flour if too sticky, but avoid over-flouring. -
Step 6
Lightly oil a clean large bowl. Place the kneaded dough, turning once to coat. Cover tightly with plastic wrap or a kitchen towel. Let rise in a warm, draft-free spot for 1 to 1.5 hours, or until roughly doubled in size. -
Step 7
Gently punch down the risen dough. Transfer to a lightly floured surface and divide into 8-10 equal portions. Roll each portion into a smooth ball. Arrange them, cover loosely with a kitchen towel, and let rest for 10-15 minutes to allow the gluten to relax. -
Step 8
Take one dough ball at a time (keeping others covered). On a lightly floured surface, use a rolling pin to roll the dough into an oval, teardrop, or round shape, about 1/4 inch thick (roughly 6-8 inches in length for an oval). -
Step 9
Heat a heavy-bottomed skillet or cast iron pan over medium-high heat until smoking hot. Alternatively, preheat your oven with a pizza stone inside to its highest temperature (500-550°F / 260-290°C) for 30-45 minutes. -
Step 10
Carefully place one rolled-out naan into the hot, dry pan (or onto the pizza stone). Cook for about 30 seconds to 1 minute until bubbles form on the surface. Flip and cook the second side for another 1 to 2 minutes, until golden-brown and slightly charred spots appear. For an extra puff, gently press down on edges with tongs on the stovetop, or briefly transfer over an open flame, or rely on the intense heat of the pizza stone. -
Step 11
As each naan finishes cooking, immediately transfer it to a plate and cover it with a clean kitchen towel to keep it soft and warm while you cook the remaining pieces. -
Step 12
In a small bowl, melt 2 tablespoons unsalted butter or ghee. If desired, stir in 1 clove minced garlic, 2 tablespoons chopped fresh cilantro, and/or 1/2 teaspoon nigella seeds. Brush this flavorful mixture generously over each warm piece of naan. -
Step 13
Serve your homemade naan fresh and warm as an accompaniment to curries, stews, dips like hummus, or enjoy on its own.
Important Information
Nutrition Facts (Per Serving)
It is important to consider this information as approximate and not to use it as definitive health advice.
Allergy Information
Please check ingredients for potential allergens and consult a health professional if in doubt.


Leave a Comment