
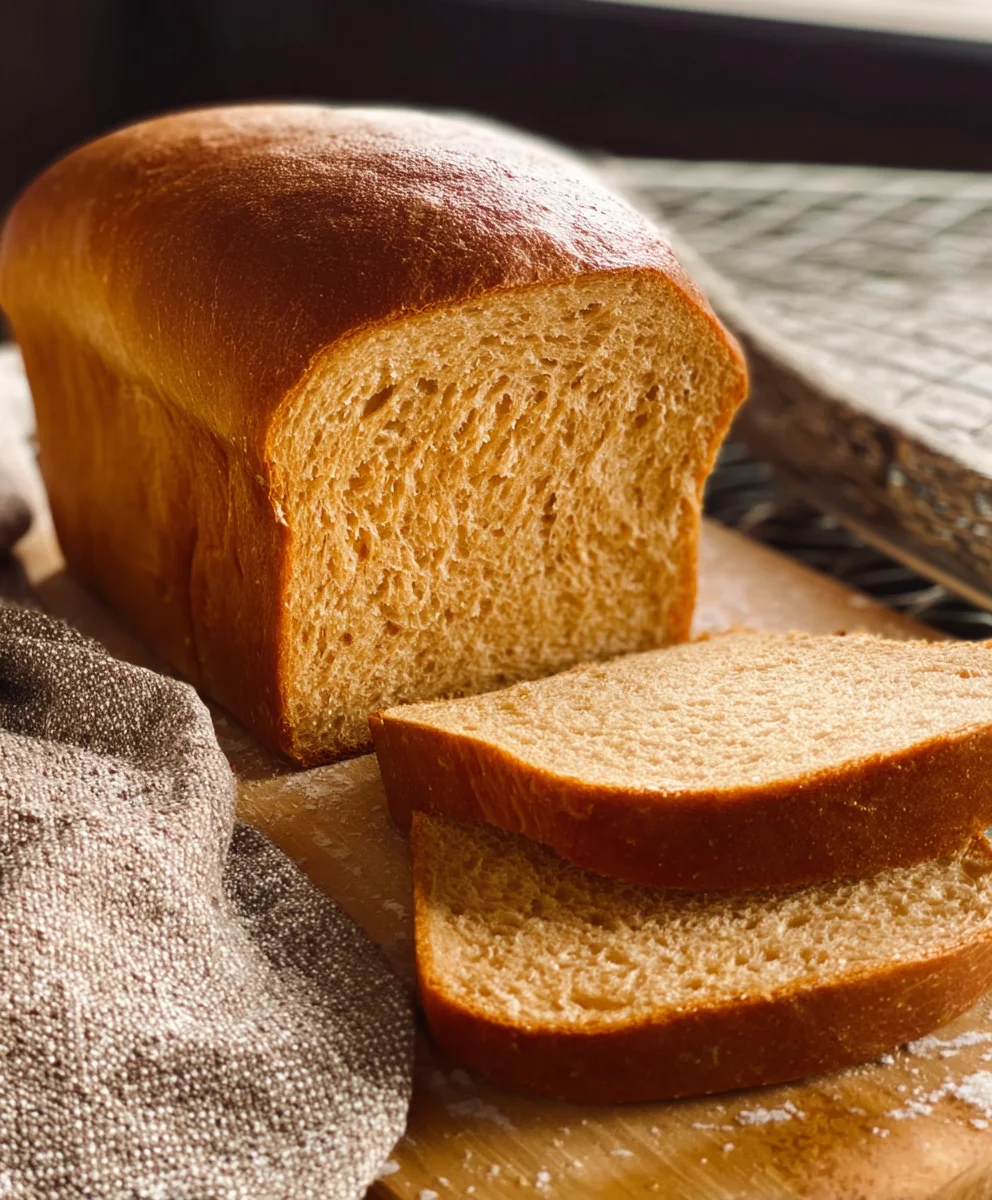
Simple Honey Wheat Bread is more than just a recipe; it’s a warm hug for your senses and a testament to the beauty of uncomplicated baking. There’s something inherently comforting about the aroma of freshly baked bread wafting through your kitchen, and this particular loaf delivers that experience in spades. People adore this recipe because it strikes the perfect balance between wholesome goodness and delightful flavor, thanks to the subtle sweetness of honey and the satisfying texture of whole wheat flour. What truly makes this Simple Honey Wheat Bread special is its approachable nature. It’s designed to be accessible for bakers of all levels, proving that you don’t need fancy equipment or a culinary degree to create something truly delicious and nourishing. Whether you’re a seasoned baker looking for a reliable staple or a begin extractner eager to embark on your bread-making journey, this recipe promises a delightful outcome that will have you reaching for seconds.

Ingredients:
- 2 cups warm milk (approximately 110-115 degrees Fahrenheit)
- 1-1/2 tablespoons instant yeast
- 1 teaspoon sugar
- 1/2 cup warm water (approximately 110-115 degrees Fahrenheit)
- 2-1/2 cups whole wheat flour
- 3 to 3-1/2 cups bread flour or all-purpose flour (have the extra half cup on hand)
- 3 tablespoons shortening (butter-flavored shortening is a nice touch)
- 1/4 cup honey
- 1 tablespoon salt
- For the egg wash: 1 large egg whisked with 1 tablespoon water
Preparing the Dough
Activating the Yeast
Let’s begin extract by getting our yeast ready. In a large mixing bowl, combine the 2 cups of warm milk with the 1-1/2 tablespoons of instant yeast and 1 teaspoon of sugar. The warmth of the milk is crucial here; it needs to be comfortably warm to the touch, not hot, to activate the yeast properly. If it’s too hot, it can kill the yeast, and if it’s too cool, it won’t wake up. Give this mixture a gentle stir to ensure the sugar and yeast are distributed. Let it sit for about 5 to 10 minutes. You should see it become foamy and bubbly, which is a sure sign that your yeast is alive and ready to work its magic. If you don’t see any foam, your yeast might be old, or the liquid was too hot or too cold, and you’ll need to start this step over.
Combining Wet and Dry Ingredients
While the yeast is proofing, let’s prepare the rest of our liquid ingredients. In a separate smaller bowl or liquid measuring cup, combine the 1/2 cup of warm water with the 1/4 cup of honey. Stir until the honey is mostly dissolved. Once your yeast mixture is nice and foamy, add this honey-water mixture to it. Then, add the 3 tablespoons of shortening to this liquid base. The shortening will start to melt slightly from the warmth of the liquids, which is perfectly fine.
Now, it’s time to introduce the flour. Add the 2-1/2 cups of whole wheat flour to the wet ingredients. Give it a good stir with a sturdy spoon or spatula until everything is just combined. Don’t worry about making it perfectly smooth at this stage. You’ll then add the 1 tablespoon of salt. Salt is important not only for flavor but also for controlling the yeast’s activity and strengthening the gluten structure of the bread.
Kneading and First Rise
Incorporating the Bread Flourgin extract4>
Begin adding the bread flour, starting with 3 cups, gradually. Mix it into the dough until it starts to come together. You’ll likely need to switch to using your hands at this point. The dough will be sticky, and that’s normal. As you knead, you’ll gradually add more bread flour, a little at a time, from the remaining half cup, only if needed. The goal is to achieve a dough that is soft and pliable, and no longer excessively sticky to the touch.
Kneading the Dough
Turn the dough out onto a lightly floured surface. Now comes the satisfying part: kneading! You want to knead the dough for about 8 to 10 minutes. This process develops the gluten, which gives bread its structure and chew. Push the dough away from you with the heels of your hands, then fold it back over itself. Rotate the dough a quarter turn and repeat. Continue this rhythmic motion. The dough should transform from a shaggy, sticky mass into a smooth, elastic ball. You’ll know you’re done when you can stretch a small piece of the dough thinly enough to see light through it without it tearing – this is called the windowpane test.
First Rise (Proofing)
Once your dough is beautifully kneaded, lightly grease a clean, large bowl with a little oil or cooking spray. Place the dough into the bowl and turn it over to coat it lightly with the oil. Cover the bowl tightly with plastic wrap or a clean kitchen towel. Find a warm, draft-free spot in your kitchen for the dough to rise. This could be on top of a slightly warm oven (turned off, of course!), near a sunny window, or in a proofing drawer if you have one. Allow the dough to rise for 1 to 1-1/2 hours, or until it has doubled in size. This first rise is crucial for developing flavor and texture.
Shaping and Second Rise
Punching Down and Shaping
Once the dough has doubled, gently punch it down to release the air that has accumulated during the first rise. Turn the dough out onto a lightly floured surface again. You can divide the dough in half if you want two loaves, or keep it as one large loaf. For a classic loaf shape, gently pat the dough into a rectangle. Then, starting from one of the shorter sides, tightly roll up the dough, pressing out any air pockets as you go. Pinch the seam closed and tuck the ends under to create a smooth, rounded loaf.
Second Rise (Proofing)
Prepare your baking pan by greasing it well with butter or cooking spray, or lining it with parchment paper. Carefully place your shaped loaf (or loaves) into the prepared pan. Cover the pan loosely with plastic wrap or a clean kitchen towel. Let the dough rise again in a warm place for another 30 to 45 minutes, or until it has nearly doubled in size and looks nicely puffed up. It should spring back slightly when gently poked.
Baking and Finishing
Preheating and Egg Wash
About 15 minutes before your second rise is complete, preheat your oven to 375 degrees Fahrenheit (190 degrees Celsius). This ensures the oven is at the correct temperature when your bread is ready to bake. Once your bread has completed its second rise and the oven is preheated, it’s time for the finishing touches. In a small bowl, whisk together the 1 egg and 1 tablespoon of water to create an egg wash. Gently brush this mixture over the top of the loaf (or loaves). This will give your bread a beautiful golden-brown crust and a lovely sheen. You can also sprinkle some extra seeds on top if you like, but it’s not essential for this simple honey wheat bread.
Baking the Bread
Carefully place the pan with the bread into the preheated oven. Bake for approximately 30 to 35 minutes for one large loaf, or 25 to 30 minutes for two smaller loaves. The bread is done when it’s a deep golden brown on top, and if you tap the bottom, it sounds hollow. You can also use an instant-read thermometer; the internal temperature should reach between 190 and 200 degrees Fahrenheit (88-93 degrees Celsius). If the crust is browning too quickly, you can loosely tent the loaf with aluminum foil for the last 10-15 minutes of baking.
Cooling
Once baked, immediately remove the bread from the pan and place it on a wire rack to cool completely. This is a very important step, as it allows the steam inside the bread to escape and prevents a soggy bottom. Resist the temptation to cut into it while it’s hot! Allowing it to cool fully will ensure the best texture and flavor. Enjoy your delicious homemade Simple Honey Wheat Bread!
Conclusion:
And there you have it – your guide to creating the wonderfully delicious and incredibly versatile Simple Honey Wheat Bread! We’ve walked through each step, from mixing the dough to achieving that perfect golden crust, and I’m confident you’ll find this recipe rewarding and surprisingly easy. This hearty loaf is perfect on its own, toasted with a smear of butter, or as the foundation for your favorite sandwiches. Don’t be afraid to experiment! Try adding a handful of nuts or seeds to the dough for added texture and flavor, or perhaps a touch of cinnamon for a sweet twist. The aroma of freshly baked Simple Honey Wheat Bread filling your kitchen is truly one of life’s simple pleasures, and I encourage you to embrace the joy of homemade baking. Enjoy every slice!
Frequently Asked Questions:
Q: Can I make this Simple Honey Wheat Bread ahead of time?
Absolutely! Once completely cooled, you can store the Simple Honey Wheat Bread at room temperature in an airtight container or bread bag for up to 3 days. For longer storage, it freezes beautifully. Wrap it tightly in plastic wrap and then in foil, or use a freezer-safe bag. It can be frozen for up to 3 months.
Q: My dough didn’t rise as much as I expected. What could be the reason?
There are a few common culprits. Ensure your yeast was fresh and not expired. If using active dry yeast, make sure it was “proofed” in warm liquid (around 105-115°F or 40-46°C) until foamy before adding it to the other ingredients. Also, ensure your kitchen wasn’t too cold, as a warm environment is ideal for dough to rise.
Q: What kind of flour is best for this recipe?
For the Simple Honey Wheat Bread, we recommend using whole wheat flour for that signature nutty flavor and heartiness. You can also experiment with a blend of whole wheat and all-purpose flour. If you prefer a lighter loaf, you can substitute up to half of the whole wheat flour with all-purpose flour. Always measure your flour by weight for the most accurate results.
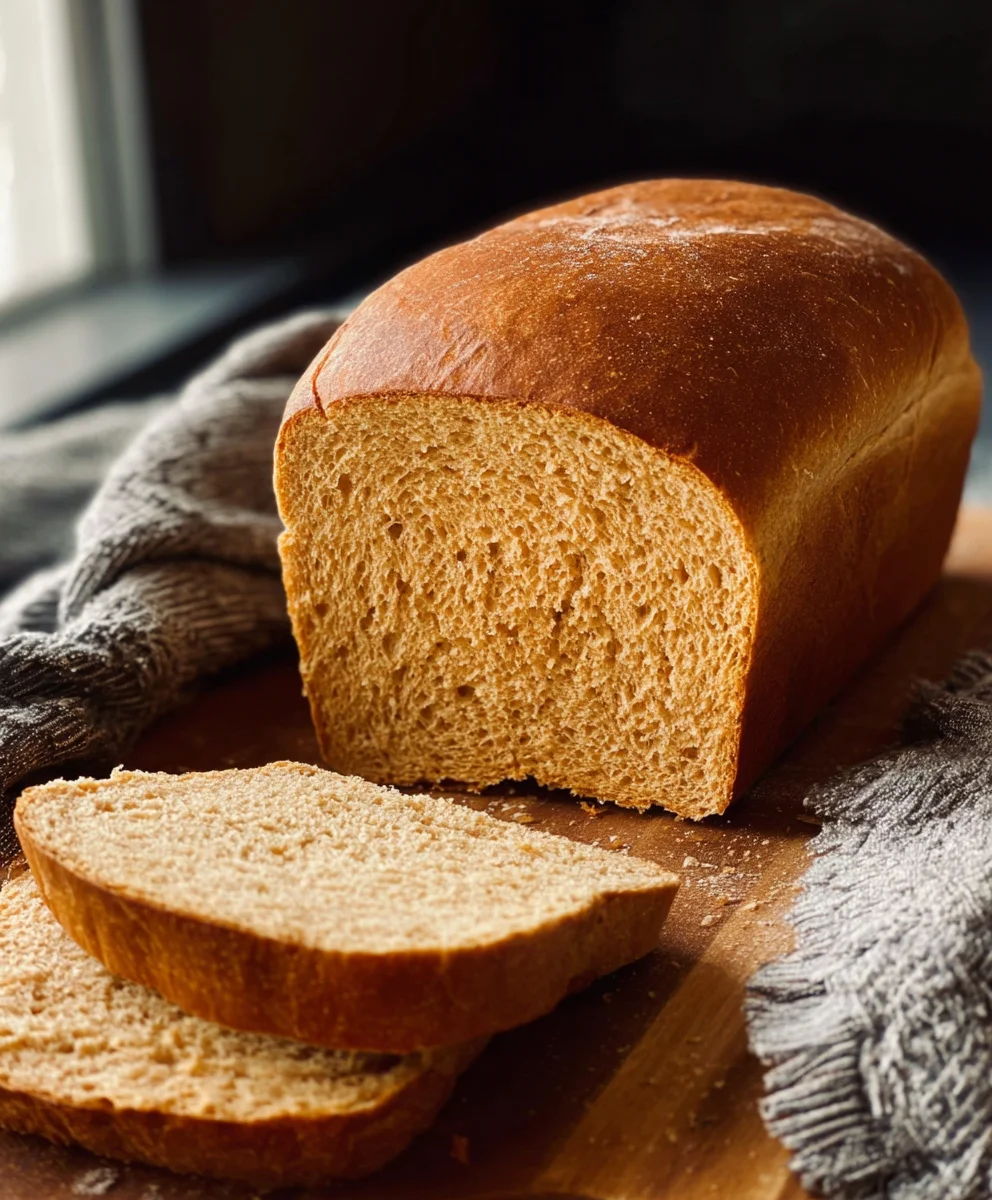
Easy Honey Wheat Bread- Delicious & Simple Homemade Recipe
A delicious and simple homemade honey wheat bread recipe that is perfect for beginners.
Ingredients
-
2 cups warm milk (approximately 110-115 degrees Fahrenheit)
-
1-1/2 tablespoons instant yeast
-
1 teaspoon sugar
-
1/2 cup warm water (approximately 110-115 degrees Fahrenheit)
-
2-1/2 cups whole wheat flour
-
3 to 3-1/2 cups bread flour or all-purpose flour
-
3 tablespoons shortening
-
1/4 cup honey
-
1 tablespoon salt
-
1 large egg whisked with 1 tablespoon water (for egg wash)
Instructions
-
Step 1
In a large mixing bowl, combine the warm milk, instant yeast, and sugar. Let it sit for 5-10 minutes until foamy. -
Step 2
In a separate bowl, combine warm water and honey. Stir until mostly dissolved. Add this to the yeast mixture along with shortening. -
Step 3
Add whole wheat flour and salt to the wet ingredients. Stir until just combined. Gradually add bread flour (starting with 3 cups), mixing until the dough begins to come together and is no longer excessively sticky. -
Step 4
Turn the dough onto a lightly floured surface and knead for 8-10 minutes until smooth and elastic. Place in a greased bowl, cover, and let rise in a warm place for 1-1.5 hours, or until doubled in size. -
Step 5
Punch down the dough, shape it into a loaf (or two), and place in a greased baking pan. Cover loosely and let rise again for 30-45 minutes until nearly doubled. -
Step 6
Preheat oven to 375°F (190°C). Brush the top of the loaf with the egg wash. Bake for 25-35 minutes, until golden brown and hollow-sounding when tapped. -
Step 7
Remove from pan and cool completely on a wire rack before slicing.
Important Information
Nutrition Facts (Per Serving)
It is important to consider this information as approximate and not to use it as definitive health advice.
Allergy Information
Please check ingredients for potential allergens and consult a health professional if in doubt.


Leave a Comment