
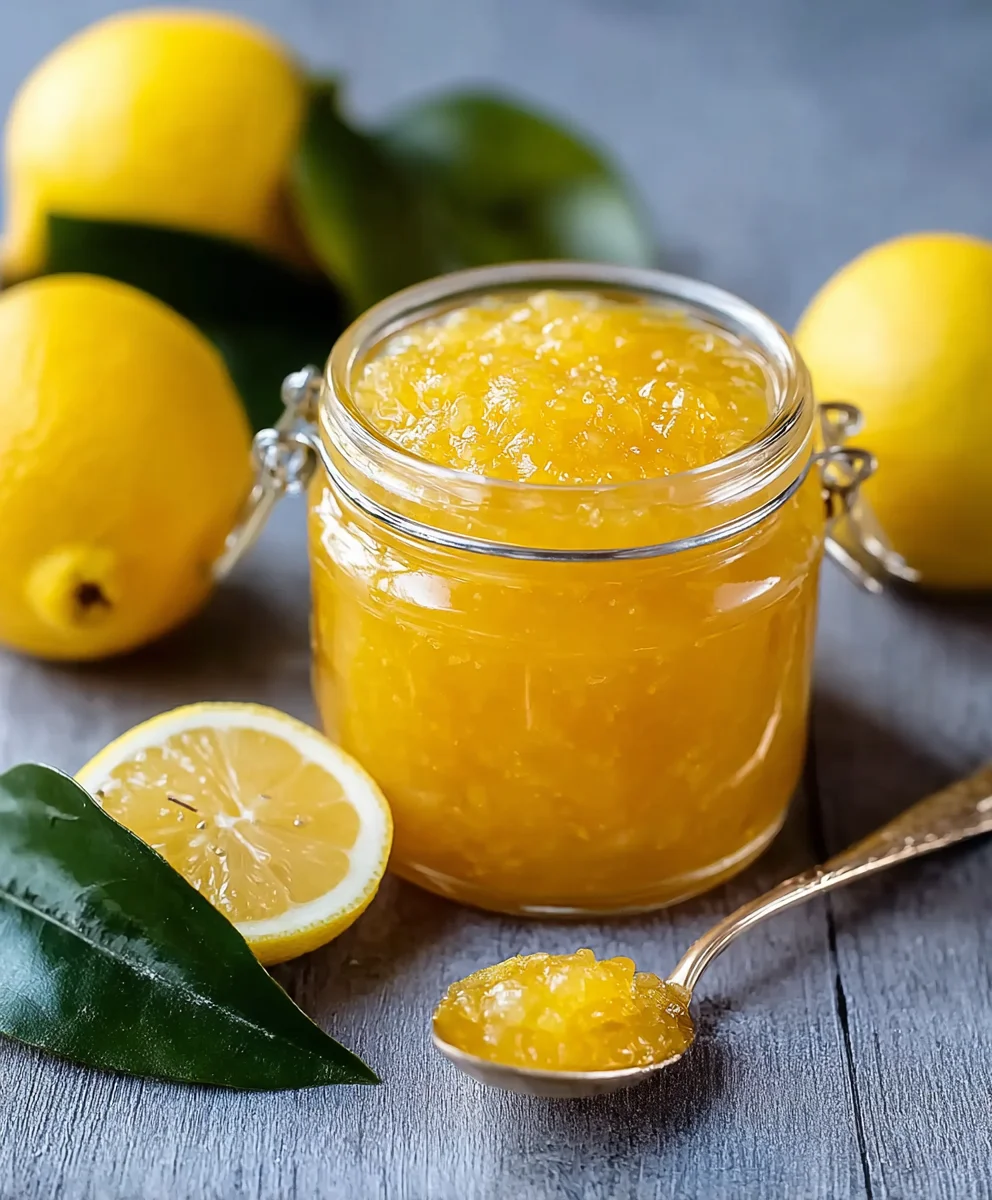
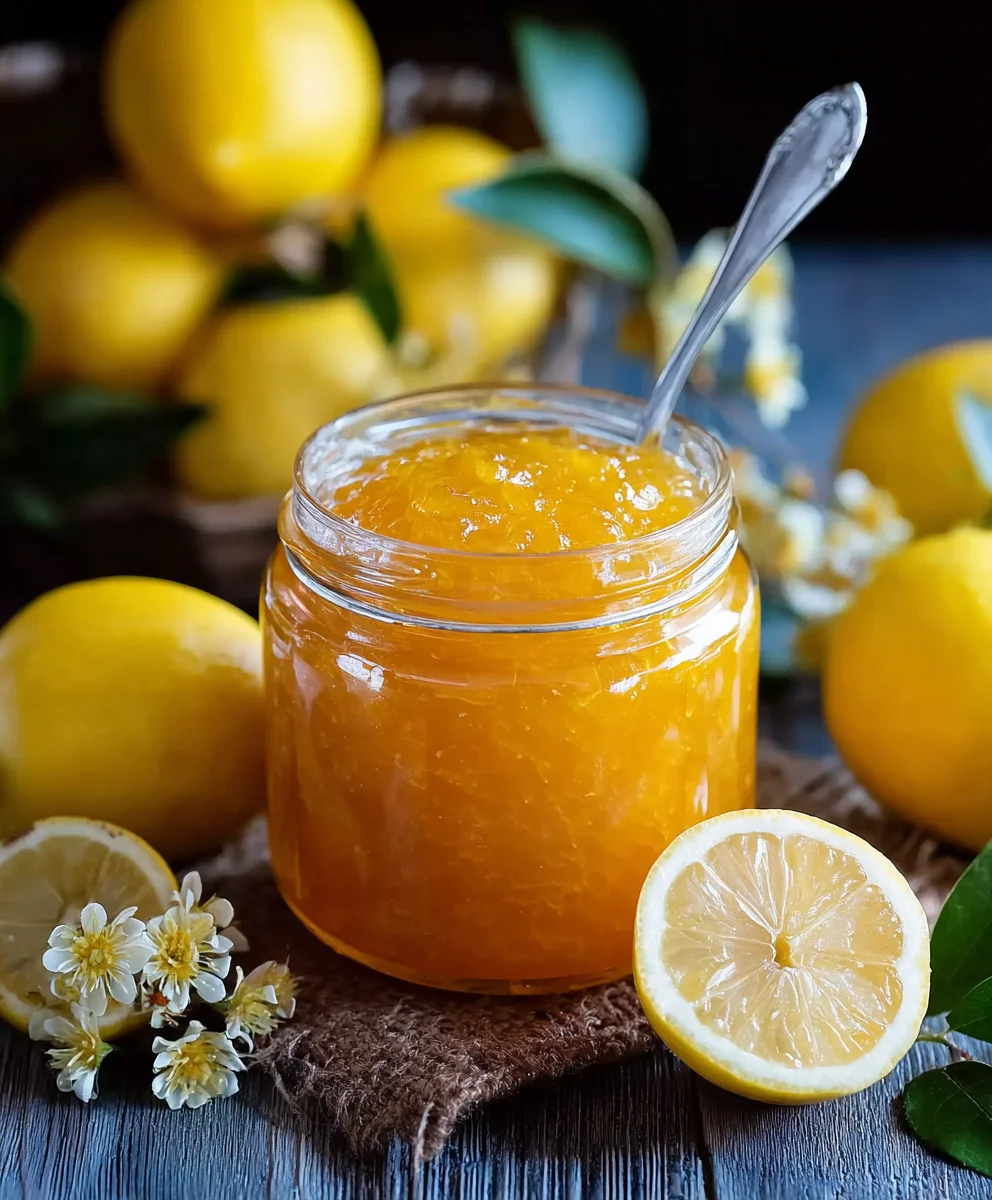
Homemade Lemon Jam is more than just a simple preserve; it’s a burst of sunshine in a jar, a tangy, sweet, and gloriously vibrant spread that elevates everything it touches. Imagin extracte the scent of fresh lemons filling your kitchen, the gentle simmer on the stove, and the anticnon-alcoholic ipation of that first spoonful of jewel-toned goodness. What is it about this seemingly humble creation that captures our hearts? It’s the perfect balance of tart and sweet, a zesty wake-up call for your taste buds that’s incredibly versatile. People adore homemade lemon jam because it tastes undeniably brighter and fresher than anything store-bought. It brings a sophisticated yet comforting touch to breakfast toast, yogurt parfaits, and even serves as a delightful glaze for cakes and pastries. This recipe will guide you through creating your own exceptionally bright and flavorful Homemade Lemon Jam, a true testament to the magic of simple, quality ingredients transformed into something truly special.

Ingredients:
- 4 large, juicy, ripe lemons
- 2 cups white granulated sugar
- 1 cup fresh water
- 1/2 teaspoon pure vanilla extract (optional)
Preparation
Let’s get started on our delightful Homemade Lemon Jam! The first crucial step is to prepare our lemons. You’ll want to wash them thoroughly under cool running water, scrubbing gently to remove any potential dirt or residue from the peel. Since we’ll be using the zest and rind, a clean lemon is paramount. After washing, pat them completely dry with a clean kitchen towel.
Now, we need to extract the zest and juice from these beautiful citrus fruits. For the zest, use a microplane or a fine grater to carefully remove only the bright yellow outer layer of the peel. Be very careful not to grate into the bitter white pith underneath, as this can impart an unpleasant flavor to your jam. You’re aiming for about 2 tablespoons of zest. Once zested, you can peel the lemons further, removing the remaining white pith, and then slice them thinly. Remove any visible seeds as you slice, as these can also add bitterness and are not pleasant in the finished jam. After slicing, juice the lemons. You should aim for about 1/2 cup of fresh lemon juice.
Cooking the Jam
In a large, heavy-bottomed saucepan or Dutch oven, combine the prepared lemon zest, sliced lemons, and the 1 cup of fresh water. A heavy-bottomed pot is essential because it distributes heat more evenly, preventing scorching and allowing for a more controlled cooking process. Bring this mixture to a gentle boil over medium-high heat, then reduce the heat to low, cover the pot, and let it simmer for about 15-20 minutes. This initial simmering period helps to soften the lemon rind and release more of its fragrant oils and pectin, which will aid in the setting of the jam. You’ll notice the lemon slices becoming more tender.
After the initial simmer, uncover the saucepan and add the 2 cups of white granulated sugar. Stir the sugar into the lemon and water mixture until it is completely dissolved. This is where the magic truly begin extracts to happen. Bring the mixture back to a rolling boil over medium-high heat, stirring frequently to prevent the sugar from sticking to the bottom of the pot. Continue to boil, stirring constantly, for about 15-25 minutes, or until the jam reaches the setting point. The jam will thicken considerably, and the bubbles will become slower and larger. To check for the setting point, you can perform the “wrinkle test”: place a small plate in the freezer before you start cooking. When you think the jam might be ready, spoon a small amount onto the cold plate. Let it cool for a minute or two. If the surface of the jam wrinkles when you push it gently with your finger, it’s ready. If it’s still very liquid, continue boiling for a few more minutes and test again. Be patient with this step; achieving the perfect set can take a little time.
Once your Homemade Lemon Jam has reached its setting point, remove the saucepan from the heat. If you’re using the vanilla extract, now is the time to stir it in. Add the 1/2 teaspoon of pure vanilla extract (if desired) and stir it gently into the hot jam. The vanilla adds a subtle warmth and depth that complements the tartness of the lemon beautifully. Allow the jam to cool in the saucepan for about 10-15 minutes. This brief cooling period helps to prevent the jars from cracking when you pour the hot jam into them and also allows the jam to thicken a little more before jarring.
Carefully ladle the hot jam into sterilized jars. Ensure your jars and lids are clean and have been properly sterilized by boiling them in water for at least 10 minutes or running them through a hot dishwasher cycle. Fill the jars, leaving about a 1/4-inch headspace at the top. Wipe the rims of the jars clean with a damp cloth to ensure a good seal. Place the lids on the jars and screw them on tightly. For longer storage, you can process the jars in a boiling water bath according to standard canning guidelines. If you’re planning to consume the jam relatively soon, storing it in the refrigerator is perfectly fine. The jam will continue to thicken as it cools completely.
Your vibrant and wonderfully zesty Homemade Lemon Jam is now ready to be enjoyed! The aroma alone is incredibly uplifting. You’ll find it’s perfect spread on toast, scones, or even as a delightful filling for cakes and tarts. The balance of sweet and tart is simply divine. This jam captures the essence of fresh lemons and is a wonderful addition to any pantry.
Conclusion:
I hope you’ve enjoyed this journey into creating your own delicious Homemade Lemon Jam! This recipe is incredibly rewarding, offering a bright, tangy spread that is far superior to anything you can buy in a jar. The process of transforming simple lemons into this vibrant preserve is truly satisfying, and the aroma that fills your kitchen is simply divine. Once you’ve tasted homemade, you’ll understand the difference quality ingredients and a little love can make.
This versatile jam is perfect for so many occasions. Enjoy it slathered on warm toast or scones, swirl it into yogurt or oatmeal for a zesty breakfast, or use it as a delightful filling for cakes and tarts. It also makes a wonderful homemade gift that’s sure to be appreciated by friends and family!
Don’t be afraid to experiment! You can add a sprig of rosemary or a few lavender buds during the simmering process for a unique floral twist. For a spicier kick, a pinch of chili flakes can be added. The possibilities are endless with this basic yet brilliant Homemade Lemon Jam recipe.
Frequently Asked Questions:
How long does Homemade Lemon Jam last?
When stored properly in sterilized airtight jars in the refrigerator, your Homemade Lemon Jam should last for about 3-4 weeks. For longer storage, proper canning techniques are recommended, which can extend its shelf life for up to a year.
Can I use Meyer lemons for this recipe?
Absolutely! Meyer lemons have a slightly sweeter and less acidic profile than regular lemons, making them a fantastic choice for this jam. You might find you need slightly less sugar, so taste as you go and adjust to your preference.
What if my jam is too thin or too thick?
If your jam is too thin after cooling, you can gently reheat it in a saucepan and simmer for a few more minutes until it reaches your desired consistency. If it’s too thick, stir in a tablespoon or two of water or fresh lemon juice while it’s warm and gently reheat to loosen it.
Easy Homemade Lemon Jam Recipe-Sweet Citrus Spread
A delightful and easy recipe for homemade lemon jam, capturing the bright, sweet, and tart essence of fresh lemons. Perfect for spreading on toast, scones, or using as a filling.
Ingredients
-
4 large, juicy, ripe lemons
-
2 cups white granulated sugar
-
1 cup fresh water
-
1/2 teaspoon pure vanilla extract (optional)
Instructions
-
Step 1
Wash lemons thoroughly and pat dry. Zest the lemons using a microplane, aiming for about 2 tablespoons of zest, avoiding the bitter white pith. Peel the remaining pith, slice the lemons thinly, removing seeds, and then juice them to get about 1/2 cup of fresh lemon juice. -
Step 2
In a heavy-bottomed saucepan, combine the prepared lemon zest, sliced lemons, and 1 cup of fresh water. Bring to a gentle boil over medium-high heat, then reduce to low, cover, and simmer for 15-20 minutes until lemon rind is tender. -
Step 3
Uncover the saucepan, add 2 cups of white granulated sugar, and stir until completely dissolved. Bring the mixture back to a rolling boil over medium-high heat, stirring frequently. -
Step 4
Continue boiling, stirring constantly, for 15-25 minutes, or until the jam reaches the setting point. Test for set by spooning a small amount onto a pre-chilled plate; it should wrinkle when gently pushed. -
Step 5
Remove from heat. If using, stir in 1/2 teaspoon of pure vanilla extract. Let the jam cool in the saucepan for 10-15 minutes. -
Step 6
Carefully ladle the hot jam into sterilized jars, leaving 1/4-inch headspace. Wipe rims, place lids, and screw on tightly. Process in a boiling water bath for longer storage, or refrigerate for immediate consumption. The jam will thicken further as it cools.
Important Information
Nutrition Facts (Per Serving)
It is important to consider this information as approximate and not to use it as definitive health advice.
Allergy Information
Please check ingredients for potential allergens and consult a health professional if in doubt.


Leave a Comment