
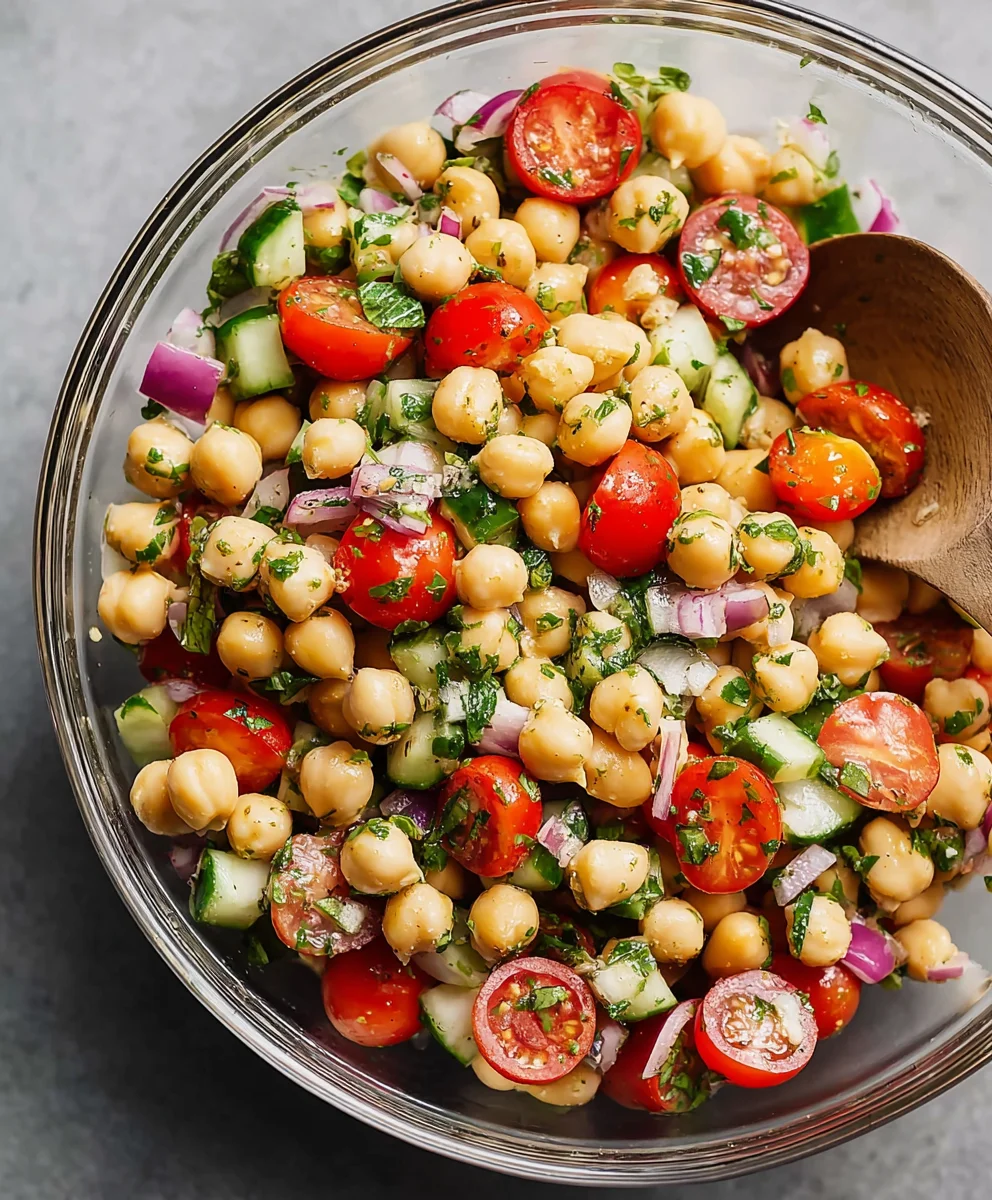
Chickpea Salad: the ultimate culinary chameleon, effortlessly transforming from a light lunch to a hearty side dish, and even a flavorful appetizer. If you’re searching for a recipe that’s both incredibly satisfying and wonderfully versatile, you’ve landed in the right place. What is it about this simple combination of humble chickpeas and vibrant ingredients that captures our taste buds? Perhaps it’s the delightful textural interplay – the tender, yielding chickpeas meeting the crisp crunch of celery and onion, all brought together by a creamy, tangy dressing. Or maybe it’s the sheer adaptability; this chickpea salad recipe is your blank canvas, ready to be adorned with your favorite herbs, spices, and even a sprinkle of toasted nuts for added depth. It’s the kind of dish that makes you feel good about what you’re eating, packed with protein and fiber, and it’s a fantastic way to impress guests without spending hours in the kitchen. Get ready to discover your new go-to chickpea salad!

Ingredients:
- 2 tablespoons extra-virgin olive oil
- 2 tablespoons fresh lemon juice
- 1 garlic clove, grated
- 1 teaspoon Dijon mustard
- 1 teaspoon sea salt
- Freshly ground black pepper, to taste
- 3 cups cooked chickpeas, drained and rinsed
- 2 cups mixed yellow and red grape tomatoes, halved
- ½ English cucumber, diced
- ½ cup pickled red onions
- ½ cup kalamata olives, pitted and halved
- ½ cup chopped fresh parsley
- ¼ cup chopped fresh dill
- ¼ cup chopped fresh mint, plus whole leaves for garnish
Preparation
Step 1: Crafting the Vibrant Dressing
The heart of any great Chickpea Salad lies in its dressing, and ours is designed to be bright, zesty, and packed with flavor. In a medium-sized bowl, begin by whisking together the 2 tablespoons of extra-virgin olive oil and the 2 tablespoons of fresh lemon juice. These two ingredients form the emulsified base, providing a lovely balance of richness and acidity. Next, we’ll add the aromatic punch. Carefully grate the single garlic clove directly into the bowl. Grating the garlic ensures it disperses evenly throughout the dressing, releasing its pungent oils without any harsh chunks. Following that, incorporate the 1 teaspoon of Dijon mustard. Dijon mustard not only adds a subtle tang but also acts as an emulsifier, helping to bind the oil and lemon juice together into a smooth, cohesive sauce. Now, season generously with 1 teaspoon of sea salt. Don’t be shy with the salt; it’s crucial for bringing out the individual flavors of all the other ingredients. Finally, add freshly ground black pepper to taste. I like to give it a few good twists from my pepper mill for a fresh, slightly spicy kick. Whisk everything together vigorously until the dressing is well combined and has a uniform consistency. Taste a tiny bit of the dressing on its own to ensure the seasoning is just right before you toss it with the salad components. This initial tasting step is essential for fine-tuning the flavor profile.
Step 2: Assembling the Salad Base
With our flavorful dressing ready, it’s time to bring together the stars of the show: the chickpeas and fresh produce. In a large mixing bowl, add the 3 cups of cooked chickpeas. Make sure they are thoroughly drained and rinsed to remove any residual canning liquid, which can sometimes impart an off-flavor. The rinsed chickpeas provide a hearty, protein-rich foundation for our salad. Next, add the 2 cups of mixed yellow and red grape tomatoes, which have been halved. The halved tomatoes will release their sweet juices as the salad sits, contributing moisture and a delightful burst of freshness. Following the tomatoes, introduce the ½ English cucumber, diced. I prefer English cucumbers for their thin skins and fewer seeds, which means less prep work and a more pleasant texture. Ensure the dice is relatively uniform so that each bite offers a consistent crunch. The combination of chickpeas, tomatoes, and cucumber creates a delightful textural contrast – the tender chickpeas, the juicy tomatoes, and the crisp cucumber.
Step 3: Incorporating the Briny and Sharp Accents
Now, we’ll elevate the salad with ingredients that offer pops of distinctive flavor and color. To the large bowl containing the chickpeas, tomatoes, and cucumber, add the ½ cup of pickled red onions. These onions bring a beautiful vibrant pink hue and a delightful tang that cuts through the richness of the other ingredients. If you’re making your own pickled red onions, ensure they are well-drained before adding them to the salad. Next, add the ½ cup of kalamata olives, pitted and halved. The briny, slightly fruity notes of the olives are a classic pairing with Mediterranean-inspired flavors, and they add a wonderful savory depth. Ensure the olives are pitted to avoid any unpleasant surprises. These additions, the pickled red onions and kalamata olives, play a crucial role in providing complexity to the overall flavor profile of this Chickpea Salad.
Step 4: Infusing with Fresh Herbs
The final touch that truly awakens this Chickpea Salad and makes it sing is the generous addition of fresh herbs. To the large bowl, stir in the ½ cup of chopped fresh parsley. Parsley offers a clean, slightly peppery flavor that brightens the entire dish. Following the parsley, add the ¼ cup of chopped fresh dill. Dill has a distinct, slightly anise-like flavor that is incredibly refreshing and pairs beautifully with lemon and cucumber. Finally, incorporate the ¼ cup of chopped fresh mint. Mint adds a surprising coolness and a fragrant aroma that elevates the salad to a new level. The combination of parsley, dill, and mint creates a complex and aromatic herbaceousness that is both invigorating and satisfying. Don’t underestimate the power of fresh herbs; they are the unsung heroes of many delicious dishes, and they are particularly vital in making this Chickpea Salad truly memorable.
Step 5: Tossing and Chilling for Optimal Flavor Development
Once all the main ingredients and fresh herbs are in the bowl, it’s time to bring it all together. Gently pour the prepared dressing over the salad ingredients. Using a large spoon or spatula, carefully toss everything to ensure the dressing coats every component evenly. Be gentle when tossing to avoid mushing the ingredients, especially the tomatoes and chickpeas. You want to maintain their texture. After tossing, cover the bowl tightly with plastic wrap or transfer the salad to an airtight container. For the flavors to truly meld and develop, it’s essential to let the Chickpea Salad chill in the refrigerator for at least 30 minutes. This chilling period allows the dressing to infuse into the chickpeas and vegetables, creating a more cohesive and deeply flavorful salad. I often find that the salad is even better the next day, as the flavors have had more time to harmonize. Before serving, give the salad a gentle stir. Garnish with whole mint leaves for an extra burst of freshness and visual appeal. This simple step adds a final flourish and enhances the overall sensory experience of enjoying this delightful Chickpea Salad.
Conclusion:
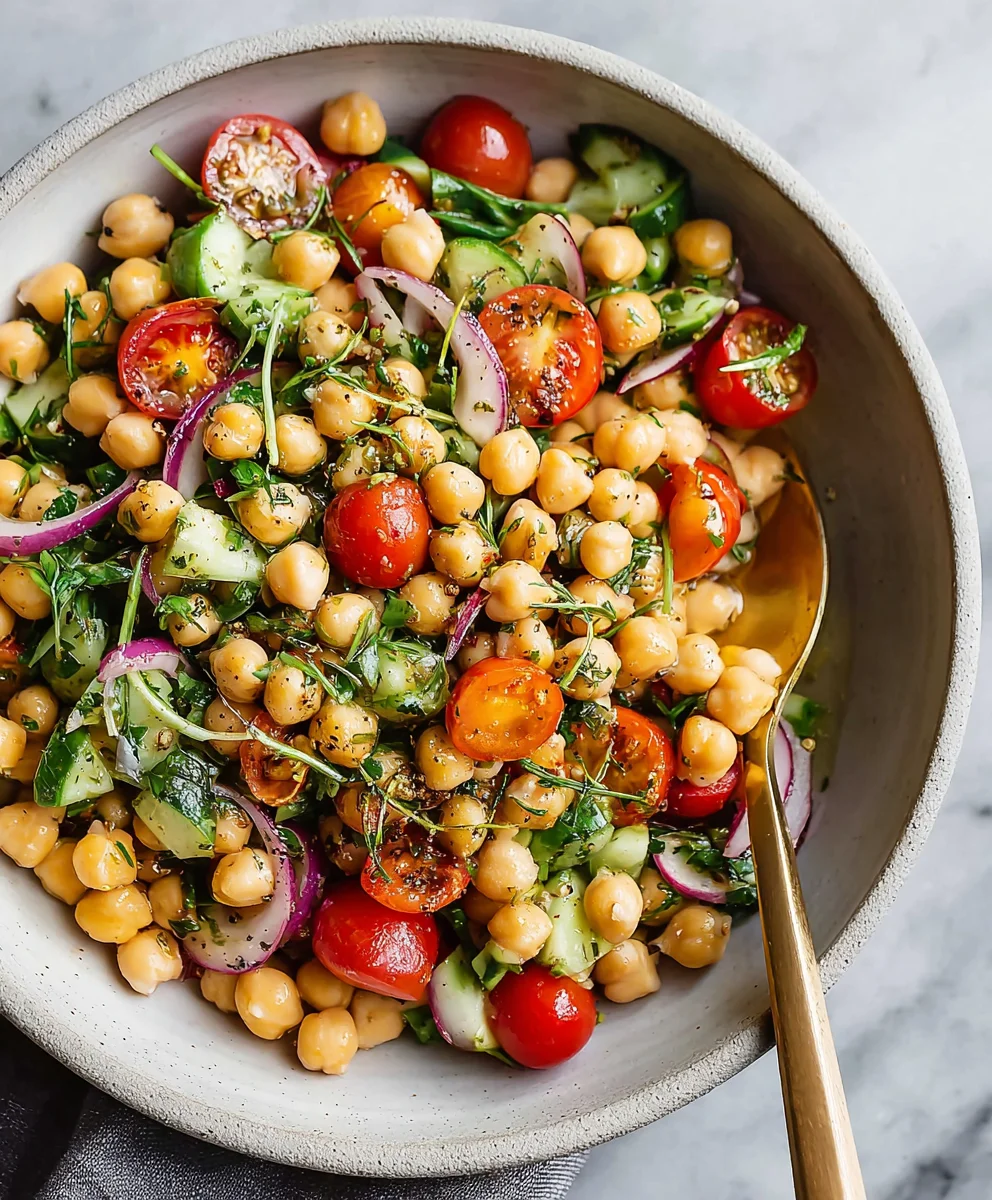
I hope you’ve enjoyed learning how to make this incredibly versatile and delicious Chickpea Salad! This recipe is a fantastic go-to for a quick and healthy meal, whether you’re looking for a light lunch, a satisfying side dish, or even a vegetarian filling for sandwiches and wraps. The beauty of this chickpea salad lies in its simplicity and adaptability. It’s a true crowd-pleaser that caters to various dietary preferences and is surprisingly filling. Don’t be afraid to experiment with the seasonings and add-ins to make it your own! I truly encourage you to give this recipe a try – you might just find your new favorite lunch staple.
For serving, consider enjoying it piled high on crusty bread, tucked into a pita, or alongside a fresh green salad. It’s also excellent served with crackers or as a flavorful topping for baked sweet potatoes.
Frequently Asked Questions:
What are some other vegetables I can add to my chickpea salad?
You can absolutely customize your chickpea salad with a variety of vegetables! Bell peppers (any color), shredded carrots, celery, finely chopped red onion, corn, or even chopped cucumber are all wonderful additions. For a bit of heat, consider adding some diced jalapeño.
How long does chickpea salad last in the refrigerator?
This chickpea salad will stay fresh in an airtight container in the refrigerator for about 3 to 4 days. It’s best to store any additions like fresh herbs separately until just before serving to maintain their vibrancy.
Can I make this chickpea salad vegan?
Yes, absolutely! The base recipe is already vegan. If your recipe typically calls for mayonnaise, ensure you use a vegan mayonnaise alternative for a fully plant-based chickpea salad.
Easy Chickpea Salad Recipe- Quick & Delicious Lunch
A quick, delicious, and vibrant chickpea salad perfect for a light lunch or side dish. Packed with fresh vegetables and a zesty lemon-herb dressing.
Ingredients
-
2 tablespoons extra-virgin olive oil
-
2 tablespoons fresh lemon juice
-
1 garlic clove, grated
-
1 teaspoon Dijon mustard
-
1 teaspoon sea salt
-
Freshly ground black pepper, to taste
-
3 cups cooked chickpeas, drained and rinsed
-
2 cups mixed yellow and red grape tomatoes, halved
-
½ English cucumber, diced
-
½ cup pickled red onions
-
½ cup kalamata olives, pitted and halved
-
½ cup chopped fresh parsley
-
¼ cup chopped fresh dill
-
¼ cup chopped fresh mint, plus whole leaves for garnish
Instructions
-
Step 1
Crafting the Vibrant Dressing: In a medium bowl, whisk together olive oil, lemon juice, grated garlic, Dijon mustard, sea salt, and black pepper until well combined. -
Step 2
Assembling the Salad Base: In a large bowl, combine drained and rinsed chickpeas, halved grape tomatoes, and diced English cucumber. -
Step 3
Incorporating the Briny and Sharp Accents: Add pickled red onions and halved kalamata olives to the large bowl. -
Step 4
Infusing with Fresh Herbs: Stir in chopped fresh parsley, dill, and mint into the salad mixture. -
Step 5
Tossing and Chilling for Optimal Flavor Development: Pour the dressing over the salad ingredients and gently toss to coat. Cover and chill for at least 30 minutes before serving. Garnish with whole mint leaves.
Important Information
Nutrition Facts (Per Serving)
It is important to consider this information as approximate and not to use it as definitive health advice.
Allergy Information
Please check ingredients for potential allergens and consult a health professional if in doubt.


Leave a Comment