
Cheesy Garlic Chicken Wraps are more than just a meal; they are a culinary celebration of convenience and irresistible flavor. We all know those busy weeknights when time is of the essence, yet the craving for something truly satisfying remains. This dish perfectly bridges that gap, offering a symphony of savory chicken, rich melted cheese, and aromatic garlic, all embraced by a warm, soft tortilla. While its origins aren’t centuries old in the traditional sense, these delightful wraps represent a modern classic, evolving from our collective love for comfort food that is both quick to prepare and incredibly versatile. I believe the true beauty of the Cheesy Garlic Chicken Wraps lies in their ability to deliver maximum deliciousness with minimal fuss.
A Perfect Solution for Busy Weeknights and Beyond
The combination of tender, juicy chicken infused with pungent garlic, paired with gooey, melted cheese, creates a taste and texture sensation that is utterly addictive. It’s a dish cherished by families and individuals alike, perfect for a speedy dinner, a hearty lunch, or even an impressive, yet easy, appetizer for gatherings. Get ready to transform simple ingredients into an extraordinary eating experience that will have everyone asking for more!

Ingredients:
- For the Cheesy Garlic Chicken:
- 2 pounds boneless, skinless chicken breasts or thighs, cut into 1/2-inch strips or bite-sized cubes. I find thighs offer a bit more juiciness, but breasts work beautifully too!
- 4-6 cloves fresh garlic, minced – and honestly, more if you’re a garlic fanatic like me! This is crucial for our “Cheesy Garlic Chicken Wraps.”
- 1 tablespoon olive oil, plus more for cooking. A good quality extra virgin olive oil always adds a nice touch.
- 1 teaspoon dried oregano, or a mix of Italian herbs.
- 1/2 teaspoon smoked paprika (for a lovely subtle depth of flavor and color).
- 1/4 teaspoon black pepper, freshly ground.
- 1/2 teaspoon salt, or to taste.
- 1/4 cup chicken broth or water (optional, for deglazing and keeping chicken moist).
- 1 cup shredded Monterey Jack or a blend of Colby-Jack cheese. This meltable cheese is key for the “Cheesy Garlic Chicken” component.
- For the Creamy Garlic Cheese Sauce:
- 2 tablespoons unsalted butter.
- 2 tablespoons all-purpose flour.
- 1 1/2 cups milk (whole milk works best for creaminess, but 2% is fine).
- 2-3 cloves fresh garlic, minced (yes, more garlic!).
- 1/2 cup shredded sharp cheddar cheese, or a mix of cheddar and Parmesan for extra zing.
- 1/4 cup cream cheese, softened (adds an incredible velvety texture).
- 1/4 teaspoon onion powder.
- Salt and freshly ground black pepper to taste.
- A pinch of red pepper flakes (optional, for a little warmth).
- For Assembling the Wraps:
- 8-10 large flour tortillas (10-inch size is ideal for hearty “Cheesy Garlic Chicken Wraps”). Look for “burrito size.”
- 1 cup shredded lettuce (iceberg or romaine for that satisfying crunch).
- 1/2 cup diced ripe tomatoes or cherry tomatoes, halved.
- 1/4 cup thinly sliced red onion or green onions, for a little bite and freshness.
- Optional additions: sliced avocado, a dollop of sour cream, or extra shredded cheese.
Preparing the Cheesy Garlic Chicken:
- Prepare the Chicken: First things first, let’s get our chicken ready. If you’re using chicken breasts, I recommend slicing them into thinner cutlets first, then cutting those into uniform 1/2-inch strips or bite-sized cubes. This ensures even cooking and makes them easier to manage in our Cheesy Garlic Chicken Wraps. Pat the chicken dry with paper towels; this step is crucial for getting a good sear and preventing the chicken from steaming in the pan.
- Marinate the Chicken: In a medium bowl, combine your prepared chicken with 1 tablespoon of olive oil, the generous amount of minced garlic (the 4-6 cloves!), dried oregano, smoked paprika, salt, and black pepper. Use your hands to really massage the seasonings into every piece of chicken. We want every bite to be bursting with flavor for our Cheesy Garlic Chicken Wraps! Let this marinate for at least 15-20 minutes at room temperature, or if you have more time, cover it and refrigerate for up to an hour for even deeper flavor.
- Cook the Chicken: Heat 1-2 tablespoons of olive oil in a large skillet or cast-iron pan over medium-high heat until shimmering. Once hot, add the marinated chicken in a single layer, making sure not to overcrowd the pan. You might need to cook it in batches. Cook for 3-4 minutes per side, or until beautifully golden brown and cooked through. You’re looking for a nice sear and no pink in the center. The aroma of the garlic and herbs cooking with the chicken will be absolutely divine!
- Deglaze (Optional but Recommended): If you notice some delicious browned bits sticking to the bottom of the pan after the chicken is cooked, pour in 1/4 cup of chicken broth or water. Use a wooden spoon to scrape up those flavorful bits – this is called deglazing, and it adds incredible depth. Let the liquid reduce for a minute.
- Add the Cheese to the Chicken: Reduce the heat to low. Sprinkle the 1 cup of shredded Monterey Jack (or Colby-Jack) cheese evenly over the cooked chicken in the skillet. Cover the skillet with a lid for 1-2 minutes, just long enough for the cheese to melt into a gooey, irresistible layer over the chicken. The sight of that melted cheese clinging to the garlic chicken is exactly what we want for our Cheesy Garlic Chicken Wraps! Remove from heat and set aside.
Crafting the Creamy Garlic Cheese Sauce:
This sauce is the secret weapon that elevates our Cheesy Garlic Chicken Wraps from good to absolutely amazing. It’s rich, garlicky, and perfectly creamy.
- Start the Roux: In a medium saucepan, melt 2 tablespoons of unsalted butter over medium heat. Once the butter is melted and sizzling gently, add 2 tablespoons of all-purpose flour. Whisk continuously for about 1-2 minutes to cook out the raw flour taste, creating a light blonde roux. It will smell slightly nutty. This roux is what will thicken our sauce beautifully.
- Infuse with Garlic: Add the 2-3 cloves of minced garlic to the roux and cook for another 30 seconds to 1 minute, stirring constantly. Be careful not to burn the garlic; we want its aromatic essence, not a bitter taste. The kitchen will start smelling absolutely incredible at this point!
- Add Milk and Whisk: Gradually pour in the 1 1/2 cups of milk, whisking constantly to prevent lumps. Start with a small amount of milk to make a paste, then slowly add the rest. Keep whisking until the sauce begins to thicken and smooth out, which should take about 3-5 minutes. It will start to coat the back of your spoon.
- Melt in the Cheeses: Reduce the heat to low. Add the 1/2 cup of shredded sharp cheddar cheese and the 1/4 cup of softened cream cheese to the saucepan. Continue to whisk gently until both cheeses are completely melted and incorporated, creating a velvety, smooth sauce. The cream cheese is a game-changer for texture here.
- Season the Sauce: Stir in the 1/4 teaspoon of onion powder. Season with salt and freshly ground black pepper to taste. If you like a little kick, now is the time to add a pinch of red pepper flakes. Taste and adjust seasonings as needed. This sauce should be rich, garlicky, and wonderfully cheesy – perfect for our Cheesy Garlic Chicken Wraps! Keep the sauce warm over very low heat, stirring occasionally, or cover it until ready to assemble.
Prepping the Fresh Vegetables and Tortillas:
Freshness is key for balancing the richness of the chicken and sauce in our Cheesy Garlic Chicken Wraps. And perfectly warmed tortillas make all the difference for a flexible, easy-to-roll wrap.
- Prepare the Vegetables: Wash and thoroughly dry your lettuce. Shred it thinly, as this makes it easier to distribute and eat in the wrap. Dice your ripe tomatoes into small pieces, or halve your cherry tomatoes. Thinly slice your red onion or chop your green onions. Arrange all the prepared vegetables on a platter so they’re ready for assembly. This colorful array will add texture and a fresh contrast to the rich filling.
-
Warm the Tortillas: Cold tortillas tend to crack and break when rolled. We want them pliable and soft! There are a few ways to do this:
- Microwave Method: Stack a few tortillas together, wrap them in a slightly damp paper towel, and microwave for 20-30 seconds until warm and flexible.
- Skillet Method: Heat a dry skillet over medium heat. Place one tortilla at a time in the skillet for 15-20 seconds per side, until it puffs up slightly and becomes soft. This method adds a lovely subtle toasted flavor.
- Oven Method: Wrap a stack of tortillas in aluminum foil and warm in a preheated oven at 300°F (150°C) for about 10-15 minutes. This is great if you’re warming a larger batch.
Once warmed, keep them covered with a clean kitchen towel to retain their warmth and flexibility until you’re ready to assemble your Cheesy Garlic Chicken Wraps.
Assembling Your Cheesy Garlic Chicken Wraps:
Now for the fun part – putting it all together! This is where our Cheesy Garlic Chicken Wraps truly come to life.
- Lay it Out: Take one warm flour tortilla and lay it flat on a clean surface or plate. Make sure you have all your components ready and within arm’s reach: the cheesy garlic chicken, the creamy garlic cheese sauce, and your fresh vegetables.
- Sauce It Up: Spoon about 2-3 tablespoons of the warm creamy garlic cheese sauce down the center of the tortilla. Spread it evenly, leaving about an inch clear around the edges. This sauce is going to be the glue and the flavor explosion that ties everything together. Don’t be shy, but don’t overdo it either, or your wrap might get soggy.
- Add the Cheesy Garlic Chicken: Next, place a generous portion of the cheesy garlic chicken mixture over the sauce. Arrange it in a line down the center of the tortilla. Aim for an amount that makes a hearty wrap without making it impossible to roll. Remember, this is the star of our “Cheesy Garlic Chicken Wraps”!
- Pile on the Veggies: Layer your fresh vegetables over the chicken. Start with a handful of shredded lettuce, followed by some diced tomatoes and a sprinkle of red onion or green onions. The crispness of the lettuce and the fresh burst of tomato really complement the rich chicken and sauce. If you’re adding avocado, now’s the time!
-
Fold and Roll (The Art of the Wrap!):
- Step A: Fold in the Sides: Take the two opposite sides of the tortilla (the ones perpendicular to your filling line) and fold them inward over the filling by about an inch or two. This creates a secure base and prevents filling from spilling out the sides.
- Step B: Fold Up the Bottom: Now, take the bottom edge of the tortilla (the one closest to you) and fold it up tightly over the filling. Tuck it in firmly, ensuring it covers the folded side edges.
- Step C: Roll It Tight: Keeping the wrap snug, continue to roll the tortilla upwards away from you, maintaining a tight cylinder. Roll it as tightly as you can without tearing the tortilla. A firm roll ensures all the delicious contents stay put and makes for a more satisfying eating experience.
You should end up with a beautifully cylindrical Cheesy Garlic Chicken Wrap, ready to be devoured!
Serving Suggestions and Enjoying Your Wraps:
Congratulations, you’ve just created incredibly delicious Cheesy Garlic Chicken Wraps! Here’s how to make the most of them:
- Serve Immediately: These wraps are best enjoyed fresh, when the tortillas are still warm, the chicken is hot, and the cheese is delightfully gooey. The contrast of the warm filling and crisp, fresh vegetables is at its peak.
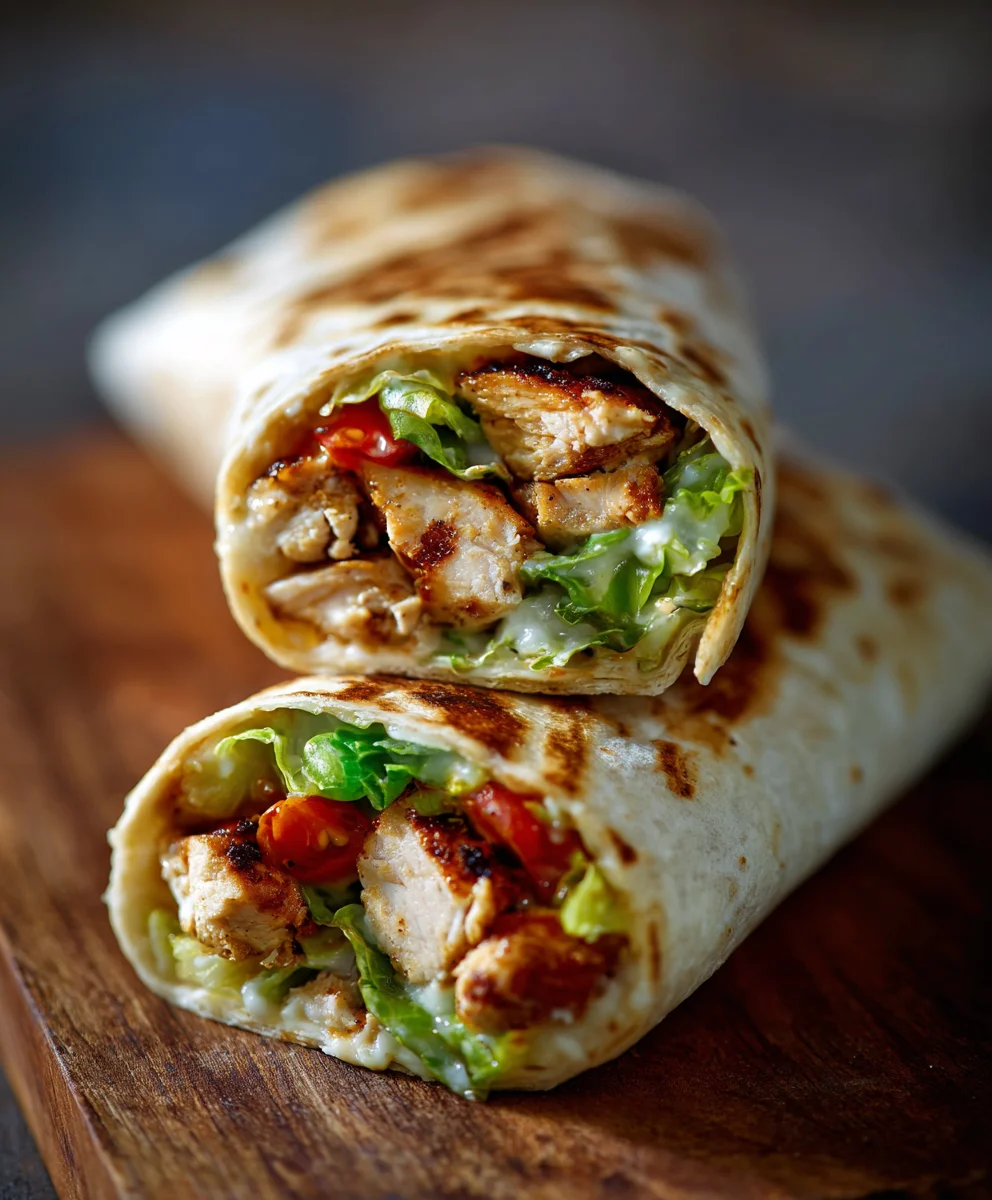
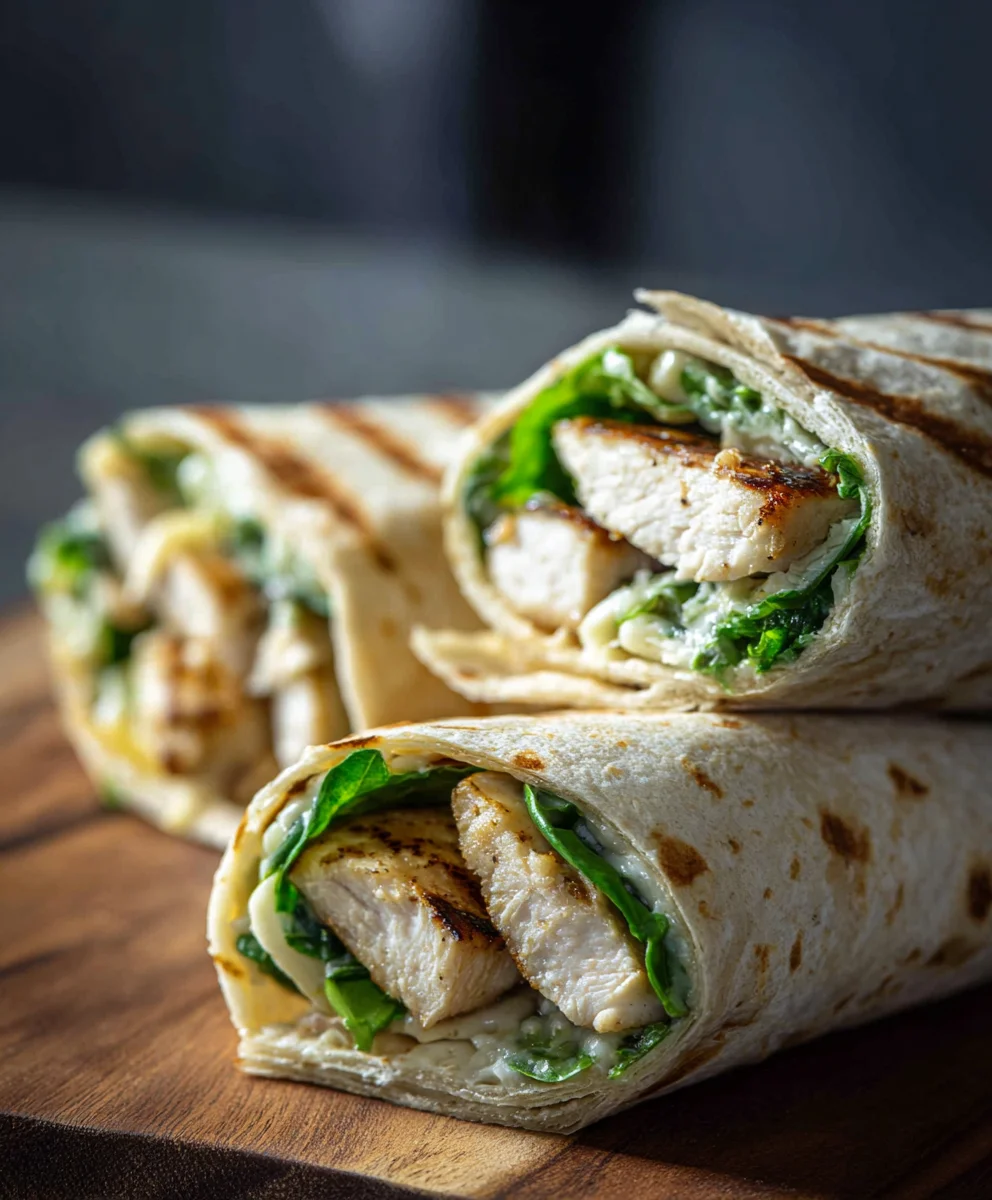
- Cut for Presentation (Optional): For a nice presentation or if you find them a bit too large to handle, you can slice each wrap in half diagonally across the middle. This also gives a lovely cross-section view of all the layers inside your amazing Cheesy Garlic Chicken Wraps.
- Pair with Sides: While these wraps are incredibly filling on their own, they also pair wonderfully with a simple side. Consider serving them with a light green salad with a vinaigrette dressing, a bowl of tortilla chips and salsa, or even some seasoned fries.
- Extra Sauce on the Side: If you have any leftover creamy garlic cheese sauce, don’t let it go to waste! Serve it on the side for dipping your wraps or even for drizzling over the top. It’s too good to miss.
- Storage Tips: If you happen to have any leftover assembled wraps, you can store them in an airtight container in the refrigerator for up to 1-2 days. However, be aware that the tortillas may become a little soggy from the sauce and vegetables. For best results, it’s always ideal to assemble only what you plan to eat immediately. You can store the cooked chicken and sauce separately in airtight containers for up to 3-4 days and assemble fresh wraps as desired. Simply reheat the chicken and sauce gently on the stovetop or in the microwave before assembling.
I hope you and your loved ones absolutely adore these homemade Cheesy Garlic Chicken Wraps. They’re a fantastic, flavorful meal that’s perfect for a weeknight dinner or a fun weekend lunch!
<h2>Conclusion:</h2>
<p>Well, my friends, we’ve reached the end of our culinary journey, and I genuinely hope you’re as excited as I am about what we’ve explored. This recipe isn’t just another dish; it’s a gateway to effortlessly delicious meals that consistently impress. I truly believe that once you try it, you’ll understand why I’m so enthusiastic. <strong>It’s the perfect blend of comfort and convenience, a weeknight savior, and a crowd-pleaser all rolled into one.</strong> The combination of tender, flavorful chicken, the unmistakable warmth of garlic, and the satisfying melt of cheese, all nestled within a soft wrap, creates an experience that truly transcends the sum of its parts. It’s hearty without being heavy, incredibly satisfying, and remarkably versatile, making it an absolute staple in my kitchen, and I’m confident it will become one in yours too.</p>
<p>What makes these <strong>Cheesy Garlic Chicken Wraps</strong> a must-try, in my opinion, is their incredible ability to deliver maximum flavor with minimal fuss. We’re talking about a dish that tastes like it took hours of intricate preparation, but in reality, comes together surprisingly quickly. The secret lies in the layering of flavors – from the initial marinade (if you opt for one) to the careful seasoning during cooking, ensuring every bite is packed with savory goodness. <strong>It’s the ultimate comfort food without the guilt, satisfying those cravings for something substantial and utterly delicious.</strong> Whether you’re feeding a hungry family, hosting a casual get-together, or simply looking for an easy yet exciting meal for yourself, this recipe checks all the boxes. It’s truly a testament to how simple ingredients, thoughtfully combined, can create something truly spectacular.</p>
<h4>Serving Suggestions & Creative Variations:</h4>
<p>While these wraps are undeniably fantastic on their own, don’t hesitate to elevate your meal with some thoughtful pairings. For a fresh and balanced dinner, I love serving them alongside a crisp, vibrant <strong>side salad</strong> – think mixed greens with cherry tomatoes, cucumbers, and a light vinaigrette. The freshness cuts through the richness of the wrap beautifully. Another excellent accompaniment is a simple <strong>bowl of creamy tomato soup</strong> for a classic pairing that offers warmth and comfort. If you’re feeling a bit more adventurous, a <strong>Mexican street corn salad</strong> (esquites) or even a <strong>homemade coleslaw</strong> would be fantastic, adding texture and a tangy counterpoint. And of course, a little bowl of your favorite dipping sauce, be it ranch, sriracha mayo, or even a zesty avocado cream, can take these wraps to another level.</p>
<p>The beauty of this recipe also lies in its incredible adaptability. Don’t be afraid to make it your own!</p>
<h5>Protein Swaps:</h5>
<ul>
<li>Not a chicken fan? <strong>Shredded pork or even lean ground turkey</strong> seasoned similarly would work wonderfully.</li>
<li>For a vegetarian option, consider <strong>sautéed mushrooms and bell peppers</strong> or even <strong>black beans</strong> as the main filling, ensuring you still get that incredible garlic and cheese flavor profile.</li>
</ul>
<h5>Cheesy Choices:</h5>
<ul>
<li>Experiment with different cheeses! While mozzarella is a classic, <strong>pepper jack</strong> will add a subtle kick, <strong>sharp cheddar</strong> will give it more tang, or a <strong>Monterey Jack</strong> blend offers superb meltability and a milder flavor.</li>
</ul>
<h5>Veggie Boosts:</h5>
<ul>
<li>Feel free to <strong>add finely diced bell peppers, sautéed onions, or even some fresh spinach</strong> directly into the filling for an extra nutritional punch and textural variation.</li>
<li>A handful of <strong>sweet corn or black beans</strong> would also be a fantastic addition, adding sweetness and earthy notes.</li>
</ul>
<h5>Spice it Up:</h5>
<ul>
<li>If you love a little heat, a dash of <strong>cayenne pepper</strong> or <strong>red pepper flakes</strong> in the chicken seasoning, or even some <strong>diced jalapeños</strong>, can really kick things up a notch.</li>
</ul>
<h5>Wrap It Differently:</h5>
<ul>
<li>Instead of flour tortillas, try <strong>whole wheat wraps</strong> for a healthier twist, or even large <strong>butter lettuce leaves</strong> for a lighter, gluten-free option.</li>
</ul>
<h4>Your Turn!</h4>
<p>Now that you have all the tips and inspiration, it’s your turn to head into the kitchen and make these amazing <strong>Cheesy Garlic Chicken Wraps</strong>! I promise you won’t regret it. They’re satisfying, simple, and seriously delicious – a winning combination for any meal. Don’t let another weeknight pass by without experiencing the pure joy of biting into one of these. <strong>I’m genuinely excited for you to try this recipe!</strong> Once you’ve whipped up your own batch, please don’t keep it a secret! I absolutely love hearing about your cooking adventures. Come back and let me know how it went in the comments below. Did you try a fun variation? What did you serve it with? <strong>Share your photos, your triumphs, and any creative twists you added!</strong> Your feedback and experiences not only make my day but also inspire other readers in our wonderful cooking community. Happy cooking, and I can’t wait to hear from you!</p>
Quick & Delicious Cheesy Garlic Chicken Wraps
Cheesy Garlic Chicken Wraps are a culinary celebration of convenience and irresistible flavor. This dish offers a symphony of savory chicken, rich melted cheese, and aromatic garlic, all embraced by a warm, soft tortilla. Perfect for busy weeknights, hearty lunches, or easy appetizers.
Ingredients
-
2 lbs boneless, skinless chicken breasts or thighs, cut into 1/2-inch strips/cubes
-
4-6 cloves fresh garlic, minced (for chicken)
-
1 tbsp olive oil, plus more for cooking
-
1 tsp dried oregano
-
1/2 tsp smoked paprika
-
1/4 tsp black pepper
-
1/2 tsp salt
-
1/4 cup chicken broth or water (optional)
-
1 cup shredded Monterey Jack or Colby-Jack cheese
-
2 tbsp unsalted butter
-
2 tbsp all-purpose flour
-
1 1/2 cups milk
-
2-3 cloves fresh garlic, minced (for sauce)
-
1/2 cup shredded sharp cheddar cheese
-
1/4 cup cream cheese, softened
-
1/4 tsp onion powder
-
Salt and black pepper to taste (for sauce)
-
Pinch red pepper flakes (optional)
-
8-10 large flour tortillas (10-inch)
-
1 cup shredded lettuce
-
1/2 cup diced tomatoes
-
1/4 cup thinly sliced red or green onion
-
Optional: sliced avocado, sour cream, extra cheese
Instructions
-
Step 1
Cut chicken into 1/2-inch strips/cubes. Combine with 1 tbsp olive oil, 4-6 cloves minced garlic, 1 tsp oregano, 1/2 tsp smoked paprika, 1/2 tsp salt, and 1/4 tsp black pepper. Marinate for at least 15-20 minutes. -
Step 2
Heat 1-2 tbsp olive oil in a large skillet over medium-high heat. Cook marinated chicken in batches for 3-4 minutes per side until golden brown and cooked through. -
Step 3
(Optional) Deglaze pan with 1/4 cup chicken broth/water. Reduce heat to low, sprinkle 1 cup shredded Monterey Jack/Colby-Jack cheese over chicken, cover for 1-2 minutes until melted. Remove from heat and set aside. -
Step 4
In a medium saucepan, melt 2 tbsp unsalted butter over medium heat. Whisk in 2 tbsp all-purpose flour for 1-2 minutes to create a light roux. Add 2-3 cloves minced garlic and cook for 30-60 seconds. -
Step 5
Gradually pour in 1 1/2 cups milk, whisking constantly until the sauce thickens and smooths (3-5 minutes). Reduce heat to low. Whisk in 1/2 cup shredded sharp cheddar cheese and 1/4 cup softened cream cheese until completely melted and smooth. Stir in 1/4 tsp onion powder, salt, black pepper, and optional red pepper flakes to taste. Keep warm. -
Step 6
Wash and shred 1 cup lettuce. Dice 1/2 cup tomatoes. Thinly slice 1/4 cup red or green onion. Warm 8-10 large flour tortillas until pliable (using microwave, skillet, or oven). Keep warm and covered. -
Step 7
Lay one warm flour tortilla flat. Spread 2-3 tablespoons of the creamy garlic cheese sauce down the center. Place a generous portion of the cheesy garlic chicken mixture over the sauce, then layer with shredded lettuce, diced tomatoes, and sliced onions. Add optional avocado if desired. -
Step 8
Fold in the two opposite sides of the tortilla (perpendicular to the filling) by about an inch. Take the bottom edge of the tortilla and fold it up tightly over the filling. Continue to roll the tortilla upwards, maintaining a tight, cylindrical shape. -
Step 9
Serve Cheesy Garlic Chicken Wraps immediately, optionally slicing them in half diagonally for presentation. Pair with a light side salad or chips. Store leftover cooked chicken and sauce separately in airtight containers for 3-4 days; assemble fresh wraps as needed.
Important Information
Nutrition Facts (Per Serving)
It is important to consider this information as approximate and not to use it as definitive health advice.
Allergy Information
Please check ingredients for potential allergens and consult a health professional if in doubt.


Leave a Comment