
Cheeseburger Egg Rolls are more than just a clever appetizer; they’re a culinary mashup that captures the very essence of comfort food in a delightful, crispy package. Have you ever craved the juicy, savory goodness of a classic cheeseburger but found yourself wishing for a fun, shareable twist? Well, you’re in luck! These bad boys deliver all the satisfying flavors you adore – tender ground beef, melty cheese, and often a hint of onion and pickle – all encased in a perfectly golden-brown, shatteringly crisp wrapper. It’s that irresistible combination of familiar taste and unexpected format that makes Cheeseburger Egg Rolls so incredibly addictive. They’re the perfect party pleaser, a fantastic game-day snack, or even a unique weeknight dinner that’s sure to bring smiles all around the table. Get ready to transform your favorite burger experience into something truly extraordinary.

Ingredients:
- 1 pound ground beef or turkey
- 1 small onion, finely chopped
- 1 cup shredded cheddar cheese
- ¼ cup ketchup
- 1 tablespoon yellow mustard
- 1 tablespoon Worcestershire sauce
- Salt and pepper to taste
- 12-15 egg roll wrappers
- 1 large egg, beaten (for sealing)
- Vegetable oil for deep frying
Preparing the Cheeseburger Filling
The heart of any great Cheeseburger Egg Roll is a delicious and well-seasoned filling. We’ll start by browning our ground meat. In a large skillet set over medium-high heat, add the ground beef or turkey. Break it up with a spoon and cook until it’s fully browned and no pink remains. This usually takes about 7-10 minutes. Once cooked, drain off any excess grease. It’s important to get as much grease out as possible to prevent the egg rolls from becoming soggy.
Now, add the finely chopped onion to the skillet with the browned meat. Cook, stirring occasionally, until the onions are softened and translucent, which should take about 5 minutes. The onions will add a wonderful depth of flavor and a slight sweetness to our filling. Next, it’s time to bring in the classic cheeseburger flavors. Stir in the ketchup, yellow mustard, and Worcestershire sauce. Mix everything together thoroughly, ensuring the sauce coats the meat and onions evenly.
Season generously with salt and pepper to your liking. Remember, you can always add more salt and pepper later, but you can’t take it away, so start with a good amount and taste as you go. Let the mixture simmer for another 2-3 minutes, allowing the flavors to meld together beautifully. Finally, remove the skillet from the heat and stir in the shredded cheddar cheese. Stir until the cheese is melted and gooey, creating that signature cheeseburger experience. Let the filling cool slightly. This step is crucial because hot filling can make the egg roll wrappers difficult to handle and can even cause them to tear. Aim for a filling that’s warm but not scorching hot.
Assembling the Cheeseburger Egg Rolls
With our delicious filling cooled and ready, we can now move on to assembling the Cheeseburger Egg Rolls. Lay out one egg roll wrapper on a clean, dry surface with one corner pointing towards you, like a diamond. Imagine you’re about to make a traditional egg roll. Make sure the wrapper is not sticking to the surface; a slightly damp towel underneath can help keep them in place if needed.
Spoon about 2-3 tablespoons of the cooled cheeseburger filling onto the lower third of the wrapper, horizontally. Try to distribute the filling evenly, but don’t overstuff it. Overstuffing is one of the most common reasons for egg rolls bursting during frying. You want enough filling to be satisfying, but not so much that the wrapper will struggle to enclose it.
Now, carefully fold the bottom corner of the wrapper up over the filling. Then, fold in the left and right corners towards the center, tucking them snugly against the filling. This creates a neat, rectangular package. To seal the egg roll, lightly brush the top exposed corner of the wrapper with the beaten egg. Then, tightly roll the package upwards towards the top corner, ensuring all the seams are sealed. Press gently to secure. Repeat this process with the remaining filling and egg roll wrappers. You should aim to use all your filling evenly among the 12-15 wrappers, adjusting the amount per roll as needed.
Frying the Cheeseburger Egg Rolls
It’s time for the final, golden stage: frying! In a deep pot or a deep fryer, heat about 2-3 inches of vegetable oil over medium-high heat until it reaches 350°F (175°C). Using a thermometer is highly recommended to ensure the oil is at the correct temperature. If the oil is too cool, your egg rolls will absorb too much grease and become soggy. If it’s too hot, they will burn on the outside before the filling is heated through.
Carefully slide 2-3 assembled cheeseburger egg rolls into the hot oil at a time. Do not overcrowd the pot, as this will lower the oil temperature and lead to uneven cooking and greasy egg rolls. Fry them for about 3-5 minutes, or until they are golden brown and crispy on all sides. Using tongs, gently turn the egg rolls halfway through the cooking time to ensure even browning.
Once they are perfectly golden, remove the egg rolls from the oil using a slotted spoon or spider strainer. Immediately place them on a plate lined with paper towels. The paper towels will absorb any excess oil, keeping your delicious Cheeseburger Egg Rolls wonderfully crisp. Allow them to cool for a minute or two before serving. The filling will be very hot, so exercise caution when taking your first bite. Repeat the frying process with the remaining egg rolls, ensuring the oil returns to 350°F (175°C) between batches.
Serving Suggestions and Variations
These Cheeseburger Egg Rolls are fantastic served hot and fresh. They are incredibly satisfying on their own, offering that classic cheeseburger flavor in a fun, crispy format. For an even more authentic experience, consider serving them with your favorite dipping sauces. A side of extra ketchup, mustard, or even a special dipping sauce like a remoulade or a spicy aioli would be absolutely delicious.
If you’re feeling adventurous, you can also add some extra ingredients to the filling before assembling. Some popular additions include a tablespoon of finely diced pickle for a tangy crunch, or a pinch of red pepper flakes for a little heat. You could also experiment with different types of shredded cheese, such as a Monterey Jack or a Colby blend, for a slightly different flavor profile. Just remember to keep the overall consistency of the filling manageable for wrapping. Ensure any added ingredients are finely chopped to prevent tearing the wrappers.

Conclusion:
And there you have it – the ultimate guide to making delicious Cheeseburger Egg Rolls right in your own kitchen! We’ve walked through each step, from preparing the savory ground beef filling to achieving that perfect golden crisp on the outside. These Cheeseburger Egg Rolls are more than just a recipe; they’re a flavor explosion waiting to happen, marrying the comforting familiarity of a cheeseburger with the delightful crunch of an egg roll. I truly hope you enjoy making and devouring these! They are fantastic for game nights, casual get-togethers, or even just a fun weeknight treat.
For serving, I absolutely love pairing these with classic burger accompaniments like a tangy ketchup, a zesty mustard, or even a creamy Thousand Island dressing for dipping. You could also serve them alongside a crisp coleslaw or some crispy tater tots for a complete meal experience. Don’t be afraid to get creative with variations! Consider adding some finely diced pickles to the filling for an extra tang, or a sprinkle of your favorite cheese blend for an even richer flavor profile. You can also experiment with different types of ground meat, like turkey or a blend of beef and pork. The possibilities are truly endless, and I encourage you to make these Cheeseburger Egg Rolls your own!
Frequently Asked Questions about Cheeseburger Egg Rolls:
Q1: Can I make the filling ahead of time?
Absolutely! The ground beef filling can be prepared a day or two in advance and stored in an airtight container in the refrigerator. This can save you valuable time on the day you plan to assemble and fry the egg rolls.
Q2: What’s the best way to ensure the egg rolls don’t leak when frying?
The key to preventing leaks is to not overfill the egg roll wrappers. Use a moderate amount of filling and make sure to seal the edges tightly. A little bit of water or a whisked egg white dabbed on the edges before folding can help create a strong seal.
Cheeseburger Egg Rolls – Your New Favorite Snack
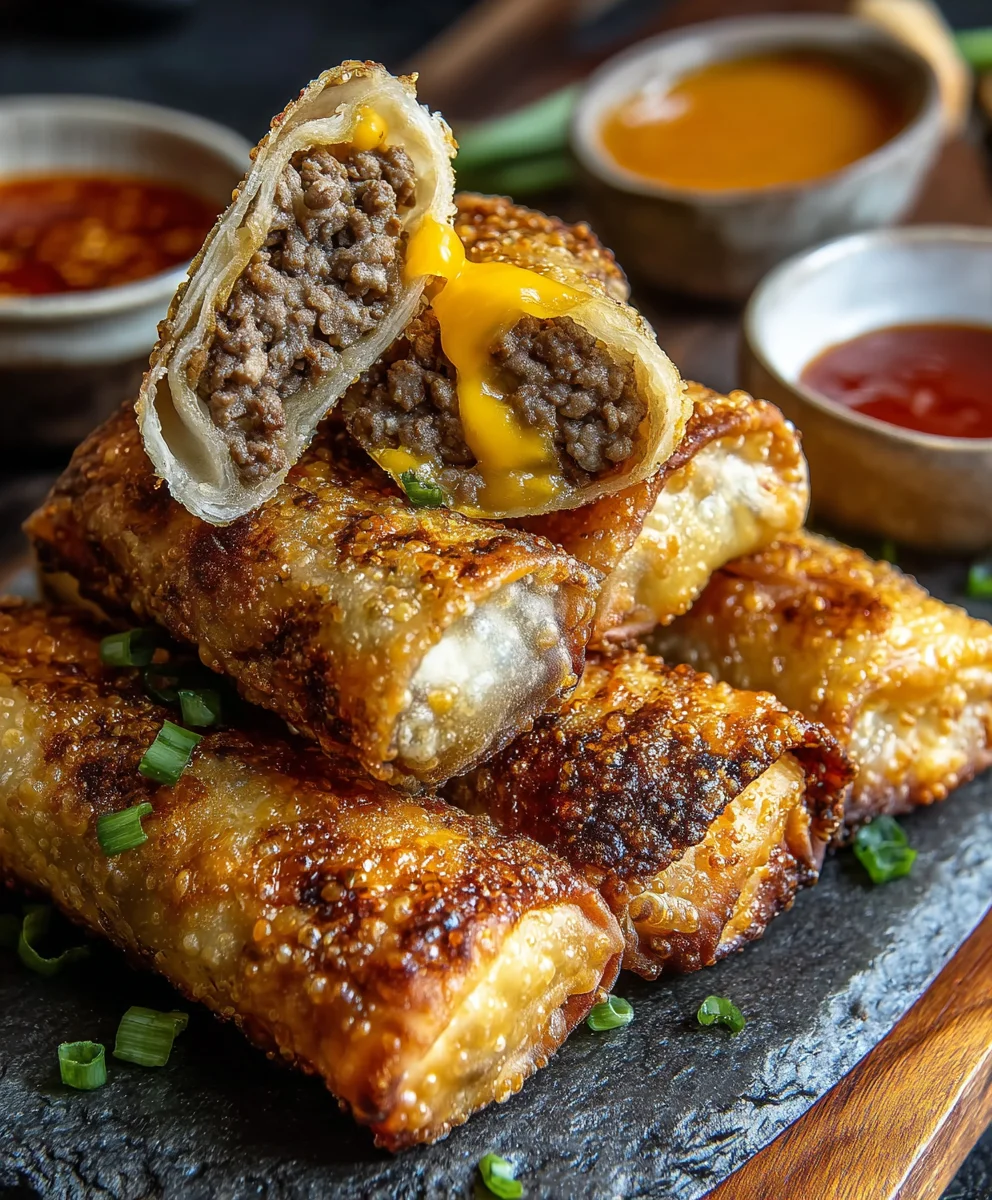
A delicious and crispy twist on a classic, these Cheeseburger Egg Rolls combine savory ground beef, melted cheddar cheese, and classic burger condiments all wrapped in a golden, fried egg roll shell.
Ingredients
-
1 pound ground beef
-
1 small onion, finely chopped
-
1 cup shredded cheddar cheese
-
1/4 cup ketchup
-
1 tablespoon yellow mustard
-
1 tablespoon Worcestershire sauce
-
Salt and pepper to taste
-
12-15 egg roll wrappers
-
1 large egg, beaten (for sealing)
-
Vegetable oil for deep frying
Instructions
-
Step 1
Prepare the filling: In a large skillet, brown 1 pound of ground beef over medium-high heat. Drain excess grease. Add 1 small finely chopped onion and cook until softened (about 5 minutes). Stir in 1/4 cup ketchup, 1 tablespoon yellow mustard, and 1 tablespoon Worcestershire sauce. Season with salt and pepper. Simmer for 2-3 minutes. Remove from heat and stir in 1 cup shredded cheddar cheese until melted. Let cool slightly. -
Step 2
Assemble the egg rolls: Lay an egg roll wrapper like a diamond. Spoon 2-3 tablespoons of filling onto the lower third. Fold the bottom corner over the filling, then fold in the sides. Brush the top corner with beaten egg and roll tightly to seal. -
Step 3
Heat oil: Heat 2-3 inches of vegetable oil in a deep pot or fryer to 350°F (175°C). -
Step 4
Fry the egg rolls: Carefully fry 2-3 egg rolls at a time for 3-5 minutes, or until golden brown and crispy, turning halfway through. Do not overcrowd the pot. -
Step 5
Drain and serve: Remove fried egg rolls with a slotted spoon and drain on paper towels. Allow to cool slightly before serving with your favorite dipping sauces.
Important Information
Nutrition Facts (Per Serving)
It is important to consider this information as approximate and not to use it as definitive health advice.
Allergy Information
Please check ingredients for potential allergens and consult a health professional if in doubt.


Leave a Comment