

Best homemade cinnamon rolls are more than just a breakfast treat; they’re a warm hug on a plate, a fragrant invitation to slow down and savor the moment. There’s an undeniable magic in the swirl of sweet, spiced dough, especially when it comes straight from your own oven. People adore them for that comforting, nostalgic aroma that fills the kitchen, promising a taste of pure bliss. What truly elevates these best homemade cinnamon rolls from good to utterly unforgettable is the love and care that goes into crafting them. Imagin extracte biting into that pillowy soft dough, the warm cinnamon-sugar filling oozing out, all topped with a luscious, creamy frosting. It’s an experience that’s both decadent and deeply satisfying, a perfect way to start any day or create a special occasion. These best homemade cinnamon rolls are designed to be approachable, so even if you’re new to baking, you can achieve bakery-worthy results right in your own kitchen.

The Quest for the Perfect Cinnamon Roll: My Best Homemade Recipe
There’s something undeniably comforting about a warm, gooey cinnamon roll, fresh from the oven. The aroma alone is enough to transport you to a happy place, and the first bite? Pure bliss. For years, I’ve been on a mission to perfect my homemade cinnamon roll recipe, tweaking and tasting until I landed on a version that consistently delivers fluffy, tender dough, a perfectly spiced cinnamon-sugar filling, and a dreamy cream cheese frosting. Forget those dry, lackluster store-bought versions – this recipe is your ticket to cinnamon roll heaven.
This isn’t just about throwing ingredients together; it’s about a little bit of patience and a whole lot of love. We’ll be making a yeasted dough, which means a bit of rising time, but trust me, the results are so worth it. The texture you achieve with a proper yeasted dough is simply unmatched.
Ingredients:
Crafting Your Masterpiece: Step-by-Step Instructions
1. Activating the Yeast and Mixing the Dough
Begin extract by warming your milk. It should feel like a warm bath for your finger, not hot. In a large mixing bowl (or the bowl of your stand mixer), pour in the warm milk and sprinkle the yeast over the top. Let it sit undisturbed for about 5-10 minutes. You’ll know the yeast is active when it becomes foamy and bubbly. This is crucial – if your yeast doesn’t foam, it’s likely dead, and your dough won’t rise. Once foamy, stir in the granulated sugar, melted butter, eggs, and salt. Mix until well combined. Gradually add 3 cups of the all-purpose flour, mixing until just combined. If using a stand mixer, use the dough hook attachment.
2. Kneading the Dough to Perfection
Now comes the kneading. Gradually add the remaining 1 to 1 ½ cups of flour, a half cup at a time, mixing until the dough starts to pull away from the sides of the bowl. You’re looking for a dough that is soft, slightly sticky, but not overly so. If it’s too sticky, add a touch more flour. If it’s too dry, add a tablespoon of milk. Turn the dough out onto a lightly floured surface and knead for about 8-10 minutes by hand, or 6-8 minutes with a stand mixer. The dough should become smooth, elastic, and bouncy. You can test if it’s kneaded enough by poking it gently with your finger; the indentation should spring back slowly.
3. The First Rise: Letting the Magic Happen
Lightly grease a clean large bowl with a little oil or cooking spray. Place the kneaded dough into the bowl, turning it once to coat the surface with oil. Cover the bowl tightly with plastic wrap or a clean kitchen towel. Find a warm, draft-free spot in your kitchen for the dough to rise. This could be a slightly warm oven (turned off!), on top of your refrigerator, or just in a sunny spot. Let the dough rise for 1 to 1 ½ hours, or until it has doubled in size. Patience here is key; a good rise leads to fluffy rolls.
4. Shaping the Rolls: Filling with Flavor
Once the dough has doubled, gently punch it down to release the air. Turn the dough out onto a lightly floured surface. Roll it out into a large rectangle, about 12×18 inches and ¼ inch thick. Make sure your butter for the filling is softened, but not melted. Spread the softened butter evenly over the entire surface of the dough, leaving a small border along one of the longer edges. In a separate small bowl, mix together the brown sugar and cinnamon. Sprinkle this mixture generously and evenly over the buttered dough. Now, starting from the long edge that has been completely covered with butter and filling, tightly roll up the dough. Pinch the seam to seal it.
5. Slicing, Second Rise, and Baking to Golden Perfection
Using a sharp knife or dental floss (this gives the cleanest cuts!), slice the log into 12 equal rolls. You can do this by measuring and marking, or by eye. Arrange the sliced rolls cut-side up in a greased 9×13 inch baking pan, leaving a little space between each one – they will expand as they bake. Cover the pan loosely with plastic wrap and let the rolls rise again for another 30-45 minutes, or until they are puffy and touching each other. While the rolls are having their second rise, preheat your oven to 350°F (175°C). Bake for 20-25 minutes, or until golden brown and cooked through. You want a beautiful golden hue.
6. The Dreamy Cream Cheese Frosting
While your cinnamon rolls are baking, let’s whip up that glorious frosting. In a medium bowl, beat together the softened cream cheese and softened butter until smooth and creamy. This is best done with an electric mixer. Gradually add the sifted powdered sugar, one cup at a time, beating until well combined and smooth. Stir in the vanilla extract. If the frosting is too thick, you can add a tablespoon or two of milk or heavy cream until it reaches your desired drizzling consistency.
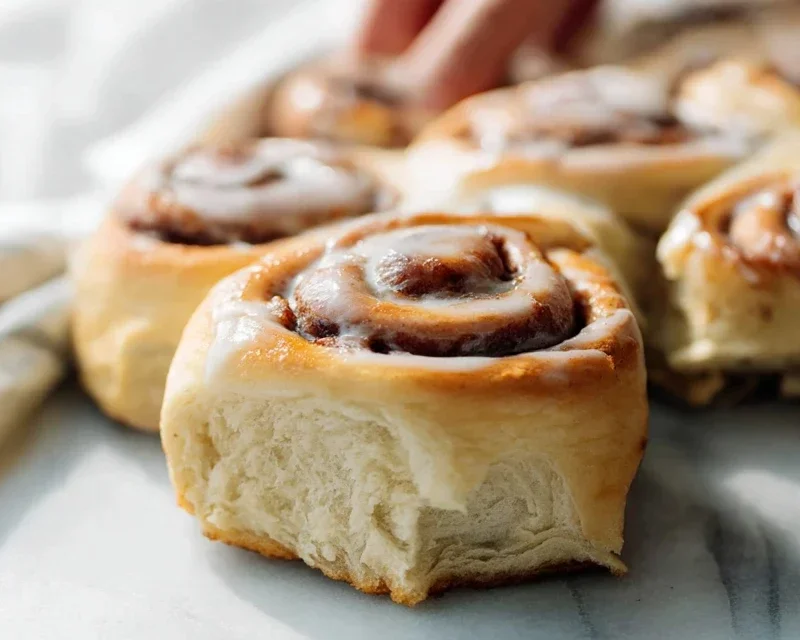
Once the cinnamon rolls are out of the oven and still warm (but not piping hot), generously spread the cream cheese frosting over the top. The warmth of the rolls will help the frosting melt slightly, creating that irresistible gooeyness. Let them cool for just a few minutes before diggin extractg in. Enjoy your incredible, homemade cinnamon rolls!
Conclusion:
I hope you’ve enjoyed learning how to create the best homemade cinnamon rolls! This recipe truly delivers that perfect balance of soft, fluffy dough, a generous swirl of sweet and spiced cinnamon filling, and a luscious cream cheese frosting that will have you coming back for more. It’s a labor of love, for sure, but the incredible aroma that fills your kitchen and the pure joy of biting into a warm, gooey roll makes every step absolutely worth it. These cinnamon rolls are fantastic on their own for a special breakfast treat or a delightful dessert, but they also pair wonderfully with a hot cup of coffee or a glass of cold milk.
Don’t be afraid to get creative with variations! You could add chopped nuts like pecans or walnuts to the filling, or even a pinch of cardamom for an extra layer of warmth. For a richer frosting, try adding a splash of heavy cream. I truly encourage you to give this recipe a try. The satisfaction of making these from scratch is unparalleled, and I’m confident you’ll be delighted with the results.
Frequently Asked Questions:
Can I make the dough ahead of time?
Absolutely! You can prepare the dough and let it do its first rise in the refrigerator overnight. This allows the flavors to develop further and makes the dough easier to handle. Just bring it to room temperature for about 30-60 minutes before shaping.
My frosting is too thick/thin. How can I fix it?
For a thicker frosting, gradually add more powdered sugar, a tablespoon at a time, until you reach your desired consistency. If it’s too thin, add a bit more cream cheese or a tiny splash of milk until it thickens up. Remember, a slightly thinner frosting will spread more easily.
How should I store leftover cinnamon rolls?
Store leftover cinnamon rolls in an airtight container at room temperature for up to 2 days, or in the refrigerator for up to 4 days. Reheat them gently in the oven or microwave to enjoy that fresh-baked warmth again.
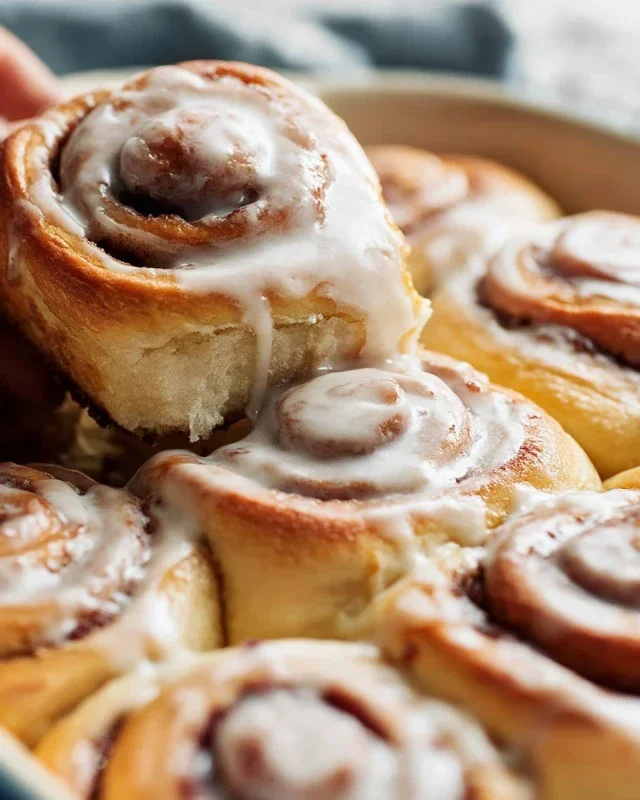
Best Homemade Cinnamon Rolls
Indulge in warm, gooey, and perfectly spiced homemade cinnamon rolls with a sweet cream cheese frosting. A classic comfort treat for any occasion.
Ingredients
-
2 ¼ teaspoons active dry yeast
-
1 cup warm milk
-
½ cup granulated sugar
-
½ cup unsalted butter, softened
-
2 large eggs
-
1 teaspoon salt
-
4 ½ cups all-purpose flour, plus more for dusting
-
2 tablespoons ground cinnamon
-
1 cup packed light brown sugar
-
For the frosting: 8 ounces cream cheese, softened
-
½ cup unsalted butter, softened
-
2 cups powdered sugar
-
1 teaspoon vanilla extract
-
2 tablespoons milk
Instructions
-
Step 1
In a small bowl, dissolve yeast in warm milk. Let stand for 5-10 minutes, until foamy. -
Step 2
In a large bowl, cream together granulated sugar, softened butter, and eggs until light and fluffy. -
Step 3
Add the yeast mixture and salt to the wet ingredients, mixing well. -
Step 4
Gradually add flour, mixing until a soft dough forms. Knead on a floured surface for 5-7 minutes until smooth and elastic. -
Step 5
Place dough in a greased bowl, cover, and let rise in a warm place for 1 hour, or until doubled in size. -
Step 6
Punch down dough and roll into a large rectangle. Mix brown sugar and cinnamon, then spread evenly over dough, leaving a small border. Roll up tightly from the long side. -
Step 7
Cut into 12 equal slices and place in a greased baking dish. Cover and let rise for another 30 minutes. -
Step 8
Bake at 375°F (190°C) for 20-25 minutes, until golden brown. -
Step 9
While rolls are baking, prepare frosting: Beat cream cheese and butter until smooth. Gradually add powdered sugar, vanilla, and milk until creamy and spreadable. -
Step 10
Spread frosting over warm cinnamon rolls before serving.
Important Information
Nutrition Facts (Per Serving)
It is important to consider this information as approximate and not to use it as definitive health advice.
Allergy Information
Please check ingredients for potential allergens and consult a health professional if in doubt.
Leave a Comment