
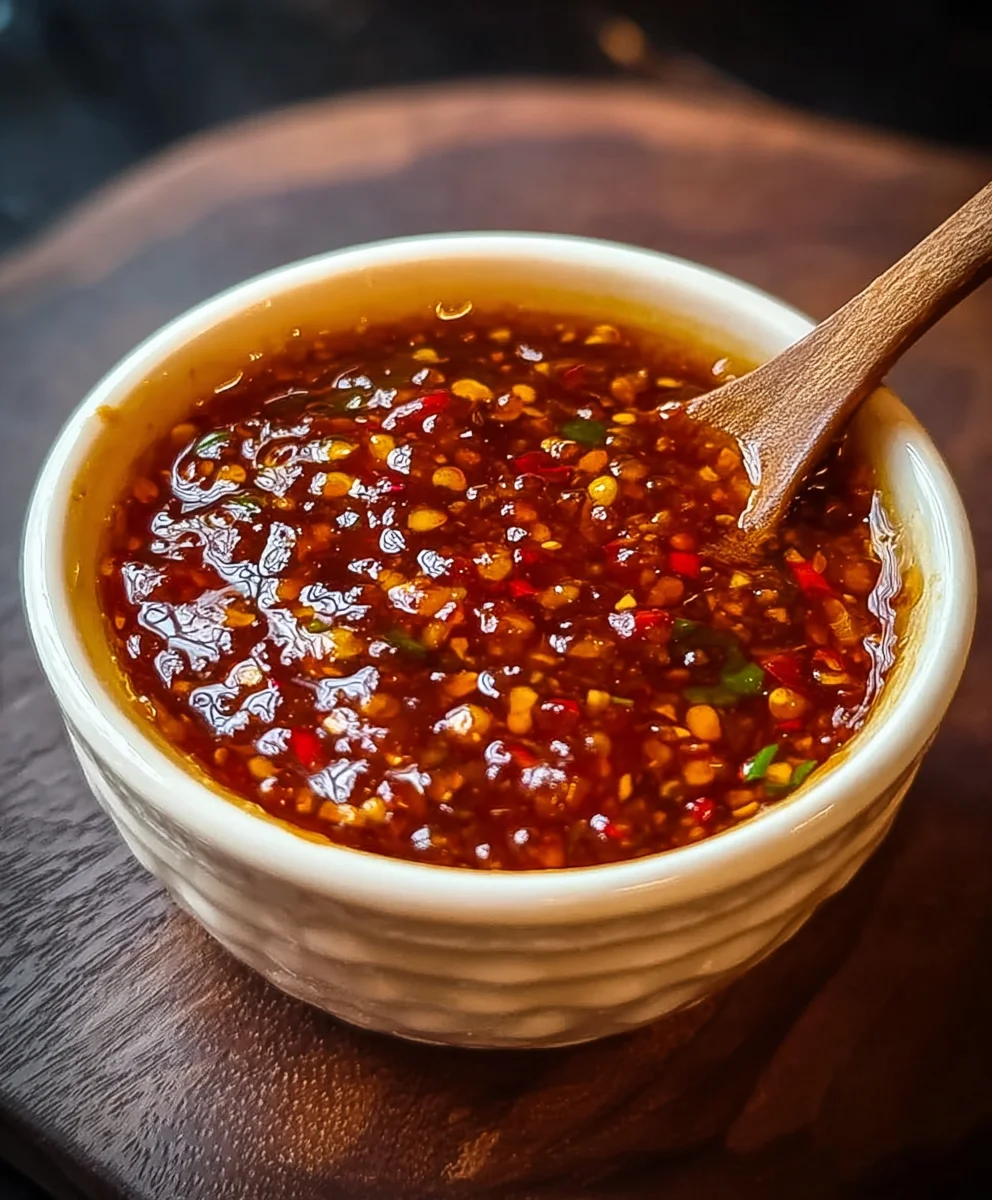
Homemade Chili Garlic Sauce – for those who truly appreciate the transformative power of a stellar condiment, this recipe is a revelation. Imagine a vibrant, aromatic concoction, bursting with the pungent kick of fresh garlic and the fiery embrace of ripe chilies, ready to elevate every dish it touches. This is more than just a condiment; it’s a culinary secret weapon that promises to add depth, heat, and an undeniable umami richness to your kitchen repertoire.
The Irresistible Allure of Homemade Chili Garlic Sauce
While chili garlic sauces have long been a beloved staple in various Asian cuisines, celebrated for their ability to awaken the palate, their global popularity has soared, making them a pantry essential for food enthusiasts everywhere. People adore this dish not only for its incredible flavor profile – a perfect symphony of spicy, savory, and subtly tangy notes – but also for its delightful chunky texture and incredible versatility. From marinades and stir-fries to dipping sauces and scrambled eggs, its applications are virtually limitless. Crafting your own Homemade Chili Garlic Sauce ensures ultimate freshness, allowing you to customize the spice level and savor the pure, unadulterated flavors that store-bought versions often lack. Get ready to embark on a flavorful journey that will change your cooking forever.

Ingredients:
- Fresh Red Chilies: 1.5 lbs (approximately 680g) – a mix of varieties is excellent for complex flavor and adjustable heat. I usually go for about 1 lb (450g) of medium-hot chilies like Fresno or Holland chilies, and 0.5 lb (230g) of hotter ones like Thai bird’s eye chilies or small red habaneros, depending on my desired spice level. You can adjust this ratio to your personal preference.
- Fresh Garlic: 1.5 cups (about 20-25 large cloves), peeled. I love garlic, so I go generous here, but you can slightly reduce it if you prefer.
- Neutral Oil: 1 cup (240ml) – I prefer grapeseed oil or canola oil due to their high smoke point and neutral flavor, allowing the chili and garlic to shine.
- White Vinegar: 1/2 cup (120ml) – distilled white vinegar or rice vinegar works beautifully to add tanginess and brightness.
- Granulated Sugar: 3 tablespoons – to balance the heat and acidity.
- Salt: 1.5 tablespoons, or to taste. I start with this amount and adjust at the end.
- Optional Umami Boosters (highly recommended for a richer flavor profile):
- Fish Sauce: 1 tablespoon (omit if you prefer a strictly vegetarian sauce, or use a vegetarian mushroom-based umami sauce).
- Sesame Oil: 1 teaspoon (to be added at the very end for aroma, not for cooking).
- MSG (Monosodium Glutamate): 1/2 teaspoon (optional, for an extra layer of savory depth).
Gathering and Preparing Our Star Ingredients for the Best Homemade Chili Garlic Sauce
-
Prepare the Chilies: This is where our journey to truly amazing Homemade Chili Garlic Sauce begins. First, make sure you wear gloves! I cannot stress this enough. Chili oils can linger on your skin and cause irritation for hours, even after washing. Trust me, I’ve learned this the hard way.
- Carefully wash all your fresh red chilies under cold running water. Ensure they are free from any dirt or debris.
- Spread the washed chilies out on a clean kitchen towel or paper towels to air dry completely. This step is crucial. Any excess water can cause the oil to splatter during cooking and can also dilute the flavor and compromise the shelf life of our Homemade Chili Garlic Sauce. I often let mine air dry for a few hours, or even overnight, spreading them out on a baking sheet.
- Once thoroughly dry, remove the stems from each chili. You can simply snap them off with your fingers or use a small paring knife. For some chilies, I might even give them a quick rough chop into 1-inch pieces, especially the larger ones, just to make them easier for the food processor to handle.
- Prepare the Garlic: Peel all your fresh garlic cloves. I find that a quick smash with the flat side of a chef’s knife helps to loosen the skins, making them much easier to peel. Alternatively, you can blanch them quickly in hot water for 30 seconds, then immediately transfer to an ice bath; the skins should slip right off. Once peeled, give the garlic cloves a rough chop, just enough to help your food processor out.
Crafting the Chili-Garlic Paste for Our Homemade Chili Garlic Sauce
-
First Blend – The Chilies: In the bowl of a food processor, add about half of your stemmed and dried red chilies. Process them in short pulses. We’re aiming for a coarse, textured paste, not a watery purée. You should still see small bits of chili. Over-processing will release too much water and can lead to a less vibrant flavor. Transfer the processed chilies to a large mixing bowl and repeat with the remaining chilies. You might need to scrape down the sides of the food processor a few times.
- Why not blend all at once? Blending in batches ensures that all chilies are processed evenly and prevents the food processor from getting overloaded, which could result in an uneven texture.
-
Second Blend – The Garlic: Without cleaning the food processor bowl (a little chili residue is fine and actually good!), add all your peeled and roughly chopped garlic. Pulse the garlic until it’s finely minced, but again, avoid turning it into a complete paste. We want some texture to it.
- Achieving the Right Texture: For both the chilies and garlic, the goal is a rustic, slightly chunky texture. This gives our Homemade Chili Garlic Sauce character and ensures you get delightful bites of both chili and garlic.
-
Combine and Season: Add the finely minced garlic to the bowl with the processed chilies. Now, add the granulated sugar and salt to this mixture. If you’re using fish sauce and MSG, add them in at this stage too. Give everything a good stir with a spoon or spatula until well combined. This pre-seasoning helps the flavors meld together even before cooking.
- The Power of Pre-Seasoning: Mixing the sugar and salt now allows them to start drawing out some moisture from the chilies and garlic, which will aid in the cooking process and help develop deeper flavors.
Cooking Our Homemade Chili Garlic Sauce to Perfection
-
Heat the Oil: Pour the neutral oil into a large, heavy-bottomed pot or a deep wok. I prefer a pot with high sides because it helps to contain any splatters during cooking. Place the pot over medium-low heat. We want the oil to be hot but not smoking. A good indicator is when a tiny piece of chili-garlic mixture dropped in sizzles gently.
- Why medium-low heat? Cooking low and slow is key to unlocking the full flavor of the chilies and garlic without burning them. It allows the oil to infuse with their essence gradually, creating that beautiful, rich flavor profile we’re after in a Homemade Chili Garlic Sauce.
- Sauté the Chili-Garlic Mixture: Carefully add the entire chili-garlic mixture to the hot oil. Be mindful as it might sizzle and splatter a bit, even if your chilies were perfectly dry. Stir immediately to ensure all the mixture is coated in oil.
-
The Long Simmer: This is the most patient part of making Homemade Chili Garlic Sauce, but it’s absolutely worth every minute.
- Reduce the heat to low. You want a gentle simmer, just enough to see tiny bubbles breaking the surface.
- Stir frequently, almost continuously for the first 15-20 minutes, to prevent the mixture from sticking to the bottom of the pot and burning. Burning will give your sauce a bitter, unpleasant taste, and we definitely don’t want that for our gorgeous Homemade Chili Garlic Sauce.
- Continue to cook the mixture for at least 45 minutes to 1 hour, or even longer, up to 1.5 hours. During this time, you will observe several transformations:
- The raw, pungent smell of garlic and fresh chilies will mellow and deepen, evolving into a fragrant, aromatic symphony.
- The color of the mixture will intensify. The vibrant red will become a deeper, richer, almost brick-red hue. The garlic will turn golden brown and become tender.
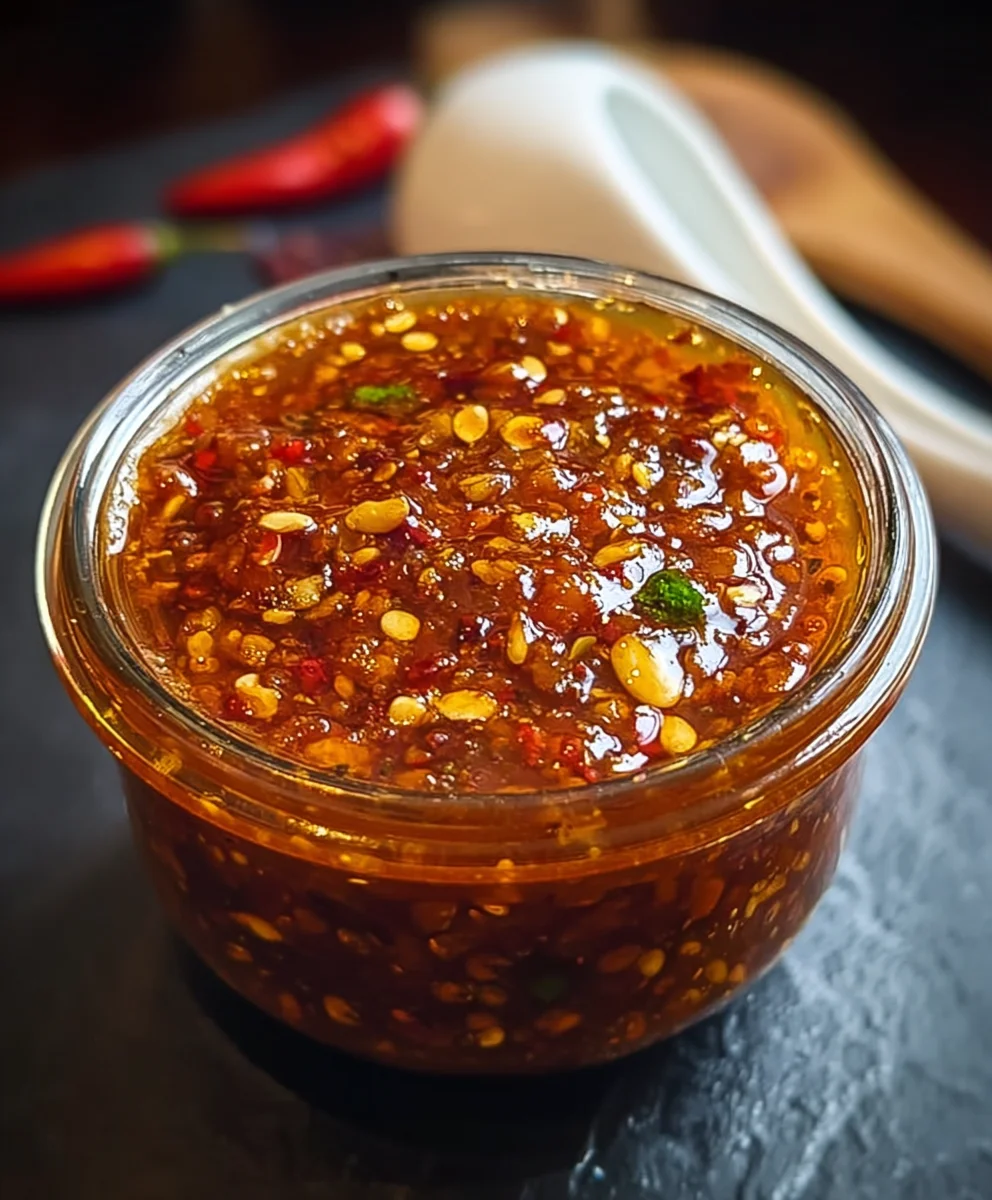
- Crucially, the oil will begin to separate from the chili-garlic solids. This is the sign that moisture has been cooked out, and the flavors have properly melded. You’ll see a clear, reddish oil pool around the edges and on top of the solids. This oil is absolutely packed with flavor!
- Adjusting Heat: If at any point you notice the mixture browning too quickly, lower the heat further. If it seems to be just sitting there without any activity, slightly increase the heat. We’re looking for a very gentle, consistent simmer.
-
Add Vinegar: Once the mixture has cooked down and the oil has visibly separated, pour in the white vinegar. Stir it in thoroughly. The vinegar will deglaze the pot and add that essential bright, tangy counterpoint to the rich chili and garlic flavors.
- Why add vinegar later? Adding it after the initial cooking ensures that its acidity brightens the sauce without inhibiting the cooking down process of the chilies and garlic. It also helps to preserve our Homemade Chili Garlic Sauce.
- Final Simmer: Continue to cook for another 10-15 minutes after adding the vinegar, stirring occasionally. This allows the vinegar’s harshness to cook off slightly, leaving behind its pleasant tang, and helps the sauce thicken further. The sauce should be quite thick, and the oil separation should still be evident.
Cooling and Storing Your Homemade Chili Garlic Sauce
-
Taste and Adjust: Remove the pot from the heat. Carefully, using a clean spoon, take a small taste of your Homemade Chili Garlic Sauce. Be cautious, it will be very hot! This is your moment to adjust the seasoning.
- Does it need more salt? Add a pinch.
- Could it use a bit more sweetness to balance the heat? Stir in another teaspoon of sugar.
- Do you want an extra layer of umami? This is where I might add the optional sesame oil (just 1 teaspoon, stir it in well) and any additional fish sauce if I felt it needed a bit more depth. Remember, sesame oil is potent, so a little goes a long way.
-
Cool Completely: Allow the Homemade Chili Garlic Sauce to cool down completely to room temperature in the pot. This could take several hours. Do not attempt to jar it while it’s still hot, as this can create condensation inside the jar, which can affect the sauce’s shelf life.
- Patience is a Virtue: Letting it cool slowly allows the flavors to continue to meld and deepen, making for an even more exquisite final product.
-
Sterilize Jars: While your sauce is cooling, prepare your storage jars. Sterilizing jars is paramount for food safety and extending the shelf life of your Homemade Chili Garlic Sauce.
- Wash glass jars and lids thoroughly with hot, soapy water.
- Rinse them well.
- You can sterilize them by boiling them in water for 10 minutes (submerged), or by placing them on a baking sheet in an oven preheated to 275°F (135°C) for at least 15 minutes. Ensure the jars are completely dry before filling. I usually let them air dry upside down on a clean rack after boiling, or dry them in the oven. The lids can be sterilized by boiling them for a few minutes.
-
Jarring and Storing Your Homemade Chili Garlic Sauce: Once your sauce is completely cool, carefully spoon it into the sterilized jars. Make sure to get a good mix of the chili-garlic solids and the delicious infused oil.
- Leave a small headspace (about 1/2 inch) at the top of each jar.
- Ensure the surface of the sauce in the jar is covered with a layer of the chili-garlic oil. This acts as a natural seal and helps with preservation. If there isn’t enough oil, you can top it off with a bit of fresh neutral oil.
- Seal the jars tightly with their lids.
- Store your Homemade Chili Garlic Sauce in the refrigerator. It will last for several weeks, if not months, when stored properly. I’ve had batches last for up to 3-4 months without any issue.
Enjoying Your Homemade Chili Garlic Sauce!
And there you have it – your very own batch of incredibly flavorful Homemade Chili Garlic Sauce! This versatile condiment is perfect for drizzling over noodles, eggs, stir-fries, soups, dumplings, or simply using as a dipping sauce. The satisfaction of making it yourself and knowing exactly what goes into it is truly unparalleled. Every spoonful is a testament to your effort and culinary prowess. Prepare to have your taste buds sing with delight and to elevate every dish to a new level of deliciousness with this vibrant, aromatic, and perfectly balanced Homemade Chili Garlic Sauce.
A Note on Customization:
One of the beautiful aspects of making your own Homemade Chili Garlic Sauce is the ability to customize it. Feel free to experiment with different types of chilies to find your ideal heat level and flavor profile. Some people enjoy adding a touch of ground Sichuan peppercorns for a numbing sensation, or even a splash of soy sauce for an extra savory kick. This recipe provides a fantastic base, but don’t hesitate to make it truly your own!
Conclusion:
And there you have it, my friends! We’ve journeyed through the simple yet profound process of creating what I genuinely believe will become one of the most indispensable condiments in your culinary arsenal. This isn’t just any sauce; it’s a vibrant, aromatic concoction that promises to elevate almost any dish it touches. Forget the bland, often preservative-laden store-bought options; once you experience the sheer depth of flavor and the exhilarating kick of truly Homemade Chili Garlic Sauce, there’s simply no going back. I crafted this recipe with a desire to capture that elusive balance – a fiery heat that awakens the palate, a profound garlicky aroma that lingers delightfully, and a subtle umami note that ties everything together, making it an absolute must-try for anyone who appreciates bold flavors and the joy of cooking from scratch. It’s an incredibly satisfying project, knowing exactly what goes into your food, and the reward is a versatile condiment that will transform your everyday meals into something extraordinary.
Why This Homemade Chili Garlic Sauce Is a Kitchen Game-Changer:
What makes this particular recipe stand out? It’s the fresh ingredients, the careful balance, and the control you have over the final product. We’re talking about an authentic flavor profile that’s often diluted or compromised in mass-produced versions. The simple act of toasting the chilis slightly before rehydrating them, or the method of infusing the oil with fresh garlic, are small steps that contribute immensely to a sauce that’s bursting with character. It offers a warmth and complexity that a mere sprinkle of chili flakes can never achieve, providing not just heat, but an entire spectrum of savory, piquant notes. This sauce isn’t merely about adding spice; it’s about layering flavors, creating a more dynamic and engaging eating experience. Its versatility is truly unmatched, making it far more than just a dipping sauce; it’s a foundational flavor enhancer that will surprise and delight you with every use. Its bright, bold profile cuts through richness and adds an invigorating spark to even the simplest ingredients, making it indispensable for any adventurous cook.
Unleash the Flavor: Diverse Serving Suggestions and Exciting Variations
Now, let’s talk about the fun part – how to enjoy your incredible new creation! The beauty of this Homemade Chili Garlic Sauce lies in its unparalleled adaptability. I often find myself reaching for it multiple times a day. Imagine spooning a generous dollop over a steaming bowl of instant ramen, transforming it into a gourmet experience, or mixing it into your fried rice for an immediate flavor boost that rivals any takeout. It’s absolutely phenomenal drizzled over sunny-side-up eggs in the morning, lending a zesty, spicy kick that will undoubtedly wake up your senses. For lunch, try stirring it into your chicken salad sandwich or using it as a vibrant spread for a turkey wrap. Seriously, the possibilities are endless!
When dinner rolls around, think about incorporating it into your marinades for grilled chicken, pork, or even firm tofu – the garlic and chili will penetrate deeply, resulting in incredibly flavorful and tender results. It’s also an exceptional addition to stir-fries; just a teaspoon or two tossed in during the final minutes will brighten the entire dish. Don’t forget to use it as a dipping sauce for homemade dumplings, spring rolls, or even a plate of crispy calamari. Vegetables, too, benefit immensely: roasted broccoli or asparagus tossed with a spoonful of this sauce before serving takes on a whole new dimension. I even love to mix a little into a basic vinaigrette for a spicy salad dressing or whisk it into mayonnaise for a gourmet burger spread, creating a creamy, spicy condiment that’s far superior to anything store-bought. It’s fantastic swirled into a hummus platter, added to a bowl of chili con carne, or even dabbed onto avocado toast for an unexpected zing. For seafood lovers, try mixing it with a bit of lime juice and brushing it over shrimp or fish before grilling or baking – the results are truly spectacular and unforgettable.
Looking to get creative? Try a few variations to tailor the sauce to your exact preference. For a deeper, smoky flavor, you could try incorporating some smoked paprika or even a pinch of chipotle powder into the dry chili mix. If you prefer a milder sauce but still crave the garlic goodness, simply reduce the amount of dried chilies and perhaps add a sweet red bell pepper into the blend before processing, which will mellow the heat without sacrificing volume. For an extra layer of umami, a tiny splash of fish sauce or a teaspoon of finely chopped fermented black beans can work wonders, adding a complex savory depth. A touch of rice vinegar will add a pleasant tang, while a small amount of sugar or a drizzle of maple syrup can help balance the heat and acidity, creating a more complex, sweet-spicy profile that’s utterly addictive. Don’t be afraid to experiment with different types of dried chilies as well – each will impart its own unique characteristics, from a fruity heat to an earthy warmth, allowing you to truly personalize your perfect batch. Adding a tablespoon of toasted sesame seeds can also provide a delightful textural element and nutty flavor.
Your Culinary Journey Awaits:
So, what are you waiting for? I sincerely encourage you to set aside some time this week, gather your ingredients, and embark on this incredibly rewarding culinary adventure. Trust me when I say that making your own Homemade Chili Garlic Sauce is an experience that will not only impress your taste buds but also empower you in the kitchen. There’s a special satisfaction that comes from creating something so profoundly flavorful with your own hands, something that instantly elevates any meal you prepare. Once you’ve whipped up your first batch, I am absolutely confident it will earn a permanent spot in your refrigerator, becoming a go-to for adding that essential spark to countless dishes.
I would be absolutely thrilled to hear about your experiences! Did you make any exciting variations? What was your favorite way to use the sauce? Please don’t hesitate to share your thoughts, photos, and any creative serving suggestions you discover in the comments below. Let’s build a community of flavor enthusiasts who aren’t afraid to turn up the heat and embrace the incredible possibilities of homemade condiments! Your culinary triumphs inspire me and countless others, so go forth, create, and share the spicy love!
Homemade Chili Garlic Sauce – Bold & Delicious
This Homemade Chili Garlic Sauce recipe is a vibrant, aromatic concoction bursting with the pungent kick of fresh garlic and the fiery embrace of ripe chilies. Beyond its incredible flavor, fresh garlic contains compounds that boost your immune system naturally. It’s a culinary secret weapon that adds depth, heat, and umami richness, perfect for elevating any dish.
Ingredients
-
Fresh Red Chilies: 1.5 lbs (680g), mixed varieties (e.g., Fresno, Thai bird’s eye)
-
Fresh Garlic: 1.5 cups (20-25 large cloves), peeled
-
Neutral Oil: 1 cup (240ml), (e.g., grapeseed, canola)
-
White Vinegar: 1/2 cup (120ml), (e.g., distilled white, rice)
-
Granulated Sugar: 3 tablespoons
-
Salt: 1.5 tablespoons, or to taste
-
Fish Sauce: 1 tablespoon (optional, or vegetarian mushroom-based alternative)
-
Sesame Oil: 1 teaspoon (optional, for aroma)
-
MSG (Monosodium Glutamate): 1/2 teaspoon (optional)
Instructions
-
Step 1
Wear gloves. Wash and thoroughly dry chilies; remove stems. Roughly chop larger chilies if needed. Peel and roughly chop garlic cloves. -
Step 2
In a food processor, pulse half of the chilies until coarse; transfer to a large bowl. Repeat with remaining chilies. Add chopped garlic to the food processor and pulse until finely minced but still textured; add to chilies. Stir in sugar, salt, optional fish sauce, and optional MSG until well combined. -
Step 3
Heat neutral oil in a large, heavy-bottomed pot or deep wok over medium-low heat until gently sizzling. Carefully add the chili-garlic mixture and stir to coat. Reduce heat to low and gently simmer for 45 minutes to 1.5 hours, stirring frequently. Cook until the raw aroma mellows, the color deepens to a rich red, and oil visibly separates from the solids. -
Step 4
Stir in the white vinegar. Continue to simmer for another 10-15 minutes, stirring occasionally, allowing the vinegar’s harshness to cook off and the sauce to thicken slightly. -
Step 5
Remove from heat. Taste and adjust seasoning with additional salt, sugar, optional sesame oil, or fish sauce as desired. Allow the sauce to cool completely to room temperature. Sterilize glass jars and lids. Spoon the cooled sauce into jars, ensuring the chili-garlic solids are covered with a layer of the infused oil. Seal tightly and refrigerate. The sauce will last for several weeks, if not months, when stored properly.
Important Information
Nutrition Facts (Per Serving)
It is important to consider this information as approximate and not to use it as definitive health advice.
Allergy Information
Please check ingredients for potential allergens and consult a health professional if in doubt.


Leave a Comment