
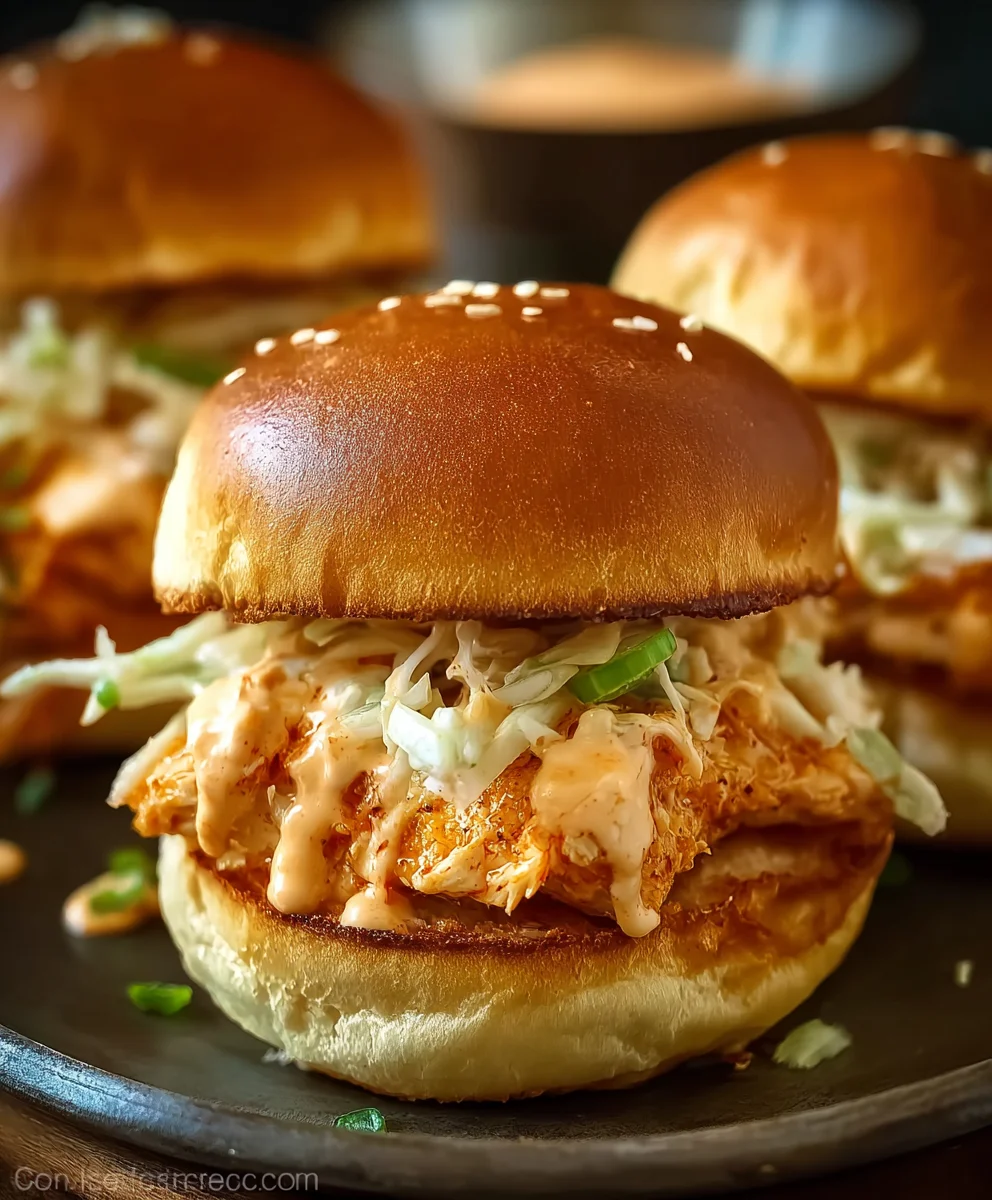
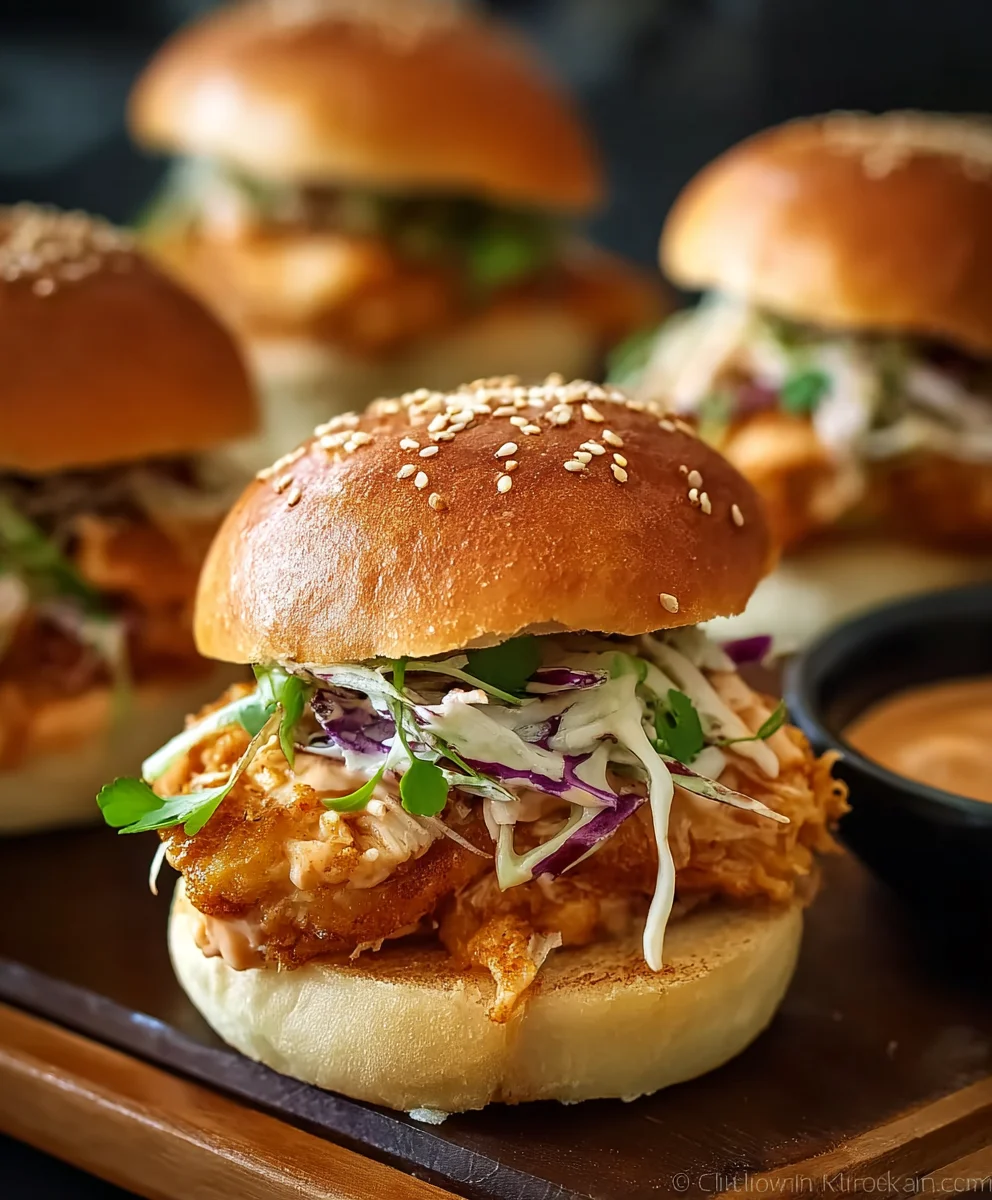
Bang Bang Chicken Sliders Recipe – is there anything more delightful than a perfectly crafted slider that explodes with flavor? We think not! This particular rendition of Bang Bang Chicken Sliders Recipe is designed to be your new go-to for quick weeknight dinners, impressive appetizer platters, or even a fun weekend lunch. What makes these sliders so utterly irresistible? It’s that addictive, creamy, and slightly spicy Bang Bang sauce that coats every succulent piece of tender chicken, creating a symphony of taste and texture. The secret lies in the balance of sweet, savory, and heat, perfectly complemented by the soft, pillowy slider buns and a crisp, refreshing slaw. Get ready to impress yourself and everyone lucky enough to snag one of these flavor bombs!

Ingredients:
- 1 1/2 pounds thin sliced chicken breasts
- Kosher salt
- Fresh black pepper
- Garlic powder
- 1/2 cup flour
- 1/4 cup cornstarch
- 1 cup buttermilk
- 1 tablespoon hot sauce
- 1 large egg
- 2 cups or more as needed Panko bread crumbs
- Vegetable or canola oil for frying
- 12 slices mozzarella cheese
- 12 slider rolls
- Bang Bang Sauce (recipe below for reference, assume prepared)
Bang Bang Sauce Ingredients (for reference):
- 1/2 cup mayonnaise
- 2 tablespoons sweet chili sauce
- 1 tablespoon Sriracha
- 1 teaspoon rice vinegar
- 1/2 teaspoon garlic powder
- 1/4 teaspoon red pepper flakes (optional)
Preparing the Chicken
Step 1: Season and Dredge the Chicken
The foundation of any great slider is well-seasoned, crispy chicken. We’ll start by patting our thin-sliced chicken breasts completely dry with paper towels. This is a crucial step for achieving a wonderfully crisp coating. Once dry, generously season both sides of the chicken slices with Kosher salt, fresh black pepper, and garlic powder. Don’t be shy with the seasoning; it will permeate the chicken as it cooks.
Next, we’ll set up our dredging station for maximum crispiness. In a shallow dish, whisk together the 1/2 cup of flour and 1/4 cup of cornstarch. In a separate medium bowl, combine the 1 cup of buttermilk, 1 tablespoon of hot sauce, and the large egg. Whisk these wet ingredients together until they are well incorporated and slightly frothy. This buttermilk mixture will not only help the breadcrumbs adhere but also tenderize the chicken.
Now, it’s time to get our chicken coated. Working with one chicken slice at a time, first dredge it thoroughly in the flour and cornstarch mixture, ensuring it’s evenly coated on all sides. Shake off any excess flour. Then, dip the floured chicken slice into the buttermilk mixture, letting any excess drip back into the bowl. Finally, press the chicken slice firmly into the Panko bread crumbs, making sure it’s completely covered. You can even gently press the bread crumbs onto the chicken to ensure they stick well. Place the breaded chicken on a wire rack set over a baking sheet and repeat with the remaining chicken slices. Letting the breaded chicken rest for about 10-15 minutes before frying will help the coating adhere better, preventing it from falling off during cooking.
Frying the Chicken
Step 2: Frying for Golden Perfection
Now for the part that makes these sliders irresistible – frying the chicken. In a large, heavy-bottomed skillet or Dutch oven, pour in enough vegetable or canola oil so that it’s about 1 to 1.5 inches deep. Heat the oil over medium-high heat until it reaches approximately 350°F (175°C). If you don’t have a thermometer, you can test the oil by dropping a few Panko bread crumbs in; they should sizzle and float to the surface immediately.
Carefully add the breaded chicken slices to the hot oil, being careful not to overcrowd the pan. You’ll likely need to fry them in batches to ensure they cook evenly and maintain a consistent oil temperature. Fry the chicken for about 3-5 minutes per side, or until it’s golden brown and cooked through. The thin slices cook quite quickly. Use a slotted spoon or tongs to carefully remove the fried chicken from the oil and place it on a clean wire rack set over a baking sheet to drain. This allows excess oil to drip away, keeping the chicken wonderfully crisp. Season the freshly fried chicken immediately with a little more Kosher salt while it’s still hot.
Assembling the Sliders
Step 3: Preparing the Slider Buns and Cheese
While the chicken is draining, let’s get our slider buns ready. Slice each of the 12 slider rolls in half horizontally. You can serve them untoasted, but for an extra layer of flavor and a slight crisp, I like to lightly toast the cut sides. You can do this in a dry skillet over medium heat for a minute or two until they’re lightly golden, or pop them under the broiler for a very short time, watching them closely to prevent burning.
Next, it’s time for the gooey, cheesy goodness. Once the chicken is fried and drained, and while it’s still warm, lay two slices of the mozzarella cheese over each piece of fried chicken. The residual heat from the chicken will start to melt the cheese beautifully. If you want extra melty cheese, you can pop the chicken and cheese under a broiler for about 30 seconds, just until the cheese is melted and slightly bubbly. Be very careful as broilers are intense!
Step 4: Building the Bang Bang Sliders
Now we’re in the home stretch for our delicious Bang Bang Chicken Sliders Recipe! Take your prepared slider buns. Spread a generous amount of the prepared Bang Bang Sauce on the bottom half of each slider roll. Don’t be shy with the sauce – it’s the star flavor component that gives these sliders their name and irresistible kick!
Next, carefully place one or two pieces of the cheesy fried chicken onto the sauce-covered bottom bun. The amount of chicken you use will depend on the size of your chicken slices and your preference. You want it to be substantial but manageable for a slider.
Step 5: The Final Touches and Serving
To complete your culinary masterpiece, drizzle a little more of that heavenly Bang Bang Sauce over the chicken. This ensures every bite is packed with that signature sweet, spicy, and creamy flavor. Then, place the top half of the slider roll over the chicken and sauce. Gently press down on the slider to hold everything together. Arrange the assembled sliders on a serving platter. If you like, you can serve them with extra Bang Bang Sauce on the side for dipping. These Bang Bang Chicken Sliders are best enjoyed immediately while the chicken is still hot and crispy, and the cheese is wonderfully melted and gooey. They are perfect for parties, game day, or a fun weeknight meal.
Conclusion:
And there you have it – your very own delicious Bang Bang Chicken Sliders Recipe! We hope you enjoyed diving into this flavorful adventure. This recipe offers a fantastic balance of creamy, spicy, and savory notes that are sure to impress. The crispy fried chicken paired with the sweet and spicy Bang Bang sauce creates an irresistible combination that’s perfect for any occasion. Don’t be afraid to experiment and make these sliders your own! We encourage you to try them out this weekend and share the joy with friends and family. They are incredibly versatile and can be served as a delightful appetizer, a fun party food, or even a light and satisfying main course.
For serving, consider pairing these sliders with a crisp coleslaw, some sweet potato fries, or a simple green salad to complement the richness of the chicken. For variations, try using grilled chicken breast for a lighter option, or spice things up further by adding a pinch of cayenne pepper to the sauce. You could also top them with pickled red onions for an extra tang. We’re confident that this Bang Bang Chicken Sliders Recipe will become a go-to favorite in your kitchen!
Frequently Asked Questions:
Can I make the Bang Bang sauce ahead of time?
Absolutely! The Bang Bang sauce can be prepared up to 3 days in advance and stored in an airtight container in the refrigerator. This makes assembly even quicker when you’re ready to make your sliders. Give it a good stir before serving, as some separation may occur.
What kind of chicken is best for these sliders?
While boneless, skinless chicken thighs are excellent for their tenderness and ability to absorb flavor, boneless, skinless chicken breasts work well too, especially if you want a leaner option. Just be careful not to overcook them. Ensuring the chicken is cut into bite-sized pieces before frying or cooking will also help achieve even cooking and ease of eating.
Bang Bang Chicken Sliders
Easy and delicious Bang Bang Chicken Sliders that are sure to be a crowd-pleaser, featuring crispy fried chicken with a flavorful Bang Bang Sauce on soft slider rolls.
Ingredients
-
1 1/2 pounds thin sliced chicken breasts
-
Kosher salt, fresh black pepper, and garlic powder for seasoning chicken
-
1/2 cup flour
-
1/4 cup cornstarch
-
1 cup buttermilk
-
1 tablespoon hot sauce
-
1 large egg
-
2 cups or more as needed Panko bread crumbs
-
Vegetable or canola oil for frying
-
12 slices mozzarella cheese
-
12 slider rolls
-
Bang Bang Sauce
Instructions
-
Step 1
Season thin-sliced chicken breasts with kosher salt, fresh black pepper, and garlic powder. In a shallow dish, whisk together flour and cornstarch. In a separate bowl, whisk together buttermilk, hot sauce, and egg. Dredge chicken in flour mixture, then buttermilk mixture, then press into Panko bread crumbs. Let rest for 10-15 minutes. -
Step 2
Heat 1-1.5 inches of vegetable or canola oil in a skillet to 350°F (175°C). Fry breaded chicken in batches for 3-5 minutes per side until golden brown and cooked through. Drain on a wire rack and season with salt. -
Step 3
Slice slider rolls in half horizontally and lightly toast the cut sides if desired. -
Step 4
While chicken is warm, top each piece with two slices of mozzarella cheese. Melt cheese by placing under a broiler for 30 seconds if desired. -
Step 5
Spread Bang Bang Sauce on the bottom half of each slider roll. Place cheesy chicken on top of the sauce. Drizzle with more Bang Bang Sauce. -
Step 6
Place the top half of the slider roll on top. Gently press down and serve immediately.
Important Information
Nutrition Facts (Per Serving)
It is important to consider this information as approximate and not to use it as definitive health advice.
Allergy Information
Please check ingredients for potential allergens and consult a health professional if in doubt.


Leave a Comment