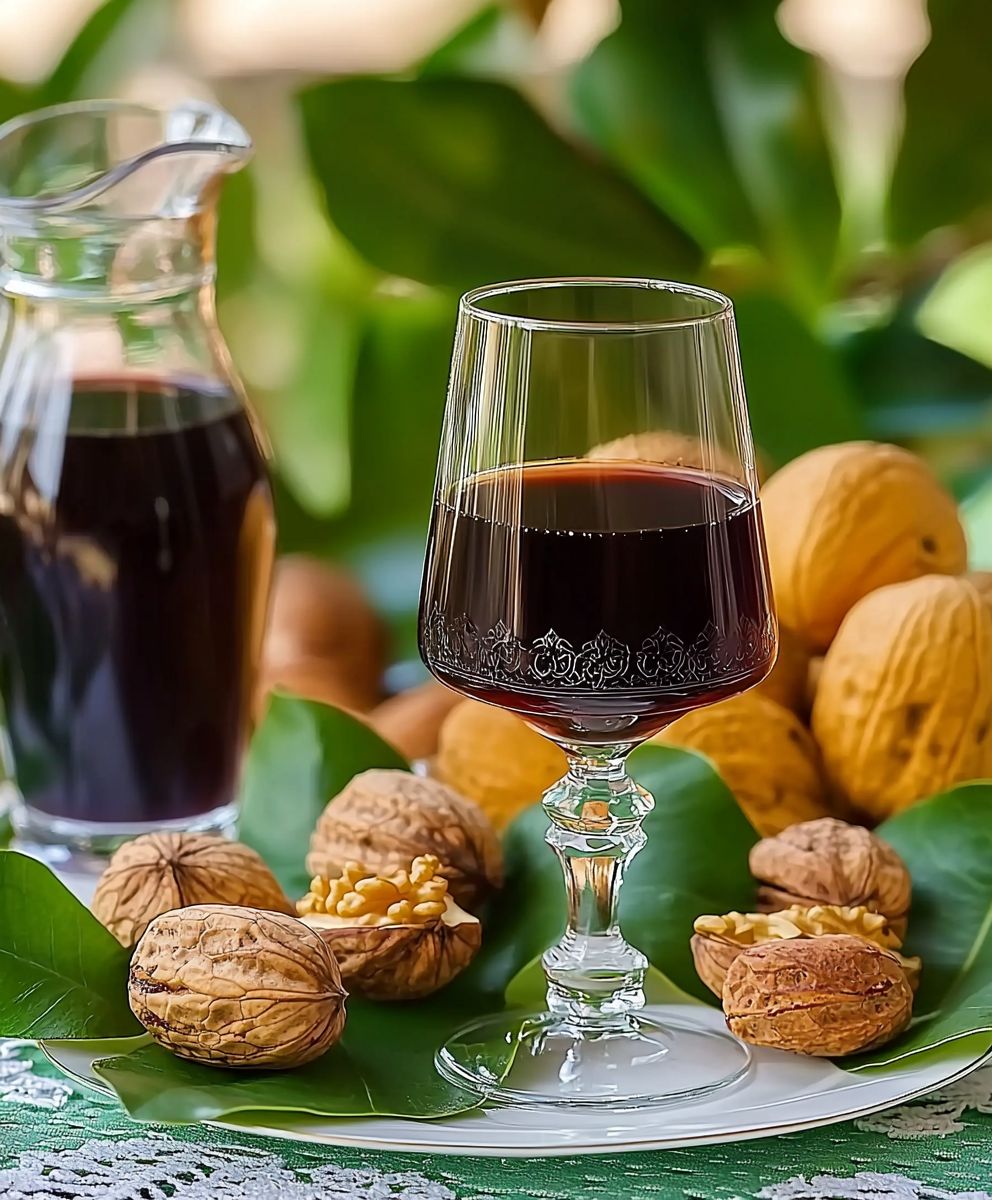
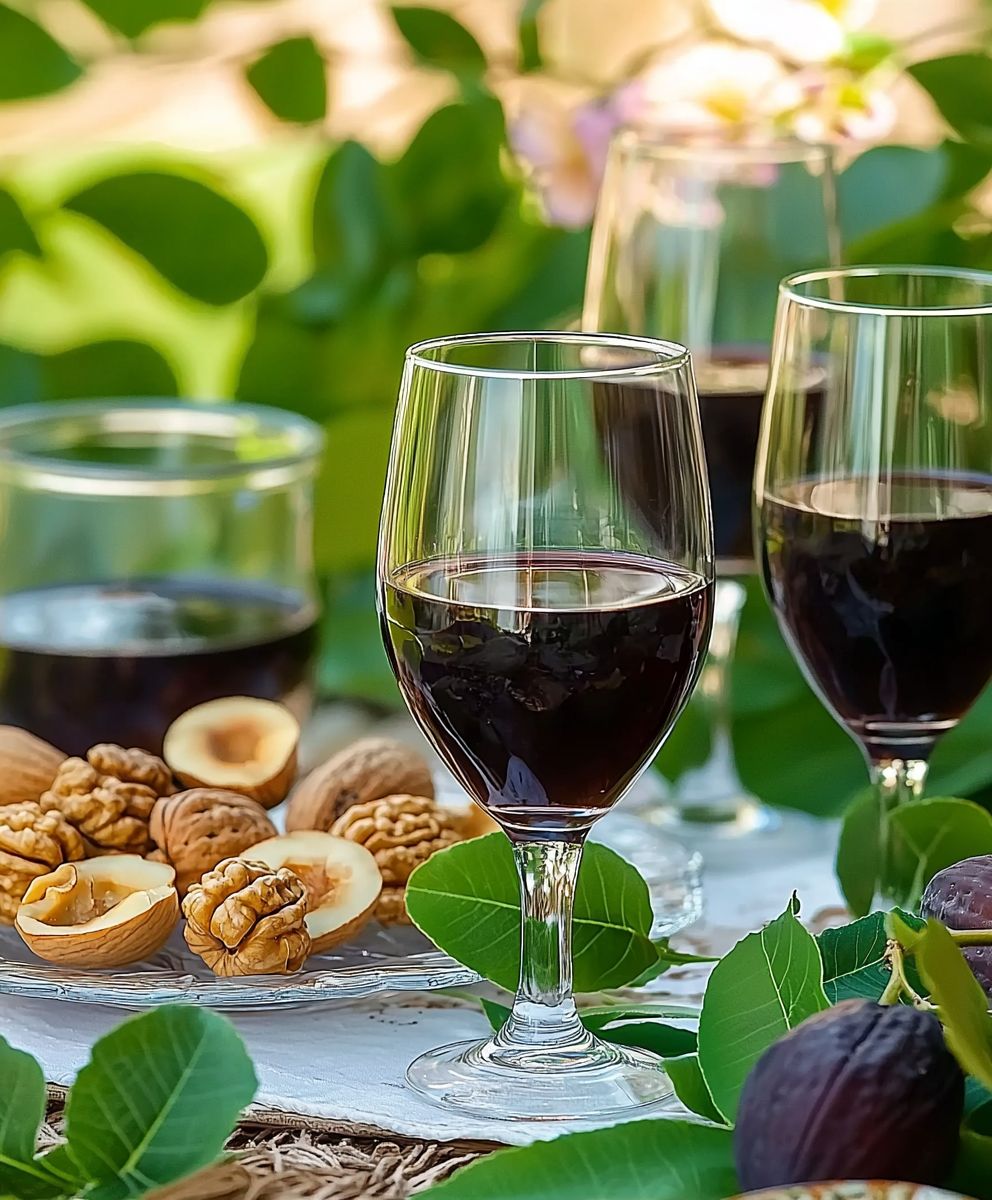
Walnut Wine: Imagine a drink that embodies the rich flavors of autumn, a beverage steeped in history and tradition, and a delightful digestif to conclude a hearty meal. That’s exactly what you get with homemade walnut wine! This intriguing concoction, also known as “Nocino” in Italy and other variations across Europe, has been cherished for centuries, often associated with folklore and even medicinal properties.
The practice of making walnut wine dates back to ancient times, with various cultures attributing unique benefits to the unripe green walnuts used in its preparation. Some believed it aided digestion, while others considered it a potent tonic. Regardless of its historical uses, the enduring appeal of walnut wine lies in its complex and captivating flavor profile. The initial bitterness from the green walnuts mellows over time, transforming into a sweet, nutty, and slightly spicy elixir. It’s a taste that’s both comforting and sophisticated, making it a perfect after-dinner treat or a unique addition to your cocktail repertoire.
People adore walnut wine for its distinctive taste and the sense of connection it provides to a long and fascinating culinary heritage. It’s more than just a drink; it’s an experience, a journey back in time with every sip. Plus, the process of making it yourself is surprisingly rewarding, allowing you to create a truly special and personalized beverage to share with friends and family. So, are you ready to embark on this delicious adventure? Let’s dive into the secrets of crafting the perfect batch of homemade walnut wine!
Ingredients:
- 1 gallon (3.8 liters) water, preferably spring water
- 1 kilogram (2.2 pounds) green walnuts, harvested in late June/early July when they are still soft enough to cut
- 1.5 kilograms (3.3 pounds) granulated sugar
- 1 lemon, zest and juice
- 1 orange, zest and juice
- 1 cinnamon stick
- 6 cloves
- 1/2 teaspoon ground nutmeg
- 1/4 teaspoon ground ginger
- 1 packet (5 grams) wine yeast (Saccharomyces cerevisiae) choose a strain suitable for fruit wines
- 1 teaspoon yeast nutrient
- 1/2 teaspoon pectic enzyme (optional, but recommended for clarity)
Preparing the Walnuts:
Okay, let’s get started! The most crucial part of this recipe is the walnuts. Timing is everything! You need to harvest them when they’re still green and soft enough to cut through with a knife. This is usually late June or early July, depending on your location. If they’re too hard, they won’t release the necessary tannins and flavor.
- Wash the Walnuts: Give your green walnuts a good rinse under cold water to remove any dirt or debris.
- Cut the Walnuts: This is where things get a little messy (and staining!), so wear gloves! Using a sharp knife, quarter or roughly chop the walnuts. The smaller the pieces, the more surface area is exposed, and the more flavor will be extracted. Don’t worry about being too precise; just get them into manageable chunks.
- Place in Primary Fermenter: Transfer the chopped walnuts to a sanitized primary fermentation vessel. This could be a large food-grade bucket or a carboy. Make sure it’s clean and sanitized to prevent unwanted bacteria from spoiling your wine.
Preparing the Must:
Now, we’re going to create the “must,” which is the sugary liquid that the yeast will ferment into wine. This involves dissolving the sugar and adding the other flavorings.
- Dissolve the Sugar: In a large pot, heat about half of the water (0.5 gallons or 1.9 liters). Add the sugar and stir constantly over medium heat until the sugar is completely dissolved. Make sure there are no sugar crystals remaining at the bottom of the pot.
- Add Flavorings: Remove the pot from the heat. Add the lemon zest, lemon juice, orange zest, orange juice, cinnamon stick, cloves, and nutmeg to the sugar solution. The citrus zests will add a lovely aroma and complexity, while the spices will provide warmth and depth.
- Cool the Sugar Solution: Allow the sugar solution to cool down to lukewarm. This is important because adding hot liquid to the walnuts can damage them and potentially extract unwanted bitter compounds.
- Combine with Walnuts: Pour the cooled sugar solution over the chopped walnuts in the primary fermenter. Add the remaining water to the fermenter.
- Add Pectic Enzyme (Optional): If you’re using pectic enzyme, add it now. Pectic enzyme helps to break down the pectin in the fruit, which can cause cloudiness in the finished wine. This will result in a clearer, more visually appealing wine.
Primary Fermentation:
This is where the magic happens! The yeast will consume the sugar and convert it into alcohol and carbon dioxide.
- Prepare the Yeast Starter: Follow the instructions on your wine yeast packet to prepare a yeast starter. This usually involves hydrating the yeast in a small amount of lukewarm water with a pinch of sugar. This helps to ensure that the yeast is active and ready to ferment.
- Add Yeast and Nutrient: Once the yeast starter is active (usually after about 30 minutes), add it to the primary fermenter. Also, add the yeast nutrient. Yeast nutrient provides essential nutrients that the yeast needs to thrive and ferment properly.
- Cover the Fermenter: Cover the primary fermenter with a clean cloth or lid. If using a lid, make sure it’s not airtight, as carbon dioxide will be produced during fermentation. You can use an airlock at this stage if you have one, but it’s not strictly necessary for the primary fermentation.
- Ferment: Place the fermenter in a cool, dark place (ideally around 65-75°F or 18-24°C). Allow the must to ferment for 7-10 days, or until the fermentation slows down significantly. You’ll notice bubbles forming on the surface and a distinct alcoholic aroma. Stir the must gently once or twice a day to help aerate it and prevent mold growth.
Racking and Secondary Fermentation:
After the primary fermentation is complete, it’s time to “rack” the wine, which means transferring it to a clean container, leaving behind the sediment (lees).
- Sanitize Equipment: Sanitize a carboy (glass or plastic jug) and an airlock. Sanitation is crucial to prevent spoilage.
- Rack the Wine: Using a sanitized siphon, carefully transfer the wine from the primary fermenter to the sanitized carboy. Avoid disturbing the sediment at the bottom of the primary fermenter. Leave as much of the sediment behind as possible.
- Attach Airlock: Attach the sanitized airlock to the carboy. The airlock allows carbon dioxide to escape while preventing air and contaminants from entering.
- Secondary Fermentation: Place the carboy in a cool, dark place and allow the wine to undergo secondary fermentation for several weeks or months. During this time, the wine will continue to clarify and mellow in flavor. You may notice a small amount of sediment forming at the bottom of the carboy.
- Rack Again (Optional): After a few months, you may want to rack the wine again to remove any additional sediment. This will help to further clarify the wine.
Bottling:
Finally, it’s time to bottle your walnut wine! This is the culmination of all your hard work.
- Sanitize Bottles and Corks: Sanitize your wine bottles and corks. You can use a commercial bottle sanitizer or a solution of bleach and water (followed by a thorough rinsing).
- Rack the Wine: Rack the wine one last time to remove any remaining sediment.
- Bottle the Wine: Using a sanitized siphon or bottling wand, carefully fill the sanitized wine bottles, leaving about an inch of headspace at the top.
- Cork the Bottles: Insert the sanitized corks into the bottles using a corker. Make sure the corks are inserted firmly and securely.
- Age the Wine: Store the bottled wine in a cool, dark place for at least 6 months, or preferably longer. Aging will allow the flavors to mellow and develop further. Walnut wine can age for several years, becoming more complex and nuanced over time.
Important Considerations:
Sanitation is Key:
I can’t stress this enough! Proper sanitation is absolutely essential to prevent spoilage and ensure that your wine turns out delicious. Always sanitize all equipment that comes into contact with the wine, including the fermenter, carboy, siphon, bottles, and corks.
Temperature Control:
Maintaining a consistent temperature during fermentation is also important. Ideally, you want to keep the temperature between 65-75°F (18-24°C). Too high a temperature can lead to off-flavors, while too low a temperature can slow down or stall the fermentation.
Patience is a Virtue:
Making wine takes time and patience. Don’t rush the process. Allow the wine to ferment and age properly, and you’ll be rewarded with a delicious and unique homemade wine.
Adjusting Sweetness (Optional):
If you prefer a sweeter wine, you can add a small amount of sugar or honey to the wine before bottling. However, you’ll need to stabilize the wine first to prevent refermentation in the bottle. You can do this by adding potassium sorbate and potassium metabisulfite. Follow the instructions on the packaging for the correct dosage.
Experimentation:
Feel free to experiment with this recipe! You can try adding different spices, herbs, or fruits to create your own unique flavor profile. Just be sure to keep good notes so you can replicate your successes (and avoid your failures!).

Conclusion:
This walnut wine recipe isn’t just another drink; it’s a journey back in time, a taste of tradition, and a delightful experience you absolutely must try. From the rich, earthy aroma that fills your kitchen as it ferments to the complex, nuanced flavor that develops over time, this homemade wine is a testament to the magic of simple ingredients and patient craftsmanship. It’s a conversation starter, a unique gift, and a truly rewarding project for any home enthusiast.
Why is it a must-try? Because it’s more than just a beverage. It’s a connection to the past, a celebration of nature’s bounty, and a chance to create something truly special with your own two hands. The deep, dark color and the intriguing blend of sweet and slightly bitter notes make it a truly unforgettable experience. Forget the mass-produced wines; this is a handcrafted delight that will impress your friends and family.
But the best part? The possibilities are endless! Serve your walnut wine chilled as an aperitif before a hearty meal. Its slightly bitter notes pair beautifully with cheeses, charcuterie, and roasted nuts. Imagine offering a glass alongside a selection of artisanal cheeses the combination is simply divine! Or, try it as a digestif after dinner, perhaps with a square of dark chocolate to enhance its rich flavor.
Looking for variations? Experiment with different types of honey to subtly alter the sweetness and flavor profile. A darker, more robust honey like buckwheat honey will add a deeper, more intense flavor, while a lighter honey like clover honey will result in a more delicate and floral wine. You could also add a few cloves or a cinnamon stick during the fermentation process for a touch of warmth and spice, perfect for the colder months. Another interesting twist is to include a small amount of dried fruit, like figs or raisins, to add a subtle sweetness and complexity. Just remember to adjust the sugar levels accordingly.
Don’t be intimidated by the process. While it requires some patience, the steps are straightforward and the rewards are well worth the effort. The satisfaction of sipping a glass of wine that you’ve made yourself, from start to finish, is unparalleled. It’s a feeling of accomplishment and a connection to the land that you just can’t get from a store-bought bottle.
So, what are you waiting for? Gather your walnuts, your honey, and your patience, and embark on this exciting culinary adventure. I promise you won’t regret it. This walnut wine is a labor of love, and the results are truly exceptional.
I’m so excited for you to try this recipe! Once you’ve made your own batch, I’d love to hear about your experience. What variations did you try? What did you pair it with? Did you find any unexpected challenges or delightful surprises along the way? Share your photos and stories in the comments below. Let’s build a community of walnut wine enthusiasts and celebrate the joy of homemade goodness together! I can’t wait to see what you create! Cheers to your winemaking adventures!
Walnut Wine: The Ultimate Guide to Making and Enjoying It
Unique, homemade walnut wine crafted from green walnuts, sugar, and spices. A patient fermentation and aging process results in a complex and flavorful drink.
Ingredients
- 1 gallon (3.8 liters) water, preferably spring water
- 1 kilogram (2.2 pounds) green walnuts, harvested in late June/early July when they are still soft enough to cut
- 1.5 kilograms (3.3 pounds) granulated sugar
- 1 lemon, zest and juice
- 1 orange, zest and juice
- 1 cinnamon stick
- 6 cloves
- 1/2 teaspoon ground nutmeg
- 1/4 teaspoon ground ginger
- 1 packet (5 grams) wine yeast (Saccharomyces cerevisiae) choose a strain suitable for fruit wines
- 1 teaspoon yeast nutrient
- 1/2 teaspoon pectic enzyme (optional, but recommended for clarity)
Instructions
- Wash the Walnuts: Rinse green walnuts under cold water.
- Cut the Walnuts: Wearing gloves, quarter or roughly chop the walnuts.
- Place in Primary Fermenter: Transfer chopped walnuts to a sanitized primary fermentation vessel.
- Dissolve the Sugar: Heat half the water (0.5 gallons) in a large pot. Add sugar and stir until completely dissolved.
- Add Flavorings: Remove from heat. Add lemon zest, lemon juice, orange zest, orange juice, cinnamon stick, cloves, and nutmeg to the sugar solution.
- Cool the Sugar Solution: Allow the sugar solution to cool to lukewarm.
- Combine with Walnuts: Pour the cooled sugar solution over the chopped walnuts in the primary fermenter. Add the remaining water.
- Add Pectic Enzyme (Optional): Add pectic enzyme if using.
- Prepare the Yeast Starter: Follow instructions on your yeast packet to prepare a yeast starter.
- Add Yeast and Nutrient: Add the active yeast starter and yeast nutrient to the primary fermenter.
- Cover the Fermenter: Cover the primary fermenter with a clean cloth or lid (not airtight).
- Ferment: Place the fermenter in a cool, dark place (65-75°F or 18-24°C) for 7-10 days, stirring gently once or twice a day.
- Sanitize Equipment: Sanitize a carboy and airlock.
- Rack the Wine: Using a sanitized siphon, transfer the wine from the primary fermenter to the sanitized carboy, leaving sediment behind.
- Attach Airlock: Attach the sanitized airlock to the carboy.
- Secondary Fermentation: Place the carboy in a cool, dark place for several weeks or months.
- Rack Again (Optional): Rack the wine again to remove additional sediment.
- Sanitize Bottles and Corks: Sanitize wine bottles and corks.
- Rack the Wine: Rack the wine one last time to remove any remaining sediment.
- Bottle the Wine: Using a sanitized siphon or bottling wand, fill the sanitized wine bottles, leaving about an inch of headspace.
- Cork the Bottles: Insert the sanitized corks into the bottles using a corker.
- Age the Wine: Store the bottled wine in a cool, dark place for at least 6 months, or longer.
Notes
- Timing is crucial: Harvest walnuts when green and soft (late June/early July).
- Sanitation is key: Sanitize all equipment to prevent spoilage.
- Temperature control: Maintain a consistent temperature during fermentation (65-75°F or 18-24°C).
- Patience is a virtue: Allow the wine to ferment and age properly.
- Adjusting Sweetness (Optional): Add sugar or honey before bottling, but stabilize the wine first.
- Experimentation: Feel free to experiment with different spices, herbs, or fruits.


Leave a Comment