
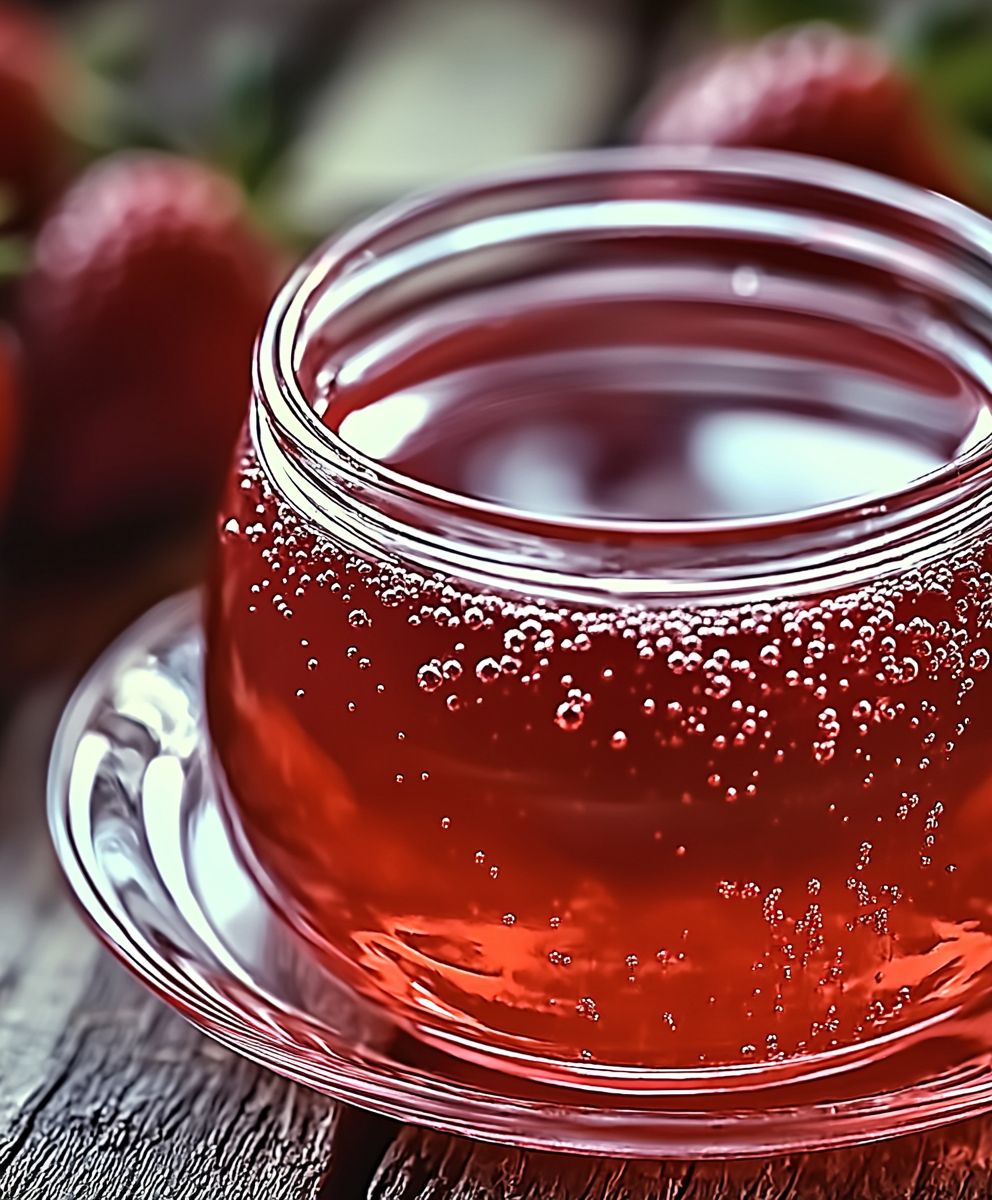
Strawberry Syrup: the vibrant, ruby-red elixir that transforms ordinary breakfasts into extraordinary delights! Imagine drizzling a generous spoonful of this sweet, fruity goodness over fluffy pancakes, swirling it into creamy yogurt, or even using it to craft refreshing summer cocktails. Are you ready to elevate your culinary creations with a burst of sunshine in a bottle?
While the exact origins of fruit syrups are somewhat hazy, the practice of preserving fruits in sugar dates back centuries. From ancient civilizations using honey to preserve fruits to the development of refined sugar, the concept of capturing the essence of seasonal bounty has always been a cherished culinary tradition. Today, strawberry syrup remains a beloved staple in kitchens around the world, a testament to its simple yet irresistible appeal.
What makes this homemade syrup so universally adored? It’s the perfect balance of sweet and tart, the luscious texture, and the sheer versatility it offers. Forget store-bought versions loaded with artificial flavors and preservatives! Making your own allows you to control the ingredients, ensuring a fresh, vibrant flavor that truly captures the essence of ripe, juicy strawberries. Plus, it’s incredibly easy to make, requiring just a few simple ingredients and minimal effort. So, let’s dive in and discover the magic of homemade strawberry syrup!

Ingredients:
- 4 cups fresh strawberries, hulled and sliced
- 2 cups granulated sugar
- 1/2 cup water
- 1 tablespoon lemon juice (freshly squeezed is best!)
- Pinch of salt
Preparing the Strawberries:
- First things first, let’s get those strawberries ready! Make sure they’re nicely washed and all the green leafy bits (the hulls) are removed. I like to slice them into smaller pieces about ¼ inch thick because it helps them break down faster and release all that delicious strawberry juice.
- Place the sliced strawberries in a large, non-reactive saucepan. A stainless steel or enamel-coated pot works great. Avoid using aluminum, as it can react with the acidity of the strawberries and affect the flavor.
Combining Ingredients and Initial Cooking:
- Now, pour the granulated sugar over the strawberries in the saucepan. Make sure the sugar is evenly distributed so it can start drawing out the moisture from the berries.
- Add the water to the saucepan. The water helps to create a syrup base and prevents the sugar from burning.
- Give everything a gentle stir to combine the strawberries, sugar, and water. Don’t overmix it; just make sure the sugar is moistened.
- Let the mixture sit for about 30 minutes to an hour at room temperature. This allows the sugar to macerate the strawberries, which means it helps to release their juices and create a more flavorful syrup. You’ll notice the strawberries will start to look a bit softer and there will be some liquid pooling at the bottom of the pan.
- After the maceration period, place the saucepan over medium heat on your stovetop.
- Bring the mixture to a gentle simmer, stirring occasionally. It’s important to keep an eye on it and stir regularly to prevent the sugar from sticking to the bottom of the pan and burning.
- Once the mixture is simmering, reduce the heat to low and continue to simmer for about 15-20 minutes, or until the strawberries have softened considerably and the syrup has thickened slightly. You’ll notice the strawberries will start to lose their shape and the syrup will become a richer, deeper red color.
Adding Lemon Juice and Final Cooking:
- After the initial simmering, add the lemon juice and a pinch of salt to the saucepan. The lemon juice helps to brighten the flavor of the syrup and adds a touch of acidity, which balances the sweetness. The salt enhances the overall flavor profile.
- Stir well to incorporate the lemon juice and salt into the syrup.
- Continue to simmer the syrup over low heat for another 5-10 minutes, or until it reaches your desired consistency. Keep in mind that the syrup will thicken further as it cools. To test the consistency, you can place a small spoonful of syrup on a cold plate and let it cool for a minute. Then, tilt the plate. If the syrup runs quickly, it needs to cook longer. If it’s thicker and runs more slowly, it’s likely ready.
Straining the Syrup (Optional):
- If you prefer a smooth, clear syrup without any strawberry pulp, you can strain it at this point. Place a fine-mesh sieve or a cheesecloth-lined colander over a heat-proof bowl.
- Carefully pour the hot syrup through the sieve or cheesecloth, allowing the syrup to drip into the bowl.
- Gently press on the solids in the sieve or cheesecloth with the back of a spoon to extract as much syrup as possible. Be careful not to force it too much, as this can make the syrup cloudy.
- Discard the solids or save them for another use, such as adding them to smoothies or oatmeal.
- If you don’t mind a bit of strawberry pulp in your syrup, you can skip the straining step altogether. I personally like the texture and flavor that the pulp adds, so I often leave it in.
Cooling and Storing:
- Allow the syrup to cool completely before transferring it to a clean, airtight container. I like to use glass jars or bottles for storing my homemade syrups.
- Once the syrup is cooled, pour it into your chosen container, leaving a little bit of headspace at the top.
- Seal the container tightly and store the syrup in the refrigerator. Homemade strawberry syrup will typically last for about 2-3 weeks in the refrigerator.
- For longer storage, you can freeze the syrup. Pour it into freezer-safe containers or ice cube trays. If using ice cube trays, once the syrup is frozen, transfer the cubes to a freezer bag for easier storage. Frozen strawberry syrup can last for several months.
Tips and Tricks for the Best Strawberry Syrup:
- Use the freshest, ripest strawberries you can find. The better the quality of the strawberries, the better the flavor of the syrup.
- Don’t overcook the syrup. Overcooking can result in a thick, sticky syrup that’s too sweet.
- Adjust the sweetness to your liking. If you prefer a less sweet syrup, you can reduce the amount of sugar slightly.
- Experiment with other flavors. You can add other ingredients to the syrup, such as vanilla extract, balsamic vinegar, or other fruits, to create unique flavor combinations. A splash of vanilla extract after cooking adds a lovely warmth.
- Sterilize your jars for longer shelf life. If you plan to store the syrup for an extended period, sterilize your jars before filling them. You can do this by boiling the jars and lids in water for 10 minutes.
- Use a candy thermometer for precise results. If you want to be really precise about the consistency of your syrup, you can use a candy thermometer. The ideal temperature for strawberry syrup is around 220°F (104°C).
Serving Suggestions:
Now that you’ve made your delicious homemade strawberry syrup, it’s time to enjoy it! Here are a few serving suggestions:
- Pancakes and waffles: Drizzle the syrup over pancakes, waffles, or French toast for a classic breakfast treat.
- Ice cream: Top your favorite ice cream with a generous spoonful of strawberry syrup.
- Yogurt: Swirl the syrup into yogurt for a fruity and flavorful snack or breakfast.
- Oatmeal: Add a touch of sweetness and flavor to your oatmeal with a drizzle of strawberry syrup.
- Drinks: Use the syrup to make strawberry lemonade, strawberry milk, or strawberry cocktails.
- Cakes and desserts: Brush the syrup over cakes or use it as a filling for pastries.
Making Strawberry Lemonade:
For a refreshing strawberry lemonade, simply mix 2-3 tablespoons of strawberry syrup with 1 cup of water and the juice of half a lemon. Adjust the amount of syrup to your liking.
Strawberry Milk:
For a quick and easy strawberry milk, stir 1-2 tablespoons of strawberry syrup into a glass of milk. You can use regular milk, almond milk, or any other type of milk you prefer.
Strawberry Cocktails:
Strawberry syrup can also be used to make delicious cocktails. Try adding it to a margarita, a daiquiri, or a simple vodka soda. It adds a lovely sweetness and a beautiful pink color to your drinks.
Enjoy!
Conclusion:
And there you have it! This homemade Strawberry Syrup recipe is truly a game-changer, and I wholeheartedly believe it deserves a permanent spot in your culinary repertoire. Why? Because it’s ridiculously easy to make, bursting with fresh, vibrant strawberry flavor that no store-bought syrup can ever replicate, and incredibly versatile. Forget those artificial-tasting syrups loaded with preservatives; this is the real deal, made with love (and a few simple ingredients!).
Think about it: you’re just a few minutes away from transforming ordinary breakfasts into extraordinary experiences. Imagine drizzling this luscious syrup over fluffy pancakes or waffles, creating a stack of strawberry-infused deliciousness that will have everyone begging for more. Or picture yourself stirring it into creamy yogurt or swirling it into a tall glass of iced tea for a refreshing summer treat. The possibilities are truly endless!
But the fun doesn’t stop there. This Strawberry Syrup is also fantastic for elevating your desserts. Use it as a topping for ice cream sundaes, creating a classic and irresistible combination. Drizzle it over cheesecake for an extra layer of sweetness and fruity flavor. Or even use it as a glaze for cakes and pastries, adding a beautiful sheen and a burst of strawberry goodness.
Looking for variations? Get creative! Try adding a squeeze of lemon juice to the syrup for a tangy twist. Infuse it with fresh mint leaves for a refreshing and aromatic flavor. Or add a pinch of cinnamon for a warm and comforting spice. You can even experiment with different types of strawberries to create unique flavor profiles. Don’t be afraid to play around and find your perfect combination!
Serving Suggestions:
* Pancakes and Waffles: The classic pairing!
* Ice Cream: A simple yet satisfying dessert.
* Yogurt: Adds sweetness and flavor to your morning routine.
* Iced Tea: A refreshing summer beverage.
* Cheesecake: Elevates this already decadent dessert.
* Cocktails: Use it as a sweetener in your favorite drinks.
* Oatmeal: Makes a healthy breakfast even more enjoyable.
* French Toast: Adds a fruity twist to this breakfast staple.
I truly believe that once you try this recipe, you’ll never go back to store-bought syrup again. It’s that good! The fresh strawberry flavor is simply unbeatable, and the homemade touch makes all the difference. Plus, it’s a great way to use up those extra strawberries you might have on hand.
So, what are you waiting for? Gather your ingredients, put on your apron, and get ready to create some magic in the kitchen. I’m confident that you’ll love this Strawberry Syrup as much as I do.
And most importantly, I want to hear about your experience! Did you try the recipe? What variations did you make? How did you use it? Share your photos and stories in the comments below. I can’t wait to see what you create! Happy cooking!
Strawberry Syrup: The Ultimate Guide to Making & Using It
Homemade strawberry syrup bursting with fresh strawberry flavor, perfect for pancakes, ice cream, drinks, and more!
Ingredients
- 4 cups fresh strawberries, hulled and sliced
- 2 cups granulated sugar
- 1/2 cup water
- 1 tablespoon lemon juice (freshly squeezed)
- Pinch of salt
Instructions
- Prepare Strawberries: Wash and hull strawberries. Slice into ¼ inch thick pieces. Place in a large, non-reactive saucepan (stainless steel or enamel-coated).
- Combine Ingredients: Pour sugar over strawberries. Add water. Gently stir to combine.
- Macerate: Let the mixture sit at room temperature for 30 minutes to 1 hour.
- Initial Cooking: Place saucepan over medium heat. Bring to a gentle simmer, stirring occasionally. Reduce heat to low and simmer for 15-20 minutes, or until strawberries have softened and syrup has thickened slightly.
- Add Lemon Juice and Salt: Add lemon juice and salt to the saucepan. Stir well.
- Final Cooking: Continue to simmer over low heat for another 5-10 minutes, or until it reaches your desired consistency. Test by placing a spoonful on a cold plate.
- Strain (Optional): For a smooth syrup, strain through a fine-mesh sieve or cheesecloth-lined colander. Press gently on solids to extract syrup. Discard solids or save for other uses.
- Cool and Store: Allow syrup to cool completely. Transfer to a clean, airtight container. Store in the refrigerator for 2-3 weeks, or freeze for longer storage.
Notes
- Use the freshest, ripest strawberries for the best flavor.
- Don’t overcook the syrup.
- Adjust sweetness to your liking by reducing the sugar slightly.
- Experiment with other flavors like vanilla extract or balsamic vinegar.
- Sterilize jars for longer shelf life.
- Use a candy thermometer for precise results (around 220°F or 104°C).
- Serving suggestions: Pancakes, waffles, ice cream, yogurt, oatmeal, drinks, cakes, and desserts.
- Strawberry Lemonade: Mix 2-3 tablespoons of syrup with 1 cup of water and the juice of half a lemon.
- Strawberry Milk: Stir 1-2 tablespoons of syrup into a glass of milk.
- Strawberry Cocktails: Add to margaritas, daiquiris, or vodka sodas.


Leave a Comment