
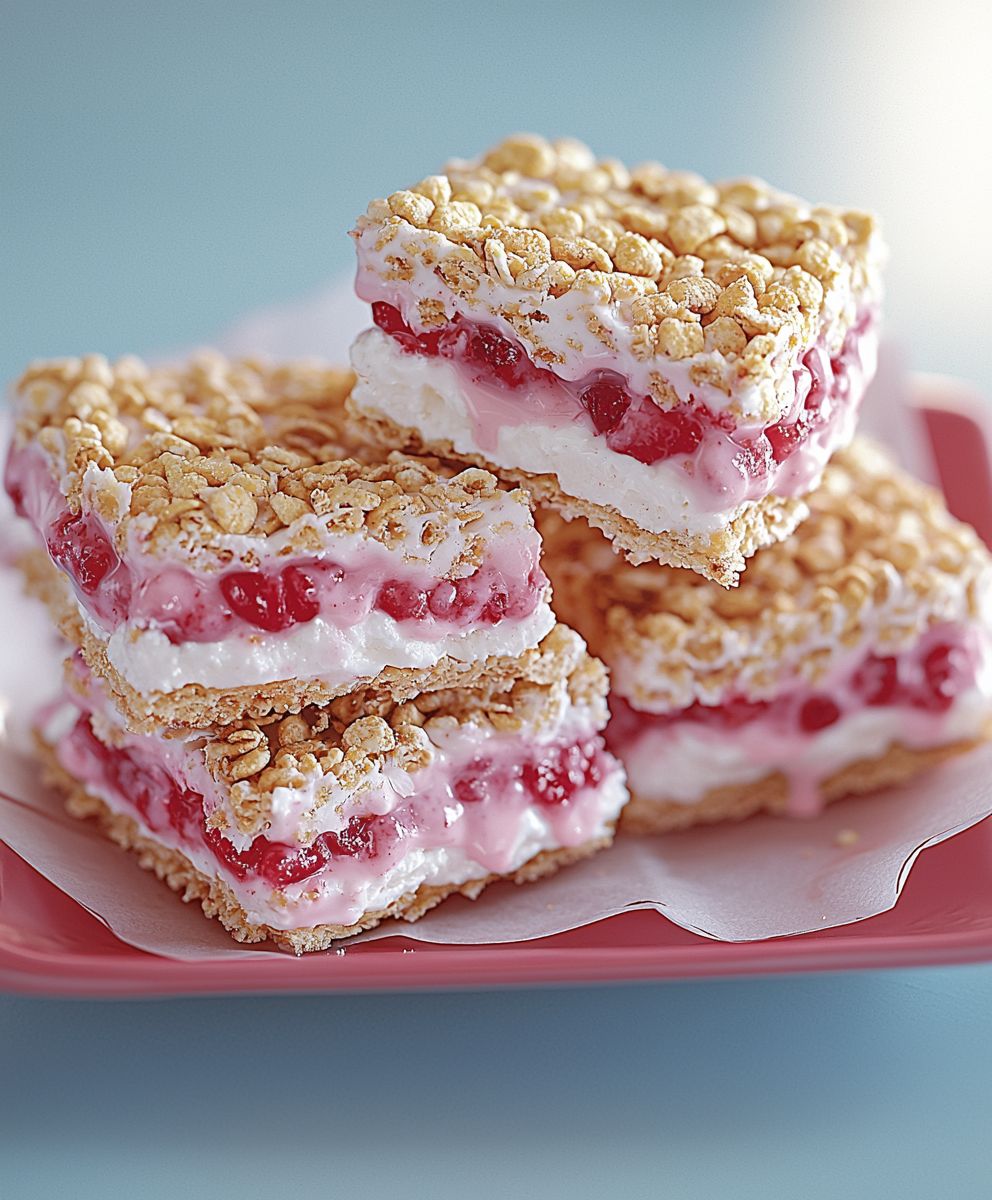
PB and J Ice Cream: Prepare to have your childhood reimagined in the most delightful way possible! Forget everything you thought you knew about ice cream because this recipe is about to blow your mind. Imagine the creamy, cool bliss of homemade ice cream swirled with the nostalgic flavors of peanut butter and jelly. Intrigued? You should be!
Peanut butter and jelly sandwiches are a quintessential part of American culture, evoking memories of school lunches, picnics, and simple, carefree days. While its exact origins are debated, the PB&J gained immense popularity in the early 20th century and has remained a beloved comfort food ever since. The combination of salty peanut butter and sweet, fruity jelly is a flavor profile that resonates with almost everyone.
But why stop at a sandwich? That’s what I asked myself! People adore this classic pairing because it’s comforting, satisfying, and incredibly easy to enjoy. Now, we’re taking those same beloved flavors and elevating them to a decadent frozen dessert. This PB and J Ice Cream is not only incredibly delicious, offering a perfect balance of sweet and salty, but it’s also surprisingly simple to make at home. Get ready to experience a taste of nostalgia with a cool, creamy twist!

Ingredients:
- For the Peanut Butter Ice Cream Base:
- 2 cups (480ml) heavy cream
- 1 cup (240ml) whole milk
- ¾ cup (150g) granulated sugar
- ¼ teaspoon salt
- ½ cup (approximately 128g) creamy peanut butter (no-stir variety works best)
- 1 teaspoon vanilla extract
- For the Strawberry Jam Swirl:
- 1 cup (approximately 283g) high-quality strawberry jam (seedless or with seeds, your preference!)
- 1 tablespoon lemon juice (freshly squeezed is ideal)
- Optional Peanut Butter Cup Chunks:
- 6-8 mini peanut butter cups, chopped into small pieces
Preparing the Peanut Butter Ice Cream Base:
- Combine Dairy, Sugar, and Salt: In a medium saucepan, whisk together the heavy cream, whole milk, granulated sugar, and salt. Make sure the sugar is well incorporated before moving on to the next step. This ensures a smooth and creamy texture in the final ice cream.
- Heat the Mixture: Place the saucepan over medium heat. Stir constantly with a spatula or whisk until the sugar is completely dissolved and the mixture is warm to the touch. You don’t want it to boil, just warm enough to help the sugar dissolve properly. This usually takes about 5-7 minutes. Pay close attention and don’t let it scorch!
- Incorporate the Peanut Butter: Remove the saucepan from the heat. Add the peanut butter to the warm cream mixture. Whisk vigorously until the peanut butter is completely smooth and fully incorporated. This might take a little elbow grease, but keep at it! You want to avoid any lumps of peanut butter in your ice cream base. If you’re having trouble, you can use an immersion blender to ensure a perfectly smooth consistency.
- Add Vanilla Extract: Stir in the vanilla extract. This enhances the overall flavor and adds a touch of sweetness.
- Chill the Base: Pour the peanut butter ice cream base into an airtight container. Let it cool slightly at room temperature for about 30 minutes. Then, cover the container and refrigerate for at least 4 hours, or preferably overnight. This chilling process is crucial! It allows the flavors to meld together and the base to thicken, resulting in a smoother and creamier ice cream. Don’t skip this step!
Preparing the Strawberry Jam Swirl:
- Combine Jam and Lemon Juice: In a small bowl, combine the strawberry jam and lemon juice. The lemon juice helps to brighten the flavor of the jam and adds a touch of acidity that complements the sweetness.
- Mix Well: Stir the jam and lemon juice together until well combined. The mixture should be slightly thinner than the original jam. If your jam is very thick, you can add a tiny splash of water to loosen it up a bit.
- Set Aside: Set the strawberry jam swirl aside until you’re ready to assemble the ice cream.
Churning the Ice Cream:
- Prepare Your Ice Cream Maker: Follow the manufacturer’s instructions for your ice cream maker. If you have a freezer bowl ice cream maker, make sure the bowl has been properly frozen for at least 24 hours. If you have an ice cream maker that requires ice and salt, prepare it according to the instructions.
- Pour in the Base: Once your ice cream maker is ready, pour the chilled peanut butter ice cream base into the machine.
- Churn According to Instructions: Churn the ice cream base according to your ice cream maker’s instructions. This usually takes about 20-30 minutes, or until the ice cream reaches a soft-serve consistency. Keep an eye on it you want it to be thick and creamy, but not too hard.
Assembling the PB&J Ice Cream:
- Layer Ice Cream and Jam: Transfer about one-third of the churned peanut butter ice cream into a freezer-safe container (a loaf pan works well).
- Drizzle with Jam: Drizzle about one-third of the strawberry jam swirl over the ice cream. Use a knife or skewer to gently swirl the jam into the ice cream, creating ribbons of strawberry flavor. Be careful not to overmix, as you want to maintain distinct swirls.
- Repeat Layers: Repeat the layering process with another one-third of the ice cream and another one-third of the jam swirl.
- Final Layer: Top with the remaining peanut butter ice cream and the remaining strawberry jam swirl. Create more swirls with a knife or skewer.
- Add Peanut Butter Cup Chunks (Optional): If you’re using peanut butter cup chunks, sprinkle them evenly over the top of the ice cream.
- Freeze to Harden: Cover the container tightly with plastic wrap, pressing it directly onto the surface of the ice cream to prevent ice crystals from forming. Then, place the container in the freezer for at least 4 hours, or preferably overnight, to allow the ice cream to fully harden. This is important for achieving a scoopable consistency.
Serving and Storage:
- Scoop and Enjoy: Once the ice cream is fully hardened, scoop it into bowls or cones and enjoy! The combination of creamy peanut butter ice cream and sweet strawberry jam is absolutely irresistible.
- Storage: Store any leftover ice cream in an airtight container in the freezer for up to 2 weeks. After that, the texture may start to deteriorate. To prevent freezer burn, make sure the container is tightly sealed.
- Tips for Serving: Let the ice cream sit at room temperature for a few minutes before scooping to soften it slightly. This will make it easier to scoop and will also enhance the flavors. You can also garnish with extra chopped peanut butter cups, a drizzle of peanut butter, or a dollop of whipped cream.
Variations and Tips:
- Different Jams: Feel free to experiment with different types of jam! Raspberry, grape, or even blackberry jam would be delicious in this recipe.
- Chunky Peanut Butter: If you prefer a chunkier texture, you can use chunky peanut butter instead of creamy peanut butter. Just be aware that it might make the ice cream slightly less smooth.
- Homemade Jam: For an extra special treat, use homemade strawberry jam! The flavor will be even more intense and delicious.
- Vegan Option: To make this recipe vegan, use plant-based heavy cream and milk, and a vegan-friendly peanut butter. You’ll also need to ensure your strawberry jam is vegan (some jams use gelatin).
- Salted Peanut Butter: If you’re using unsalted peanut butter, you might want to add a pinch more salt to the ice cream base to balance the sweetness.
- Preventing Ice Crystals: The key to preventing ice crystals in homemade ice cream is to chill the base thoroughly and to use a high-fat content dairy. Also, make sure to cover the ice cream tightly when freezing.
- Adjusting Sweetness: If you prefer a less sweet ice cream, you can reduce the amount of sugar in the base. Start with a smaller amount and taste as you go.
- Adding Other Mix-Ins: Get creative and add other mix-ins to your ice cream! Chopped peanuts, chocolate chips, or even pretzel pieces would be delicious additions.
Conclusion:
So, there you have it! This isn’t just any ice cream; it’s a nostalgic trip down memory lane, reimagined in a frozen, creamy delight. This PB and J Ice Cream is a must-try because it perfectly balances the salty, nutty richness of peanut butter with the sweet, fruity tang of your favorite jelly. Its unexpected, utterly delicious, and guaranteed to be a conversation starter at your next gathering. Forget boring vanilla; this is where the real fun begins!
But why is this recipe truly special? It’s the simplicity combined with the sheer joy it evokes. It’s a reminder of simpler times, of childhood lunches and carefree afternoons. And honestly, who doesn’t love a good PB&J? Transforming it into ice cream just elevates the experience to a whole new level of awesome. Plus, it’s surprisingly easy to make, even if you’re not a seasoned ice cream maker. The hardest part is waiting for it to freeze!
Now, let’s talk serving suggestions and variations, because the possibilities are endless! For a classic experience, serve it straight up in a bowl or cone. But if you’re feeling adventurous, try these ideas:
* PB&J Ice Cream Sandwiches: Scoop the ice cream between two graham crackers or chocolate chip cookies for an extra indulgent treat.
* PB&J Milkshake: Blend a few scoops of the ice cream with milk and a drizzle of peanut butter for a super creamy and flavorful milkshake.
* PB&J Sundae: Top the ice cream with whipped cream, chopped peanuts, a drizzle of extra jelly, and maybe even a cherry on top!
* PB&J Affogato: Pour a shot of hot espresso over a scoop of the ice cream for a delightful contrast of temperatures and flavors.
And don’t be afraid to experiment with different types of peanut butter and jelly! Use crunchy peanut butter for extra texture, or try different flavors of jelly like grape, strawberry, or even raspberry. You can even swirl in some chopped peanuts or chocolate chips for added crunch and flavor. For a vegan version, use plant-based ice cream, peanut butter, and jelly. The key is to have fun and make it your own!
Ready to embark on this delicious adventure?
I truly believe that this PB and J Ice Cream will become a new favorite in your household. It’s the perfect treat for kids and adults alike, and it’s sure to bring a smile to everyone’s face. So, gather your ingredients, dust off your ice cream maker (or use the no-churn method!), and get ready to create some magic.
I’m so excited for you to try this recipe! And more importantly, I’m even more excited to hear about your experience. Did you make any variations? Did you serve it in a creative way? What was your favorite part? Please, please, please share your thoughts and photos in the comments below! I can’t wait to see what you come up with. Happy ice cream making! Let me know what you think of this PB and J Ice Cream!
PB and J Ice Cream: The Ultimate Guide to Making This Classic Treat
Creamy peanut butter ice cream swirled with sweet and tangy strawberry jam, and optional peanut butter cup chunks. A delicious homemade take on the classic PB&J sandwich!
Ingredients
- 2 cups (480ml) heavy cream
- 1 cup (240ml) whole milk
- ¾ cup (150g) granulated sugar
- ¼ teaspoon salt
- ½ cup (approximately 128g) creamy peanut butter (no-stir variety works best)
- 1 teaspoon vanilla extract
- 1 cup (approximately 283g) high-quality strawberry jam (seedless or with seeds, your preference!)
- 1 tablespoon lemon juice (freshly squeezed is ideal)
- 6-8 mini peanut butter cups, chopped into small pieces
Instructions
- Combine Dairy, Sugar, and Salt: In a medium saucepan, whisk together the heavy cream, whole milk, granulated sugar, and salt. Make sure the sugar is well incorporated.
- Heat the Mixture: Place the saucepan over medium heat. Stir constantly until the sugar is completely dissolved and the mixture is warm to the touch (5-7 minutes). Do not boil.
- Incorporate the Peanut Butter: Remove the saucepan from the heat. Add the peanut butter and whisk vigorously until completely smooth. Use an immersion blender if needed.
- Add Vanilla Extract: Stir in the vanilla extract.
- Chill the Base: Pour the peanut butter ice cream base into an airtight container. Cool slightly at room temperature for 30 minutes. Then, cover and refrigerate for at least 4 hours, or preferably overnight.
- Combine Jam and Lemon Juice: In a small bowl, combine the strawberry jam and lemon juice.
- Mix Well: Stir until well combined. Add a tiny splash of water if the jam is very thick.
- Set Aside: Set the strawberry jam swirl aside.
- Prepare Your Ice Cream Maker: Follow the manufacturer’s instructions for your ice cream maker.
- Pour in the Base: Pour the chilled peanut butter ice cream base into the machine.
- Churn According to Instructions: Churn the ice cream base according to your ice cream maker’s instructions (20-30 minutes), until it reaches a soft-serve consistency.
- Layer Ice Cream and Jam: Transfer about one-third of the churned peanut butter ice cream into a freezer-safe container.
- Drizzle with Jam: Drizzle about one-third of the strawberry jam swirl over the ice cream. Gently swirl the jam into the ice cream with a knife or skewer.
- Repeat Layers: Repeat the layering process with another one-third of the ice cream and another one-third of the jam swirl.
- Final Layer: Top with the remaining peanut butter ice cream and the remaining strawberry jam swirl. Create more swirls.
- Add Peanut Butter Cup Chunks (Optional): Sprinkle peanut butter cup chunks evenly over the top.
- Freeze to Harden: Cover the container tightly with plastic wrap, pressing it directly onto the surface. Freeze for at least 4 hours, or preferably overnight.
- Scoop and Enjoy: Scoop into bowls or cones and enjoy!
- Storage: Store any leftover ice cream in an airtight container in the freezer for up to 2 weeks.
Notes
- Experiment with raspberry, grape, or blackberry jam.
- Use chunky peanut butter for a chunkier texture.
- Use homemade strawberry jam for an extra special treat.
- Use plant-based heavy cream and milk, and a vegan-friendly peanut butter and jam.
- Add a pinch more salt if using unsalted peanut butter.
- Chill the base thoroughly, use high-fat dairy, and cover tightly when freezing.
- Reduce the amount of sugar if you prefer a less sweet ice cream.
- Add chopped peanuts, chocolate chips, or pretzel pieces.
- Let the ice cream sit at room temperature for a few minutes before scooping to soften it slightly. You can also garnish with extra chopped peanut butter cups, a drizzle of peanut butter, or a dollop of whipped cream.

Leave a Comment