
Oreo Dump Cake: Just the name alone conjures up images of effortless baking and decadent desserts, doesn’t it? Forget complicated recipes and hours spent in the kitchen; this is where simplicity meets pure, unadulterated indulgence. Prepare to be amazed by how easily you can create a crowd-pleasing treat that will have everyone begging for seconds.
While the exact origins of the “dump cake” remain somewhat shrouded in mystery, its appeal is timeless. The concept is rooted in resourceful baking, a way to create something delicious with minimal fuss, often utilizing pantry staples. It’s a testament to the idea that the best things in life don’t always require the most effort. This particular version, the Oreo Dump Cake, elevates the classic dump cake with the irresistible allure of America’s favorite cookie.
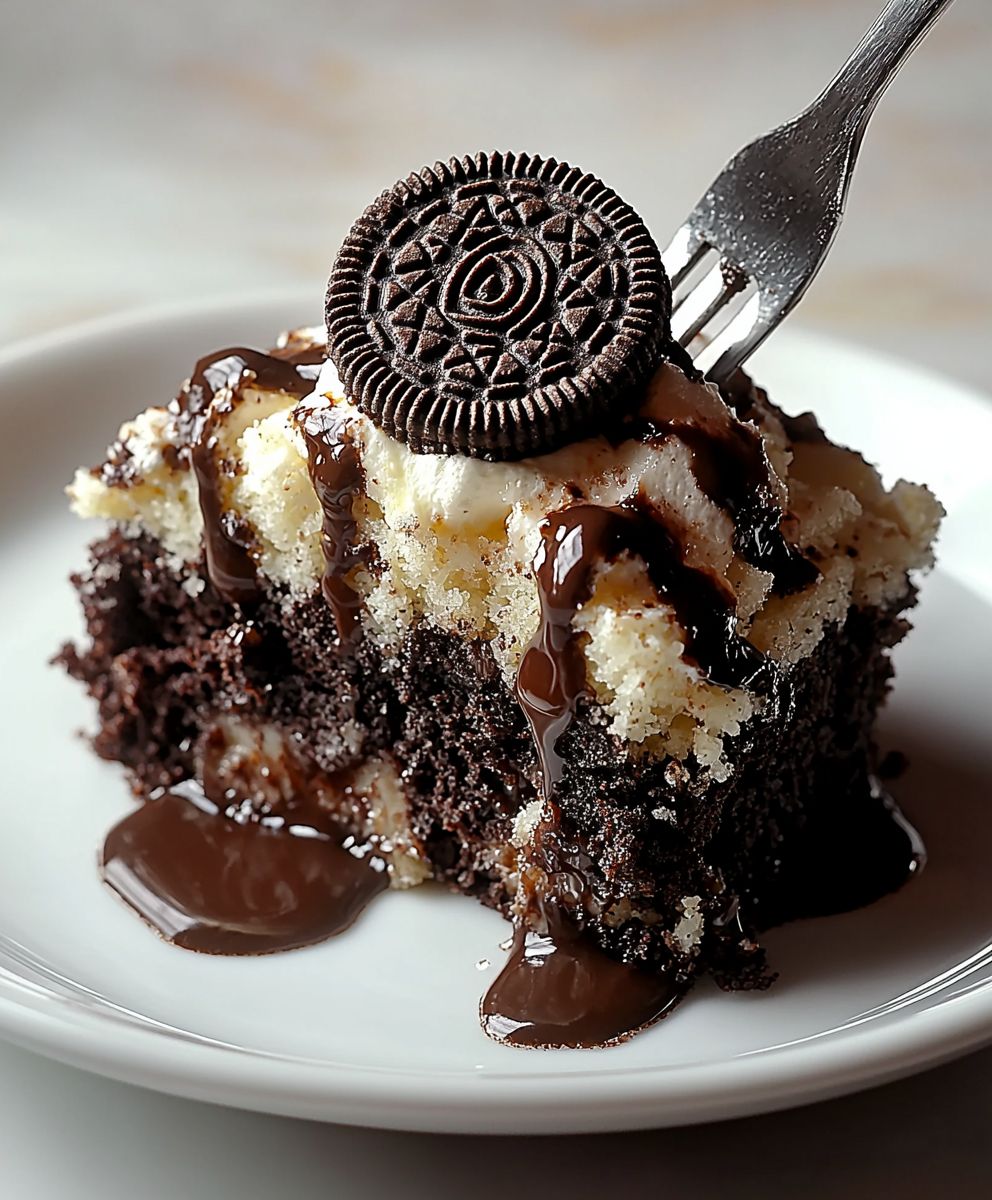
What makes this dessert so universally loved? It’s the perfect combination of textures and flavors. The moist, buttery cake base, the creamy, slightly softened Oreo cookies, and the crunchy topping create a symphony of sensations in every bite. Plus, let’s be honest, who can resist the iconic chocolate and cream combination of Oreos? Its quick, its easy, and its guaranteed to satisfy any sweet tooth. Get ready to experience dessert nirvana with this incredibly simple yet utterly delicious recipe!

Ingredients:
- 1 package (14.3 ounces) Oreo cookies, divided
- 1 box (15.25 ounces) chocolate cake mix
- 1 cup milk
- 1/2 cup (1 stick) unsalted butter, melted
- 1 can (12 ounces) evaporated milk
- 1 package (3.4 ounces) instant chocolate pudding mix
- 1 teaspoon vanilla extract
- 8 ounces whipped topping, thawed
Preparing the Oreo Base:
Okay, let’s get started! First things first, we need to create that delicious Oreo base that makes this dump cake so irresistible. This part is super easy, I promise!
- Crush the Oreos: Grab about 2/3 of the Oreo cookies from the package. We’re going to crush them up. You can do this in a couple of ways. My favorite method is to put them in a large zip-top bag and use a rolling pin to bash them until they’re mostly crumbs. You don’t want them to be completely pulverized; a little bit of texture is nice. Alternatively, you can use a food processor for a more uniform crumb. Just pulse them a few times until you get the desired consistency.
- Prepare the Baking Dish: Preheat your oven to 350°F (175°C). While the oven is heating, grease a 9×13 inch baking dish. You can use butter, cooking spray, or even line it with parchment paper for easy cleanup. I usually go with cooking spray because it’s quick and easy.
- Layer the Crushed Oreos: Pour the crushed Oreos into the prepared baking dish and spread them evenly across the bottom. This will form the base of our dump cake, so make sure it’s nice and uniform.
Making the Cake Batter:
Now, let’s move on to the cake batter. This is where the chocolatey goodness really starts to come together. Don’t worry, it’s still incredibly simple!
- Combine the Cake Mix and Milk: In a large bowl, combine the chocolate cake mix and the milk. Use a whisk or an electric mixer to blend them together until you have a smooth batter. Be careful not to overmix; just mix until everything is well combined. A few small lumps are okay.
- Pour the Batter Over the Oreos: Gently pour the cake batter evenly over the crushed Oreo base in the baking dish. Try to distribute it as evenly as possible so that the cake bakes uniformly.
- Drizzle with Melted Butter: Now, drizzle the melted butter evenly over the top of the cake batter. This will help the cake bake up moist and delicious. Make sure you get butter over the entire surface.
Baking the Cake:
Time to bake! This is the part where the magic happens. The aroma that fills your kitchen while this cake is baking is absolutely heavenly.
- Bake in the Preheated Oven: Place the baking dish in the preheated oven and bake for 30-35 minutes, or until a wooden skewer inserted into the center comes out clean. Keep an eye on it, as baking times can vary depending on your oven. You want the cake to be golden brown and slightly firm to the touch.
- Cool Completely: Once the cake is done, remove it from the oven and let it cool completely in the baking dish. This is important because we don’t want the pudding layer to melt when we add it. I usually let it cool for at least an hour, or even longer if I have the time.
Preparing the Pudding Layer:
While the cake is cooling, we can prepare the pudding layer. This adds a creamy, decadent element to the dump cake that takes it to the next level.
- Whisk Together Evaporated Milk and Pudding Mix: In a medium bowl, whisk together the evaporated milk and the instant chocolate pudding mix. Whisk until the mixture is smooth and starts to thicken. This usually takes about 2-3 minutes.
- Add Vanilla Extract: Stir in the vanilla extract. This enhances the chocolate flavor and adds a touch of warmth to the pudding.
- Let the Pudding Set: Let the pudding mixture sit for about 5 minutes to allow it to thicken completely.
Assembling the Dump Cake:
Now for the fun part assembling the dump cake! This is where all the layers come together to create a truly spectacular dessert.
- Spread the Pudding Over the Cooled Cake: Once the cake has cooled completely, spread the prepared pudding evenly over the top. Make sure to cover the entire surface of the cake.
- Top with Whipped Topping: Spread the thawed whipped topping evenly over the pudding layer. This adds a light and airy texture that complements the richness of the cake and pudding.
- Garnish with Remaining Oreos: Crush the remaining Oreo cookies and sprinkle them over the whipped topping. This adds a final touch of Oreo goodness and makes the cake look even more appealing.
Chilling and Serving:
Almost there! A little chilling time will allow the flavors to meld together and the cake to set up properly.
- Chill in the Refrigerator: Cover the dump cake with plastic wrap and refrigerate for at least 2 hours, or preferably overnight. This allows the flavors to meld together and the cake to become even more moist and delicious.
- Serve and Enjoy: When you’re ready to serve, cut the dump cake into squares and enjoy! This cake is best served cold.
Tips and Variations:
Here are a few extra tips and variations to make this Oreo dump cake even more amazing:
- Add Chocolate Chips: Sprinkle chocolate chips over the Oreo base or into the cake batter for an extra dose of chocolate.
- Use Different Flavored Oreos: Experiment with different flavors of Oreos, such as Golden Oreos or Mint Oreos, to create a unique twist on this classic dessert.
- Add Nuts: Sprinkle chopped nuts, such as pecans or walnuts, over the whipped topping for added texture and flavor.
- Make it Gluten-Free: Use a gluten-free chocolate cake mix and gluten-free Oreos to make this dump cake gluten-free.
- Individual Servings: You can also make this dump cake in individual ramekins for a fun and elegant presentation.
Storage Instructions:
Store any leftover Oreo dump cake in the refrigerator, covered, for up to 3-4 days. The cake may become slightly softer over time, but it will still be delicious!
Conclusion:
This Oreo dump cake isn’t just a dessert; it’s a shortcut to pure, unadulterated happiness. Seriously, if you’re looking for a recipe that delivers maximum flavor with minimal effort, look no further. The combination of the rich, chocolatey Oreos, the moist cake, and the buttery topping creates a symphony of textures and tastes that will have everyone begging for seconds. It’s the kind of dessert that makes you feel like a baking genius, even if all you did was dump ingredients into a pan! Why is this Oreo dump cake a must-try? Because it’s ridiculously easy, incredibly delicious, and guaranteed to be a crowd-pleaser. It’s the perfect solution for potlucks, birthday parties, or even just a weeknight treat when you need a little something sweet. Plus, the ingredients are readily available, so you can whip this up anytime the craving strikes. Forget spending hours in the kitchen; this recipe lets you enjoy a decadent dessert without the fuss. But the best part? It’s totally customizable! Feel free to get creative with your serving suggestions and variations. For a classic touch, serve it warm with a scoop of vanilla ice cream. The cold ice cream melting into the warm cake is an absolute dream. Or, if you’re feeling adventurous, try a scoop of cookies and cream ice cream to really amplify the Oreo flavor. Want to take it to the next level? Drizzle some hot fudge sauce over the top for an extra layer of chocolatey goodness. A sprinkle of crushed Oreos adds a nice textural contrast and visual appeal. You could even add a dollop of whipped cream and a cherry for a truly decadent presentation. For variations, consider adding a layer of cream cheese filling between the Oreos and the cake mix. This will create a richer, more decadent dessert. You could also experiment with different flavors of cake mix. A chocolate cake mix would intensify the chocolate flavor, while a yellow cake mix would provide a lighter, more subtle sweetness. Another fun variation is to use different types of Oreos. Golden Oreos would add a vanilla twist, while mint Oreos would create a refreshing and festive dessert. The possibilities are endless! Don’t be afraid to experiment and make this recipe your own. That’s the beauty of dump cakes they’re incredibly forgiving and adaptable. Whether you stick to the classic recipe or try a new variation, I’m confident that you’ll love this Oreo dump cake. So, what are you waiting for? Grab your ingredients, preheat your oven, and get ready to bake up a batch of this irresistible dessert. I promise you won’t regret it. And most importantly, I want to hear about your experience! Did you try the classic recipe, or did you experiment with a variation? What were your favorite serving suggestions? Share your photos and comments below. I can’t wait to see what you create! Let me know if you have any questions, and happy baking! I hope you enjoy this easy Oreo dump cake as much as my family and I do. It’s a guaranteed winner! Print
Oreo Dump Cake: Easy Recipe, Delicious Dessert
- Total Time: 170 minutes
- Yield: 12–16 servings 1x
Description
Easy Oreo Dump Cake with layers of crushed Oreos, chocolate cake, creamy pudding, and whipped topping. A simple and delicious dessert!
Ingredients
- 1 package (14.3 ounces) Oreo cookies, divided
- 1 box (15.25 ounces) chocolate cake mix
- 1 cup milk
- 1/2 cup (1 stick) unsalted butter, melted
- 1 can (12 ounces) evaporated milk
- 1 package (3.4 ounces) instant chocolate pudding mix
- 1 teaspoon vanilla extract
- 8 ounces whipped topping, thawed
Instructions
- Crush the Oreos: Crush about 2/3 of the Oreo cookies. You can use a zip-top bag and rolling pin, or a food processor. Aim for crumbs with some texture.
- Prepare the Baking Dish: Preheat oven to 350°F (175°C). Grease a 9×13 inch baking dish.
- Layer the Crushed Oreos: Pour the crushed Oreos into the prepared baking dish and spread evenly.
- Combine Cake Mix and Milk: In a large bowl, combine the chocolate cake mix and milk. Mix until smooth, being careful not to overmix.
- Pour Batter Over Oreos: Gently pour the cake batter evenly over the crushed Oreo base.
- Drizzle with Melted Butter: Drizzle the melted butter evenly over the top of the cake batter.
- Bake: Bake in the preheated oven for 30-35 minutes, or until a wooden skewer inserted into the center comes out clean.
- Cool Completely: Remove from oven and let cool completely in the baking dish.
- Whisk Together Evaporated Milk and Pudding Mix: In a medium bowl, whisk together the evaporated milk and instant chocolate pudding mix until smooth and thickened (2-3 minutes).
- Add Vanilla Extract: Stir in the vanilla extract.
- Let Pudding Set: Let the pudding mixture sit for about 5 minutes to allow it to thicken completely.
- Spread Pudding Over Cake: Once the cake has cooled completely, spread the prepared pudding evenly over the top.
- Top with Whipped Topping: Spread the thawed whipped topping evenly over the pudding layer.
- Garnish with Remaining Oreos: Crush the remaining Oreo cookies and sprinkle them over the whipped topping.
- Chill: Cover with plastic wrap and refrigerate for at least 2 hours, or preferably overnight.
- Serve: Cut into squares and enjoy cold.
Notes
- Add Chocolate Chips: Sprinkle chocolate chips over the Oreo base or into the cake batter for an extra dose of chocolate.
- Use Different Flavored Oreos: Experiment with different flavors of Oreos, such as Golden Oreos or Mint Oreos, to create a unique twist on this classic dessert.
- Add Nuts: Sprinkle chopped nuts, such as pecans or walnuts, over the whipped topping for added texture and flavor.
- Make it Gluten-Free: Use a gluten-free chocolate cake mix and gluten-free Oreos to make this dump cake gluten-free.
- Individual Servings: You can also make this dump cake in individual ramekins for a fun and elegant presentation.
- Storage Instructions: Store any leftover Oreo dump cake in the refrigerator, covered, for up to 3-4 days. The cake may become slightly softer over time, but it will still be delicious!
- Prep Time: 20 minutes
- Cook Time: 30 minutes


Leave a Comment