
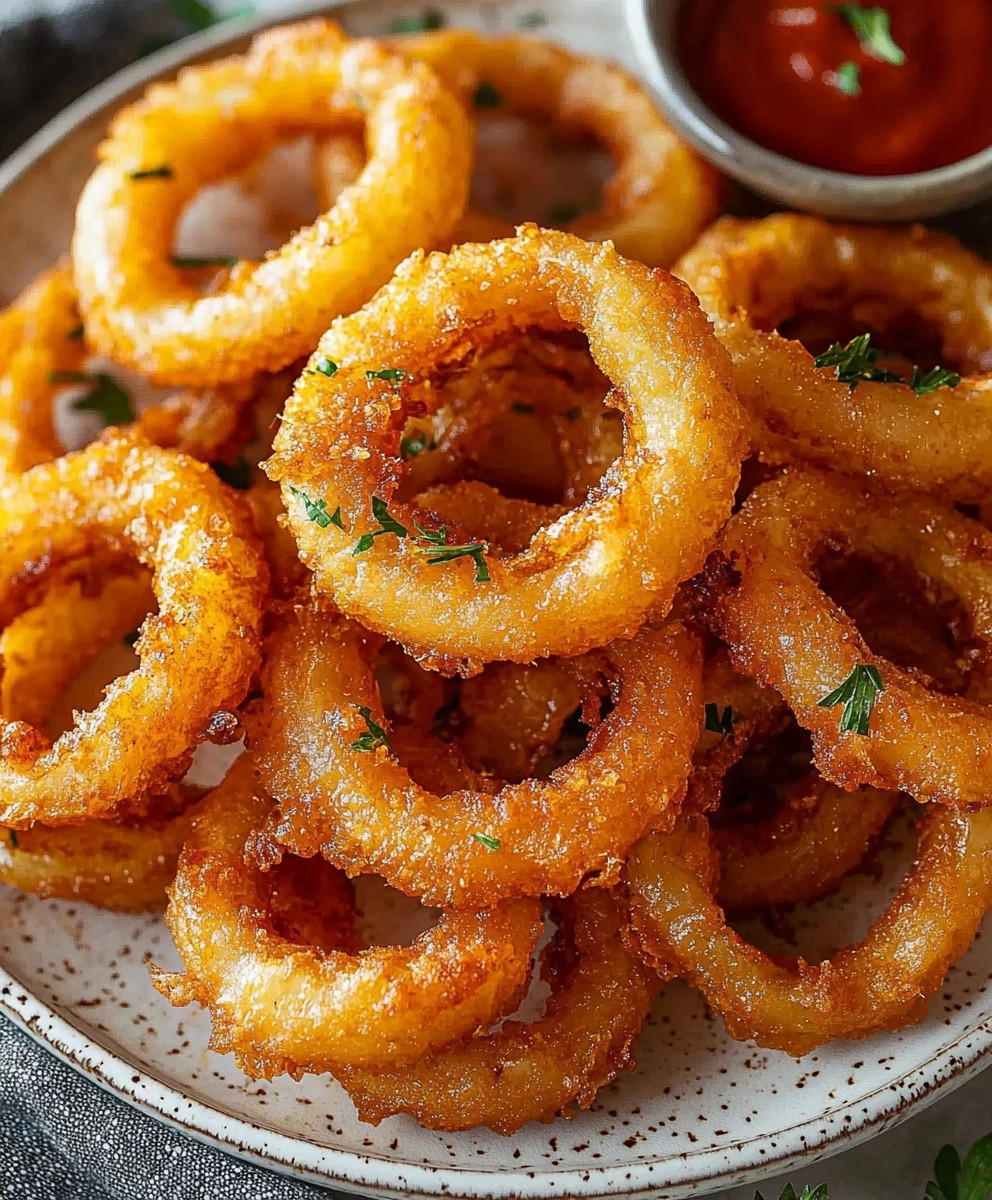
Onion rings are a beloved classic that never fails to bring a smile to my face. Crispy on the outside and tender on the inside, these golden delights have a rich history that dates back to the 1800s, with roots in various cultures around the world. From the bustling diners of America to the street food stalls in the UK, onion rings have become a staple comfort food that transcends borders. What I adore most about onion rings is their perfect balance of flavor and texture; the sweet, caramelized onion encased in a crunchy batter creates an irresistible combination that keeps people coming back for more. Whether served as a side dish, a snack, or a party appetizer, onion rings are not just convenient to make but also a crowd-pleaser that everyone loves. Join me as we dive into this delightful recipe that will surely elevate your culinary repertoire!
Ingredients:
- 2 large onions (preferably sweet onions like Vidalia or Walla Walla)
- 1 cup all-purpose flour
- 1 cup breadcrumbs (panko for extra crunch)
- 1 teaspoon baking powder
- 1 teaspoon garlic powder
- 1 teaspoon paprika
- 1/2 teaspoon salt
- 1/2 teaspoon black pepper
- 1 large egg
- 1 cup buttermilk (or regular milk with a splash of vinegar)
- Vegetable oil (for frying)
Preparing the Onions
1. Start by peeling the onions. I like to use a sharp knife to remove the outer skin, making sure to get rid of any papery bits. 2. Once peeled, slice the onions into 1/4-inch thick rings. You can use a mandoline for even slices, but a good knife works just fine. 3. After slicing, gently separate the rings from each other. I usually place them in a bowl and set them aside while I prepare the batter.Preparing the Batter
4. In a large mixing bowl, combine the flour, baking powder, garlic powder, paprika, salt, and black pepper. Whisk these dry ingredients together until they are well mixed. 5. In another bowl, whisk the egg and then add the buttermilk. If youre using regular milk, just add a splash of vinegar to sour it and let it sit for about 5 minutes before using. 6. Pour the wet mixture into the dry ingredients and stir until just combined. Its okay if there are a few lumps; we dont want to overmix it.Coating the Onion Rings
7. Now its time to coat the onion rings! First, take a ring and dip it into the batter, making sure its fully coated. 8. Next, let the excess batter drip off before transferring the ring to the bowl of breadcrumbs. 9. Gently press the ring into the breadcrumbs to ensure its well coated. I like to shake off any excess breadcrumbs before placing it on a plate. 10. Repeat this process for all the onion rings. You can lay them out on a baking sheet lined with parchment paper to keep them organized.Frying the Onion Rings
11. In a large, deep skillet or a heavy-bottomed pot, pour in enough vegetable oil to submerge the onion rings (about 2-3 inches deep). Heat the oil over medium-high heat until it reaches 350°F (175°C). You can test the oil by dropping in a small piece of batter; if it sizzles and rises to the surface, its ready! 12. Carefully add a few onion rings to the hot oil, making sure not to overcrowd the pan. I usually fry them in batches of 4-5 rings at a time. 13. Fry the onion rings for about 2-3 minutes on each side, or until they are golden brown and crispy. Use a slotted spoon to flip them halfway through. 14. Once they are done, remove the onion rings from the oil and place them on a plate lined with paper towels to absorb any excess oil.Serving the Onion Rings
15. While the onion rings are still warm, I like to sprinkle a little extra salt on top for flavor. 16. Serve them immediately with your favorite dipping sauces. Some of my go-to options are ranch dressing, spicy ketchup, or a tangy aioli.Tips for Perfect Onion Rings
– **Choose the Right Onions**: Sweet onions work best for a delicious flavor, but you can also use yellow onions if you prefer a sharper taste. – **Let the Batter Rest**: If you have time, let the batter sit for about 15-20 minutes before using it. This helps to create a lighter texture. – **Maintain Oil Temperature**: Keep an eye on the oil temperature while frying. If it gets too hot, the onion rings will burn; if its too cool, theyll absorb too much oil and become greasy. – **Experiment with Flavors**: Feel free to add different spices to the batter or breadcrumbs to customize the flavor to your liking. A pinch of cayenne pepper can add a nice kick!Storing Leftovers
17. If you have any leftover onion rings (which is rare in my house!), let them cool completely before storing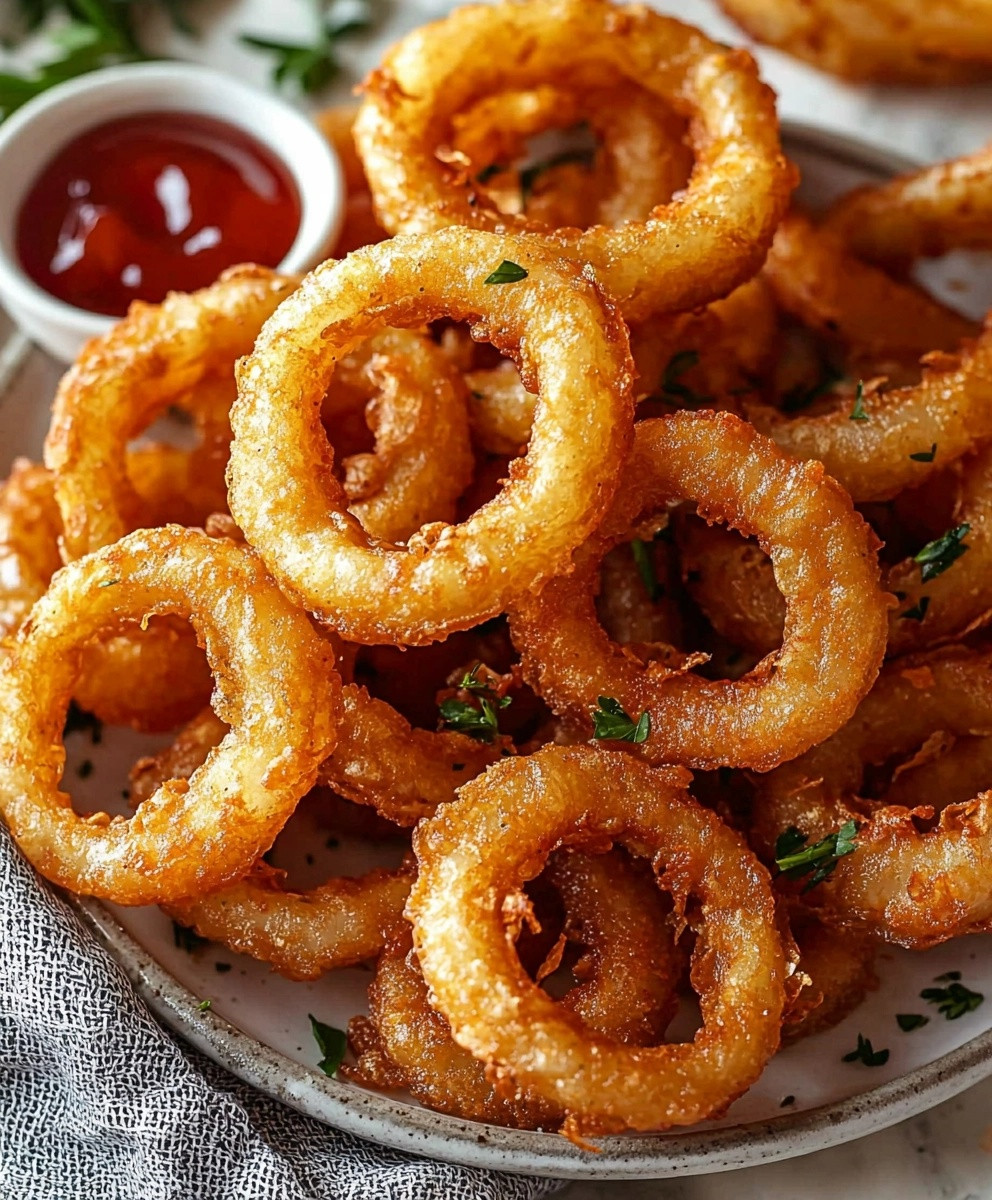
Conclusion:
In summary, this onion rings recipe is an absolute must-try for anyone who loves a crispy, flavorful snack that can elevate any meal. The combination of the perfectly seasoned batter and the sweet, tender onions creates a delightful contrast that is simply irresistible. Whether youre serving them as a side dish with burgers, enjoying them as a party appetizer, or even tossing them into a salad for an extra crunch, these onion rings are sure to impress. Feel free to get creative with your serving suggestions! You can pair them with a variety of dipping sauces like tangy ranch, zesty barbecue, or even a spicy aioli to suit your taste. If youre looking to mix things up, consider adding some spices to the batter, such as paprika or cayenne pepper, for an extra kick. You could also experiment with different types of onions, like sweet Vidalia or even red onions, to find your perfect flavor profile. I encourage you to give this onion rings recipe a try and share your experience with friends and family. Id love to hear how they turn out for you! Dont forget to snap a picture and tag me on social media so we can celebrate your culinary success together. Happy cooking! Print
Onion Rings: The Ultimate Guide to Making Crispy, Delicious Treats at Home
- Total Time: 35 minutes
- Yield: 4 servings 1x
Description
Crispy and golden-brown onion rings made from sweet onions, coated in a flavorful batter and breadcrumbs, then fried to perfection. These delicious rings are perfect as a snack or side dish and are sure to impress at any gathering!
Ingredients
- 2 large onions (preferably sweet onions like Vidalia or Walla Walla)
- 1 cup all-purpose flour
- 1 cup breadcrumbs (panko for extra crunch)
- 1 teaspoon baking powder
- 1 teaspoon garlic powder
- 1 teaspoon paprika
- 1/2 teaspoon salt
- 1/2 teaspoon black pepper
- 1 large egg
- 1 cup buttermilk (or regular milk with a splash of vinegar)
- Vegetable oil (for frying)
Instructions
- Peel the onions using a sharp knife to remove the outer skin, ensuring no papery bits remain.
- Slice the onions into 1/4-inch thick rings. A mandoline can be used for even slices, but a good knife works well too.
- Gently separate the rings and place them in a bowl, setting them aside while preparing the batter.
- In a large mixing bowl, combine the flour, baking powder, garlic powder, paprika, salt, and black pepper. Whisk until well mixed.
- In another bowl, whisk the egg and add the buttermilk. If using regular milk, add a splash of vinegar and let it sit for about 5 minutes to sour.
- Pour the wet mixture into the dry ingredients and stir until just combined. A few lumps are okay; do not overmix.
- Dip each onion ring into the batter, ensuring it is fully coated.
- Let the excess batter drip off, then transfer the ring to the bowl of breadcrumbs.
- Gently press the ring into the breadcrumbs to coat well, shaking off any excess before placing it on a plate.
- Repeat for all onion rings, laying them out on a baking sheet lined with parchment paper.
- In a large, deep skillet or heavy-bottomed pot, pour enough vegetable oil to submerge the onion rings (about 2-3 inches deep). Heat the oil over medium-high heat until it reaches 350°F (175°C). Test the oil by dropping in a small piece of batter; if it sizzles and rises, its ready.
- Carefully add a few onion rings to the hot oil, frying in batches of 4-5 to avoid overcrowding.
- Fry for about 2-3 minutes on each side, or until golden brown and crispy. Use a slotted spoon to flip them halfway through.
- Remove the onion rings from the oil and place them on a plate lined with paper towels to absorb excess oil.
- While warm, sprinkle a little extra salt on top for flavor.
- Serve immediately with your favorite dipping sauces, such as ranch dressing, spicy ketchup, or tangy aioli.
Notes
- Choose the Right Onions: Sweet onions yield the best flavor, but yellow onions can be used for a sharper taste.
- Let the Batter Rest: Allowing the batter to sit for 15-20 minutes can create a lighter texture.
- Maintain Oil Temperature: Monitor the oil temperature while frying to prevent burning or greasiness.
- Experiment with Flavors: Customize the batter or breadcrumbs with different spices for added flavor.
- Prep Time: 20 minutes
- Cook Time: 15 minutes

Leave a Comment