
Homemade Biscuits, warm from the oven, are a simple pleasure that transcends generations. Is there anything quite as comforting as the aroma of freshly baked biscuits wafting through your kitchen? I think not! These golden-brown delights are more than just a side dish; they’re a symbol of home, hearth, and Southern hospitality.
Biscuits have a rich history in American cuisine, evolving from hardtack brought over by early settlers to the soft, fluffy creations we know and love today. They were a staple in the South, providing a quick and filling source of sustenance. Over time, they became a canvas for creativity, with variations incorporating everything from buttermilk to cheese and herbs.
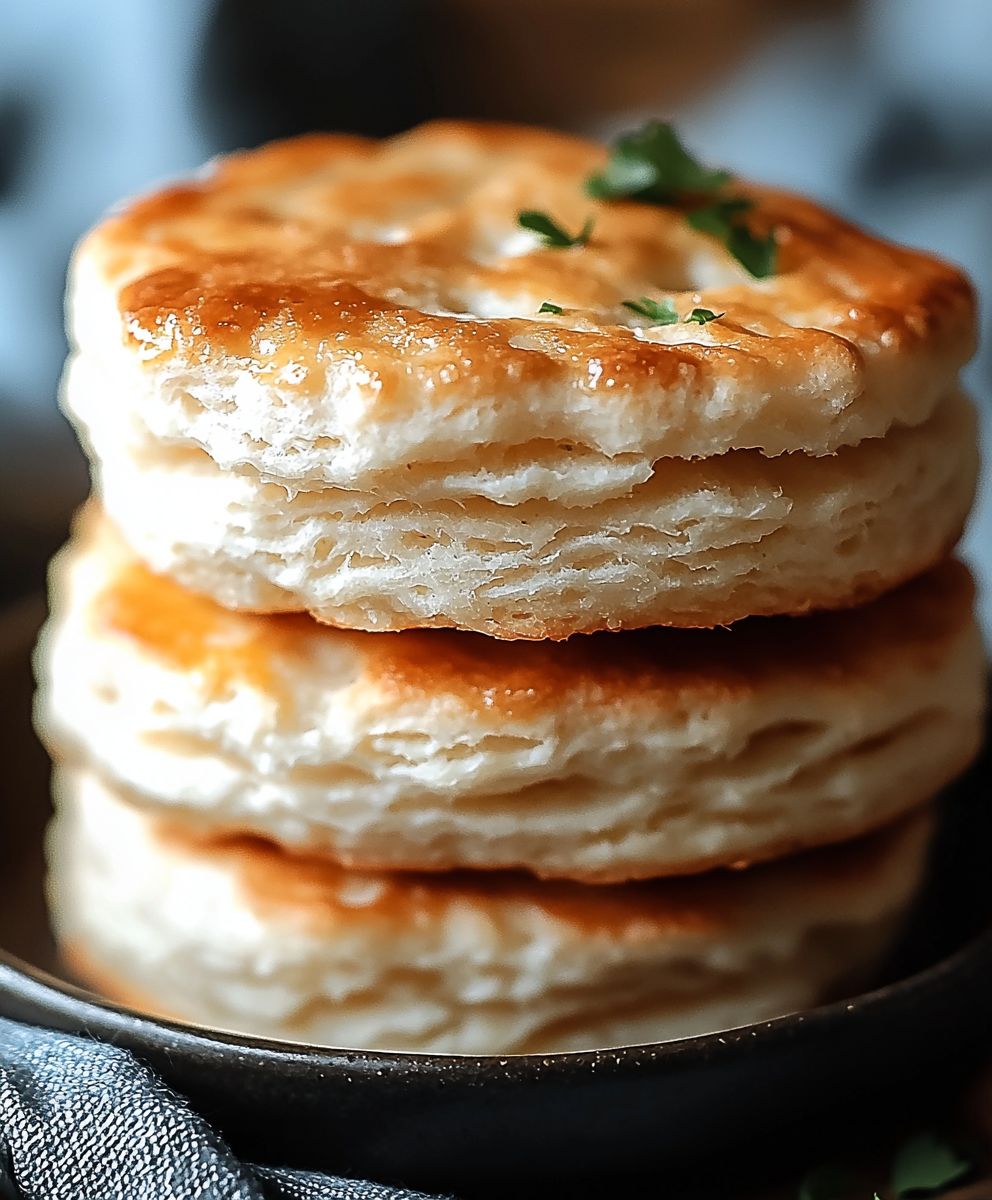
What makes homemade biscuits so irresistible? It’s the perfect combination of a crisp, golden exterior and a soft, pillowy interior. Their versatility is another key factor. Enjoy them slathered with butter and jam for breakfast, alongside a hearty bowl of soup for lunch, or as a delicious accompaniment to your favorite dinner. Plus, with this easy-to-follow recipe, you’ll discover that baking them from scratch is surprisingly simple and rewarding. Get ready to experience the joy of baking and savor the unmatched flavor of truly homemade biscuits!

Ingredients:
- 2 cups all-purpose flour, plus more for dusting
- 1 tablespoon baking powder
- 1 teaspoon salt
- 1/2 teaspoon baking soda
- 1/2 cup (1 stick) cold unsalted butter, cut into small cubes
- 3/4 cup cold buttermilk, plus more for brushing
- 2 tablespoons honey (optional, for a touch of sweetness)
Preparing the Dough: The Foundation of Flaky Biscuits
Okay, let’s get started! Making biscuits from scratch might seem intimidating, but trust me, it’s easier than you think. The key is to keep everything cold cold butter, cold buttermilk, even your hands if possible! This prevents the butter from melting into the flour, which is what gives us those beautiful, flaky layers.
- Combine the Dry Ingredients: In a large bowl, whisk together the 2 cups of all-purpose flour, 1 tablespoon of baking powder, 1 teaspoon of salt, and 1/2 teaspoon of baking soda. Make sure everything is well combined. This ensures that the baking powder and soda are evenly distributed, which is crucial for a good rise.
- Cut in the Butter: This is where the magic happens! Add the 1/2 cup (1 stick) of cold, cubed butter to the flour mixture. Now, you have a few options here. You can use a pastry blender, which is specifically designed for this task. Or, you can use two forks, or even your fingertips (but work quickly to avoid warming the butter too much!). The goal is to cut the butter into the flour until the mixture resembles coarse crumbs. You should still see small pieces of butter throughout these are what will create those flaky layers. Don’t overmix! Overmixing will develop the gluten in the flour, resulting in tough biscuits.
- Add the Buttermilk: Gradually pour in the 3/4 cup of cold buttermilk. If you’re using honey, add it now. Gently stir with a fork until just combined. The dough will be shaggy and a little sticky, and that’s perfectly fine. Again, avoid overmixing. A little bit of floury residue is better than a tough biscuit.
- Turn Out and Knead (Gently!): Lightly flour a clean work surface. Turn the dough out onto the floured surface. Gently pat the dough into a rectangle about 1 inch thick. Now, here’s the secret to extra flaky biscuits: the folding technique! Fold the dough in half, then pat it back into a 1-inch thick rectangle. Repeat this folding and patting process 3-4 times. This creates layers of butter and dough that will puff up beautifully in the oven. Be gentle and avoid overworking the dough.
- Cut Out the Biscuits: Use a 2-3 inch biscuit cutter (or a sharp knife) to cut out the biscuits. When cutting, press straight down and avoid twisting the cutter. Twisting seals the edges and prevents the biscuits from rising properly. Place the biscuits onto a baking sheet lined with parchment paper. If you don’t have parchment paper, you can lightly grease the baking sheet.
- Re-roll Scraps (Sparingly!): Gather the scraps of dough and gently pat them together. Try to avoid overworking the dough as much as possible. Cut out more biscuits. These biscuits might not be as tender as the first batch, but they’ll still be delicious!
Baking the Biscuits: Achieving Golden Perfection
Now that our biscuits are shaped and ready, it’s time to bake them to golden perfection. The oven temperature is crucial for achieving that perfect rise and flaky texture.
- Preheat the Oven: Preheat your oven to 450°F (232°C). Make sure your oven is fully preheated before you put the biscuits in. A hot oven is essential for a good rise.
- Brush with Buttermilk (Optional): For a beautiful golden-brown crust, brush the tops of the biscuits with a little extra buttermilk. This step is optional, but it really enhances the appearance of the biscuits.
- Bake: Bake for 12-15 minutes, or until the biscuits are golden brown and have risen nicely. Keep a close eye on them, as baking times can vary depending on your oven.
- Cool Slightly: Once the biscuits are done, remove them from the oven and let them cool on the baking sheet for a few minutes before serving. This allows them to set slightly and prevents them from being too crumbly.
Serving and Enjoying: The Best Part!
Finally, the moment we’ve all been waiting for! Serving and enjoying those warm, flaky, homemade biscuits. There are so many ways to enjoy them, from simple butter and jam to more elaborate toppings.
- Serve Warm: Biscuits are best served warm, straight from the oven. The warmth enhances their flavor and texture.
- Toppings Galore: The possibilities are endless! Serve them with butter, jam, honey, or your favorite preserves. For a savory option, try them with sausage gravy, scrambled eggs, or even fried chicken.
- Storage: If you have any leftover biscuits (which is unlikely!), store them in an airtight container at room temperature. They’re best enjoyed within a day or two. You can also freeze them for longer storage. To reheat, wrap them in foil and bake in a preheated oven at 350°F (175°C) for about 10 minutes, or until warmed through.
Tips for Biscuit Success:
- Keep Everything Cold: I can’t stress this enough! Cold ingredients are the key to flaky biscuits.
- Don’t Overmix: Overmixing develops the gluten in the flour, resulting in tough biscuits.
- Handle the Dough Gently: Be gentle when patting and folding the dough. Avoid overworking it.
- Use a Sharp Cutter: A sharp biscuit cutter will create clean edges and prevent the biscuits from rising unevenly.
- Hot Oven: A hot oven is essential for a good rise.
Variations:
- Cheese Biscuits: Add 1/2 cup of shredded cheddar cheese to the dry ingredients.
- Herb Biscuits: Add 1 tablespoon of chopped fresh herbs, such as rosemary or thyme, to the dry ingredients.
- Sweet Biscuits: Add 1/4 cup of sugar to the dry ingredients.
Conclusion:
So there you have it! These homemade biscuits are truly a game-changer. They’re not just a side dish; they’re an experience. From the satisfying crumble to the buttery, melt-in-your-mouth texture, every bite is a little piece of heaven. I know, I know, I’m gushing, but trust me, once you try them, you’ll understand. They are incredibly easy to make, and the aroma that fills your kitchen while they bake is simply divine. Forget store-bought biscuits that are often dry and bland; these are the real deal.
But why are these biscuits a must-try? Well, beyond the incredible taste and texture, they’re incredibly versatile. Imagine serving them warm with a generous dollop of homemade jam or honey. Or perhaps you’re craving something savory? These biscuits are fantastic with sausage gravy for a hearty breakfast or brunch. They also make a wonderful accompaniment to soups, stews, and chili, soaking up all those delicious flavors. And let’s not forget the classic biscuit sandwich! Fill them with crispy fried chicken, smoky bacon, or even just a simple slice of ham and cheese for a quick and satisfying meal.
Looking for variations? The possibilities are endless! For a sweeter biscuit, add a tablespoon or two of sugar to the dry ingredients. For a savory twist, try incorporating shredded cheddar cheese, chopped chives, or even crumbled bacon into the dough. If you’re feeling adventurous, you could even add a pinch of cayenne pepper for a little kick. Another great variation is to brush the tops of the biscuits with melted garlic butter before baking for an extra layer of flavor. You can also experiment with different types of flour. Whole wheat flour will give the biscuits a nuttier flavor and a slightly denser texture, while pastry flour will result in an even more tender and delicate crumb. Don’t be afraid to get creative and experiment with different flavors and ingredients to create your own signature biscuit recipe!
These homemade biscuits are more than just a recipe; they’re a blank canvas for your culinary creativity. They are perfect for any occasion, from a casual weeknight dinner to a special holiday gathering. They are guaranteed to impress your family and friends, and they’re so easy to make that you’ll find yourself whipping them up all the time. I truly believe that everyone should know how to make a good biscuit, and this recipe is the perfect place to start.
So, what are you waiting for? Gather your ingredients, preheat your oven, and get ready to experience the joy of baking your own homemade biscuits. I promise you won’t regret it. And once you’ve tried them, I’d love to hear about your experience! Share your photos, your variations, and your stories in the comments below. Let’s build a community of biscuit lovers and inspire each other to create even more delicious variations. Happy baking!
I can’t wait to hear how your biscuit-making adventure goes. Remember, the key to a perfect biscuit is to not overmix the dough and to handle it gently. And most importantly, have fun! Baking should be a relaxing and enjoyable experience, so put on some music, pour yourself a cup of coffee, and let the aroma of freshly baked biscuits fill your home. You’ve got this!
Homemade Biscuits: The Ultimate Guide to Fluffy Perfection
Flaky, homemade biscuits made from scratch. Perfect for breakfast, brunch, or as a side dish.
Ingredients
- 2 cups all-purpose flour, plus more for dusting
- 1 tablespoon baking powder
- 1 teaspoon salt
- 1/2 teaspoon baking soda
- 1/2 cup (1 stick) cold unsalted butter, cut into small cubes
- 3/4 cup cold buttermilk, plus more for brushing
- 2 tablespoons honey (optional, for a touch of sweetness)
Instructions
- Combine Dry Ingredients: In a large bowl, whisk together flour, baking powder, salt, and baking soda.
- Cut in Butter: Add cold, cubed butter to the flour mixture. Cut in using a pastry blender, forks, or fingertips until the mixture resembles coarse crumbs with small pieces of butter.
- Add Buttermilk: Gradually pour in cold buttermilk (and honey, if using). Gently stir with a fork until just combined. The dough will be shaggy and a little sticky.
- Turn Out and Knead (Gently!): Lightly flour a clean work surface. Turn the dough out onto the floured surface. Gently pat the dough into a rectangle about 1 inch thick. Fold the dough in half, then pat it back into a 1-inch thick rectangle. Repeat this folding and patting process 3-4 times.
- Cut Out Biscuits: Use a 2-3 inch biscuit cutter (or a sharp knife) to cut out the biscuits. Press straight down and avoid twisting the cutter. Place the biscuits onto a baking sheet lined with parchment paper.
- Re-roll Scraps (Sparingly!): Gather the scraps of dough and gently pat them together. Cut out more biscuits.
- Preheat Oven: Preheat your oven to 450°F (232°C).
- Brush with Buttermilk (Optional): For a beautiful golden-brown crust, brush the tops of the biscuits with a little extra buttermilk.
- Bake: Bake for 12-15 minutes, or until the biscuits are golden brown and have risen nicely.
- Cool Slightly: Once the biscuits are done, remove them from the oven and let them cool on the baking sheet for a few minutes before serving.
Notes
- Keep all ingredients cold for the flakiest biscuits.
- Don’t overmix the dough.
- Handle the dough gently when patting and folding.
- Use a sharp biscuit cutter.
- A hot oven is essential for a good rise.
- Serve warm with butter, jam, honey, or your favorite toppings.
- Store leftovers in an airtight container at room temperature for up to 2 days, or freeze for longer storage. Reheat in a preheated oven at 350°F (175°C) for about 10 minutes.


Leave a Comment