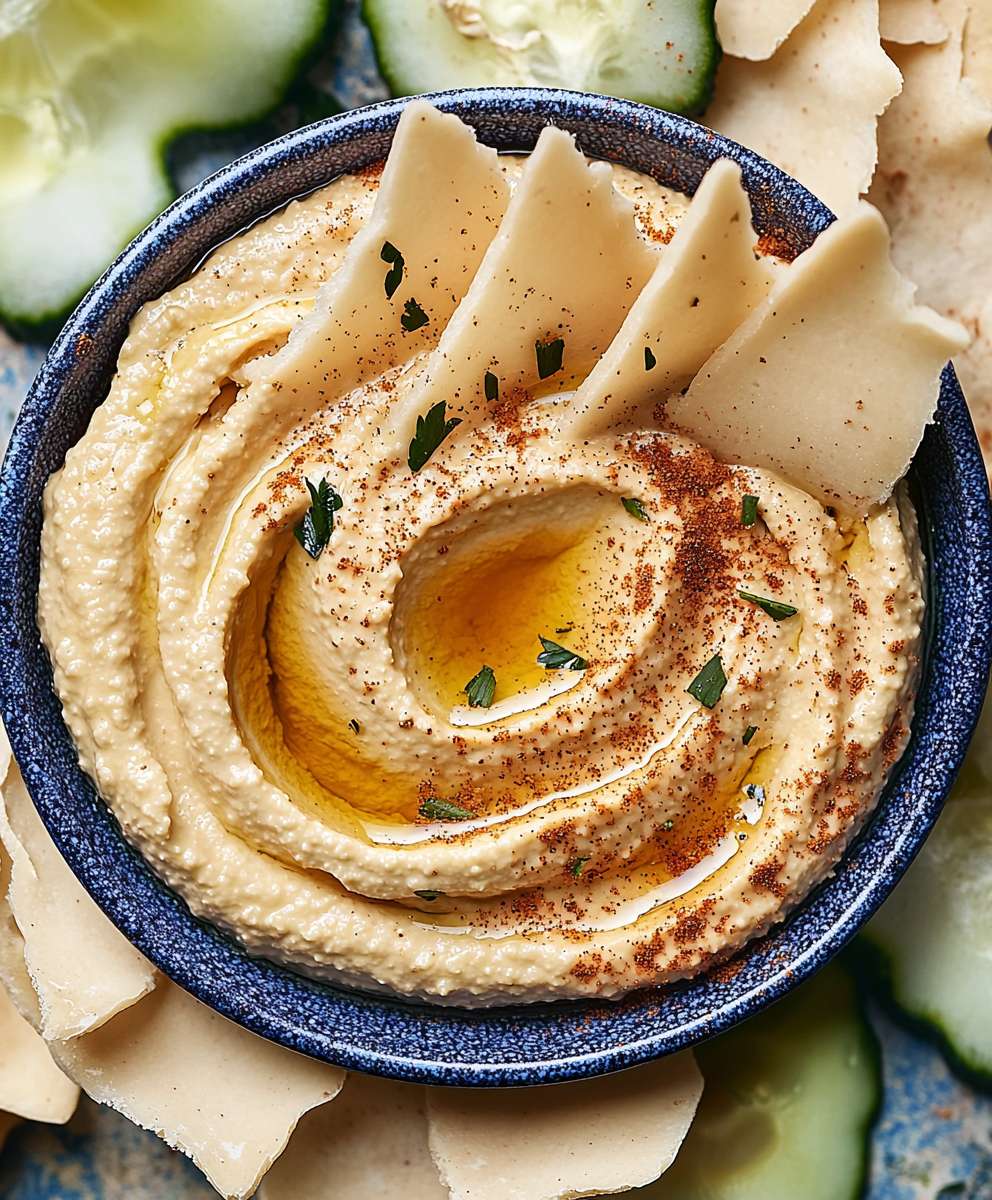
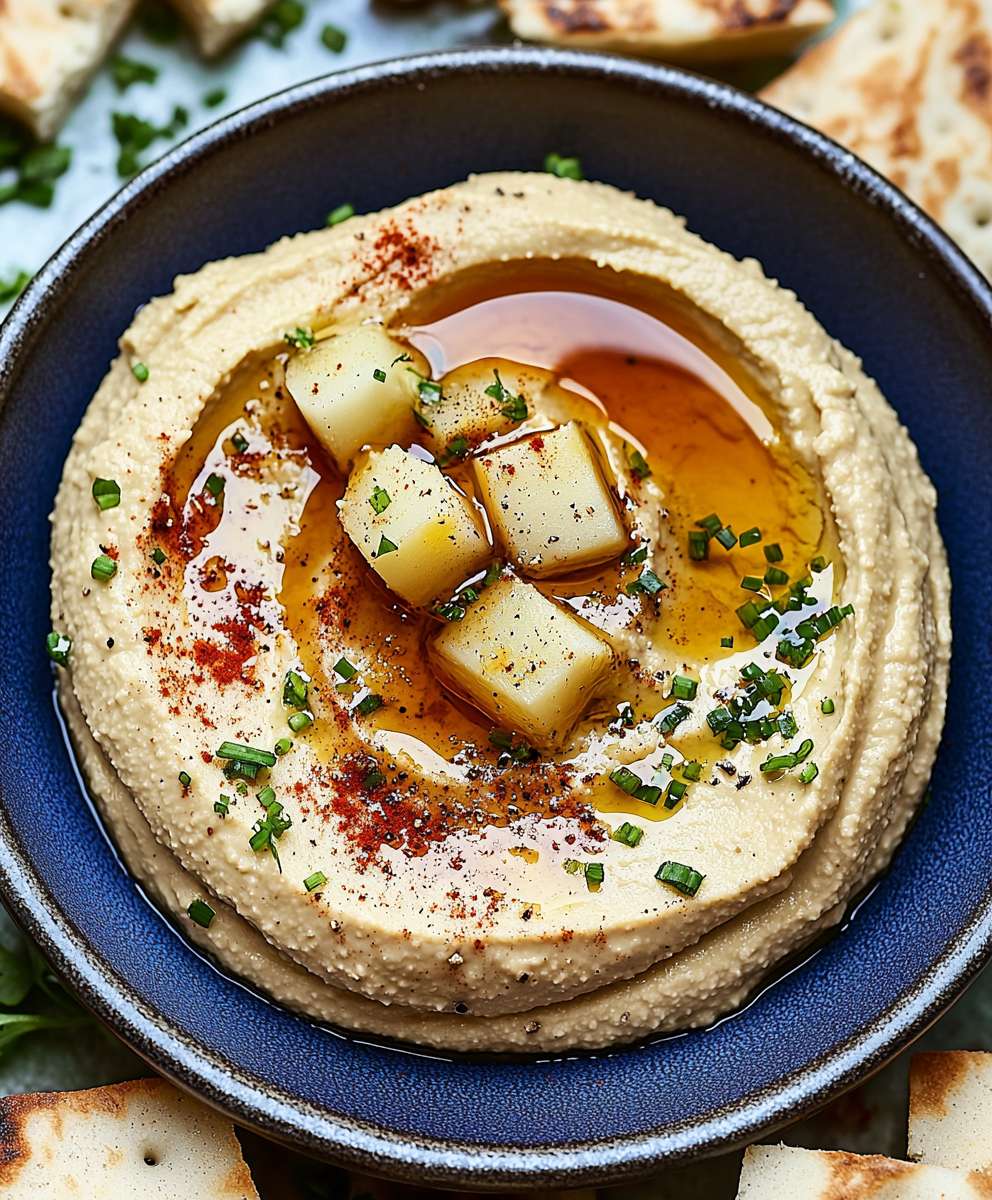
Creamy Hummus is not just a dip; its a delightful experience that brings people together. As I prepare this velvety spread, I cant help but think about its rich history that dates back to ancient Middle Eastern cultures. Hummus has been a staple in many households for centuries, celebrated for its versatility and nutritional benefits. What I love most about creamy hummus is its incredible taste and texturesmooth, rich, and utterly satisfying. Whether served with warm pita bread, fresh vegetables, or simply enjoyed on its own, this dish is a crowd-pleaser that never fails to impress. Plus, its incredibly convenient to whip up, making it a go-to recipe for gatherings or a quick snack at home. Join me as we dive into the world of creamy hummus and discover how to make this beloved dish from scratch!
Ingredients:
- 1 can (15 oz) of chickpeas, drained and rinsed
- 1/4 cup of tahini
- 2 tablespoons of olive oil
- 2 tablespoons of fresh lemon juice
- 1-2 cloves of garlic, minced (adjust to taste)
- 1/2 teaspoon of ground cumin
- Salt to taste
- Water (as needed for consistency)
- Paprika or sumac for garnish (optional)
- Fresh parsley for garnish (optional)
Preparing the Ingredients
1. **Gather all your ingredients**: Before you start, make sure you have everything you need on hand. This will make the process smoother and more enjoyable. I like to lay everything out on my countertop. 2. **Drain and rinse the chickpeas**: Open the can of chickpeas and pour them into a colander. Rinse them under cold water to remove any excess sodium and canning liquid. This step is crucial for achieving a clean flavor in your hummus. 3. **Prepare the garlic**: If youre using fresh garlic, peel the cloves and mince them finely. If you prefer a milder flavor, you can roast the garlic beforehand, which will give a sweeter taste to your hummus.Making the Hummus
4. **Combine the base ingredients**: In a food processor, add the drained chickpeas, tahini, olive oil, lemon juice, minced garlic, ground cumin, and a pinch of salt. 5. **Blend until smooth**: Start the food processor on low speed and gradually increase to high. Blend the mixture for about 1-2 minutes. You want to achieve a creamy consistency, so dont rush this step. If the mixture is too thick, you can add a tablespoon of water at a time until you reach your desired consistency. 6. **Taste and adjust**: After blending, stop the processor and taste your hummus. This is the fun part! You can adjust the flavors by adding more lemon juice, salt, or garlic according to your preference. If you like a bit of heat, consider adding a pinch of cayenne pepper or a dash of hot sauce. 7. **Add water for creaminess**: If your hummus is still too thick, add more water, one tablespoon at a time, and blend again until you achieve that silky smooth texture. I usually find that about 2-4 tablespoons of water do the trick.Final Touches
8. **Transfer to a serving bowl**: Once youre satisfied with the flavor and texture, scoop the hummus out of the food processor and into a serving bowl. 9. **Create a swirl**: Using the back of a spoon, create a swirl in the center of the hummus. This not only looks beautiful but also provides a little well for the olive oil. 10. **Drizzle with olive oil**: Pour a generous drizzle of olive oil over the top of your hummus. This adds richness and enhances the flavor. 11. **Garnish**: Sprinkle a pinch of paprika or sumac over the top for a pop of color and flavor. If you have fresh parsley, chop some finely and sprinkle it on as well. This adds a fresh touch and makes the dish visually appealing.Serving Suggestions
12. **Choose your dippers**: Hummus is incredibly versatile! You can serve it with a variety of dippers. Some of my favorites include: – Fresh vegetables like carrot sticks, cucumber slices, bell pepper strips, and cherry tomatoes. – Pita bread or pita chips for a classic pairing. – Crackers or toasted bread for a crunchy option. 13. **Store leftovers**: If you have any hummus left (which is rare in my house!), transfer it to an airtight container and store it in the refrigerator. It should last for about 4-5 days. Just give it a good stir before serving again, as it may thicken up in the fridge.Variations to Try
14. **Roasted Red Pepper Hummus**: Add 1/2 cup of roasted red peppers (jarred or homemade) to the food processor along with the other ingredients for a sweet and smoky flavor. 15. **Spicy Hummus**: For a kick, add a teaspoon of harissa or a few slices of jalapeño to the mix before blending. 16. **Herbed Hummus**: Blend in fresh herbs like basil, cilantro
Conclusion:
In summary, this creamy hummus recipe is an absolute must-try for anyone looking to elevate their snacking game or impress guests at their next gathering. The smooth, velvety texture combined with the rich flavors of tahini, garlic, and lemon creates a dip that is not only delicious but also incredibly versatile. Whether you serve it with fresh veggies, warm pita bread, or as a spread on sandwiches, this hummus is sure to be a crowd-pleaser. Feel free to get creative with your serving suggestions! You can add roasted red peppers, sun-dried tomatoes, or even a sprinkle of smoked paprika on top for an extra burst of flavor. If you’re feeling adventurous, try experimenting with different beans, like black beans or white beans, to create your own unique twist on this classic dish. I encourage you to give this creamy hummus recipe a try and share your experience with friends and family. I would love to hear how you enjoyed it and any variations you came up with! Remember, cooking is all about having fun and making it your own. So grab your ingredients, whip up a batch, and let the deliciousness unfold. Happy dipping! PrintCreamy Hummus: The Ultimate Recipe for a Delicious Dip
- Total Time: 10 minutes
- Yield: 2 cups 1x
Description
This creamy hummus is made with chickpeas, tahini, and garlic, creating a flavorful dip or spread that’s both healthy and delicious. Perfect for pairing with fresh veggies, pita bread, or crackers, it’s a versatile addition to any meal or snack.
Ingredients
- 1 can (15 oz) of chickpeas, drained and rinsed
- 1/4 cup of tahini
- 2 tablespoons of olive oil
- 2 tablespoons of fresh lemon juice
- 1–2 cloves of garlic, minced (adjust to taste)
- 1/2 teaspoon of ground cumin
- Salt to taste
- Water (as needed for consistency)
- Paprika or sumac for garnish (optional)
- Fresh parsley for garnish (optional)
Instructions
- Gather all your ingredients: Lay everything out on your countertop for a smoother cooking process.
- Drain and rinse the chickpeas: Pour the chickpeas into a colander and rinse under cold water to remove excess sodium and canning liquid.
- Prepare the garlic: Peel and mince the garlic cloves. For a milder flavor, consider roasting the garlic beforehand.
- Combine the base ingredients: In a food processor, add the drained chickpeas, tahini, olive oil, lemon juice, minced garlic, ground cumin, and a pinch of salt.
- Blend until smooth: Start on low speed and gradually increase to high, blending for about 1-2 minutes. Add water, one tablespoon at a time, if the mixture is too thick.
- Taste and adjust: Stop the processor and taste the hummus. Adjust flavors with more lemon juice, salt, or garlic as desired.
- Add water for creaminess: If needed, add more water, blending until you achieve a silky smooth texture.
- Transfer to a serving bowl: Scoop the hummus into a serving bowl.
- Create a swirl: Use the back of a spoon to create a swirl in the center of the hummus.
- Drizzle with olive oil: Pour a generous drizzle of olive oil over the top.
- Garnish: Sprinkle with paprika or sumac and fresh parsley for added flavor and visual appeal.
- Choose your dippers: Serve with fresh vegetables, pita bread, or crackers.
- Store leftovers: Transfer any leftovers to an airtight container and refrigerate for 4-5 days. Stir before serving.
Notes
- For variations, try adding roasted red peppers, harissa for spice, or fresh herbs for a unique twist.
- Adjust garlic and lemon juice to your taste preference.
- Prep Time: 10 minutes
- Cook Time: 0 minutes


Leave a Comment