
Coconut Cream Pie Cake: Just the name alone conjures up images of tropical breezes and decadent desserts, doesn’t it? Imagine the creamy, dreamy texture of a classic coconut cream pie, but transformed into a show-stopping cake that’s perfect for any celebration. This isn’t just a cake; it’s an experience, a delightful fusion of two beloved desserts that will have everyone begging for a second slice.
While the exact origins of the coconut cream pie are debated, its popularity soared in the United States during the early 20th century, becoming a staple in diners and family gatherings. Our coconut cream pie cake takes that nostalgic comfort and elevates it to new heights. It’s a modern twist on a timeless classic, offering the familiar flavors you crave in a stunning, shareable format.
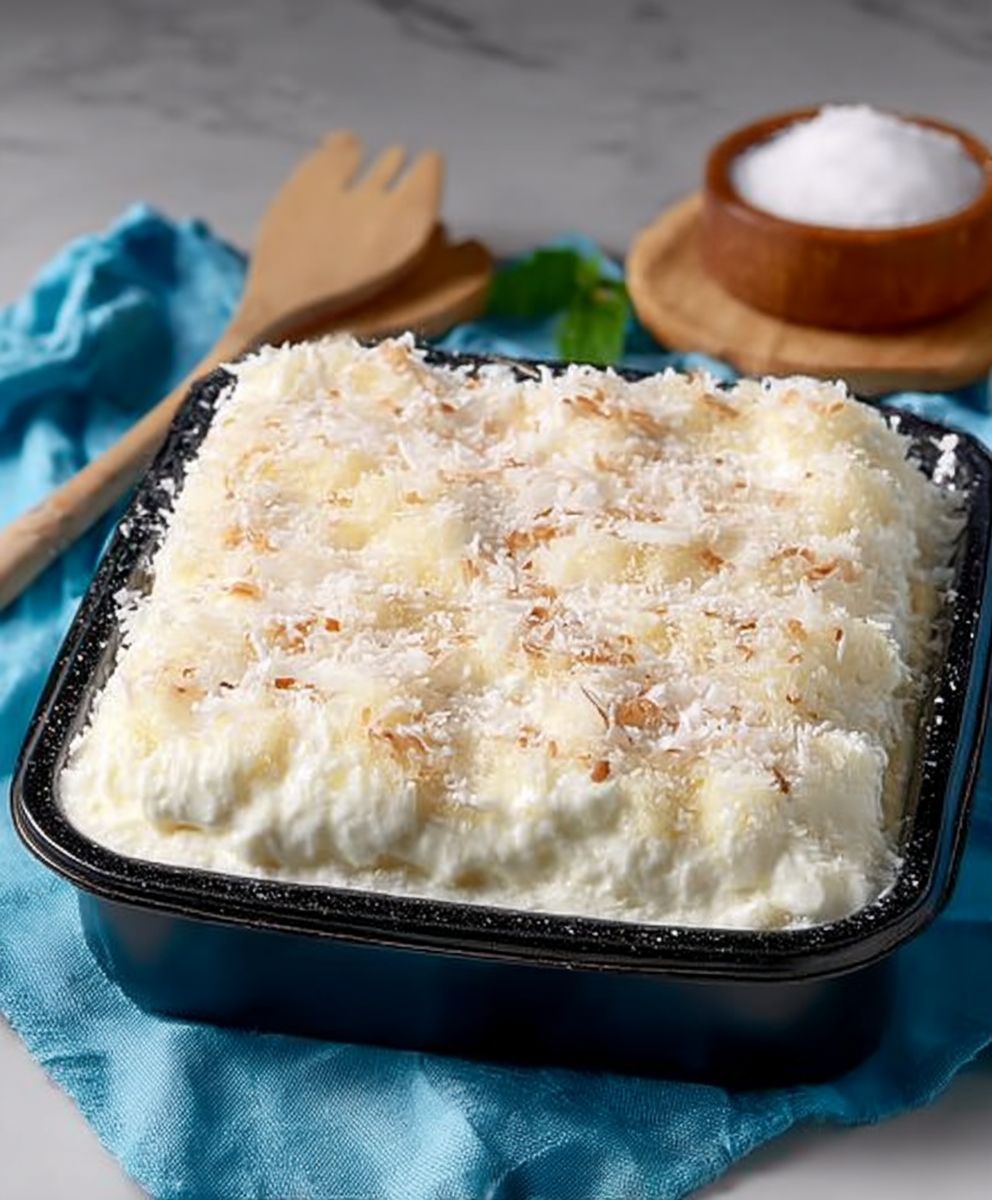
What makes this cake so irresistible? It’s the perfect balance of textures: a moist, tender cake base, a luscious coconut cream filling that’s both rich and light, and a generous topping of toasted coconut for that satisfying crunch. People adore this dish because it’s not only incredibly delicious but also surprisingly easy to make. It’s the ideal dessert to impress your guests without spending hours in the kitchen. Get ready to experience a slice of paradise with every bite!

Ingredients:
- For the Coconut Cake:
- 2 ½ cups all-purpose flour
- 1 tablespoon baking powder
- ½ teaspoon baking soda
- ½ teaspoon salt
- 1 cup (2 sticks) unsalted butter, softened
- 1 ¾ cups granulated sugar
- 3 large eggs
- 1 teaspoon vanilla extract
- 1 cup buttermilk
- ½ cup unsweetened shredded coconut, plus more for garnish
- For the Coconut Cream Filling:
- 1 (14-ounce) can full-fat coconut milk
- ½ cup granulated sugar
- ¼ cup cornstarch
- ¼ teaspoon salt
- 3 large egg yolks
- 2 tablespoons unsalted butter
- 1 teaspoon vanilla extract
- 1 cup heavy cream, whipped to stiff peaks
- ½ cup unsweetened shredded coconut
- For the Coconut Whipped Cream Frosting:
- 2 cups heavy cream
- ½ cup powdered sugar
- ½ teaspoon vanilla extract
- ¼ teaspoon coconut extract (optional, for extra coconut flavor)
- ½ cup unsweetened shredded coconut, toasted, for garnish
Preparing the Coconut Cake Layers:
- Preheat and Prep: First things first, preheat your oven to 350°F (175°C). Grease and flour two 9-inch round cake pans. I like to use baking spray with flour already in it for this, but you can also grease with shortening and then dust with flour. Make sure you get into all the nooks and crannies!
- Combine Dry Ingredients: In a medium bowl, whisk together the flour, baking powder, baking soda, and salt. This ensures that the baking powder and soda are evenly distributed throughout the flour, which is key for a light and fluffy cake.
- Cream Butter and Sugar: In a large bowl (or the bowl of your stand mixer), cream together the softened butter and granulated sugar until light and fluffy. This usually takes about 3-5 minutes. Don’t rush this step it’s important to incorporate air into the butter and sugar, which will contribute to the cake’s texture.
- Add Eggs and Vanilla: Beat in the eggs one at a time, making sure each egg is fully incorporated before adding the next. Then, stir in the vanilla extract.
- Alternate Wet and Dry Ingredients: Gradually add the dry ingredients to the wet ingredients, alternating with the buttermilk, beginning and ending with the dry ingredients. So, add about a third of the dry ingredients, then half of the buttermilk, then another third of the dry ingredients, then the remaining buttermilk, and finally the last third of the dry ingredients. Mix until just combined. Be careful not to overmix, as this can lead to a tough cake.
- Fold in Coconut: Gently fold in the ½ cup of shredded coconut.
- Divide and Bake: Divide the batter evenly between the prepared cake pans. Bake for 25-30 minutes, or until a wooden skewer inserted into the center comes out clean.
- Cool Completely: Let the cakes cool in the pans for 10 minutes before inverting them onto a wire rack to cool completely. This prevents the cakes from sticking to the pans and allows them to cool evenly.
Making the Coconut Cream Filling:
- Combine Ingredients (Except Butter, Vanilla, and Cream): In a medium saucepan, whisk together the coconut milk, sugar, cornstarch, and salt. Make sure there are no lumps of cornstarch!
- Cook and Thicken: Cook over medium heat, stirring constantly, until the mixture comes to a simmer and thickens. This usually takes about 5-7 minutes. Keep stirring to prevent scorching!
- Temper Egg Yolks: In a small bowl, whisk the egg yolks. Slowly drizzle about ¼ cup of the hot coconut milk mixture into the egg yolks, whisking constantly to temper them. This prevents the egg yolks from scrambling when you add them to the hot mixture.
- Combine and Cook: Pour the tempered egg yolk mixture back into the saucepan and cook for 1-2 minutes more, stirring constantly, until the filling is very thick.
- Stir in Butter and Vanilla: Remove the saucepan from the heat and stir in the butter and vanilla extract until smooth.
- Cool and Fold in Whipped Cream and Coconut: Transfer the filling to a bowl, cover with plastic wrap (pressing the plastic wrap directly onto the surface of the filling to prevent a skin from forming), and refrigerate for at least 2 hours, or until completely cooled. Once cooled, gently fold in the whipped heavy cream and the ½ cup of shredded coconut.
Preparing the Coconut Whipped Cream Frosting:
- Chill Bowl and Whisk: Place your mixing bowl and whisk attachment in the freezer for about 15-20 minutes. This helps the cream whip up faster and hold its shape better.
- Whip Cream: Pour the heavy cream into the chilled bowl and beat with the whisk attachment on medium speed until soft peaks form.
- Add Sugar and Extracts: Gradually add the powdered sugar, vanilla extract, and coconut extract (if using) and continue to beat until stiff peaks form. Be careful not to overwhip, as this can turn the cream into butter!
Assembling the Coconut Cream Pie Cake:
- Level the Cake Layers (Optional): If your cake layers are uneven, use a serrated knife to level them. This will make the cake look more professional and ensure that it sits evenly.
- Place First Layer: Place one cake layer on a serving plate or cake stand.
- Spread Filling: Spread the coconut cream filling evenly over the first cake layer.
- Place Second Layer: Carefully place the second cake layer on top of the filling.
- Frost the Cake: Frost the entire cake with the coconut whipped cream frosting. You can use a spatula or a piping bag to create a smooth or textured finish.
- Garnish: Sprinkle the toasted shredded coconut over the top of the cake. You can also add some extra shredded coconut around the base of the cake for a more decorative look.
- Chill and Serve: Refrigerate the cake for at least 30 minutes before serving to allow the frosting to set. This will make it easier to slice and serve.
Conclusion:
This Coconut Cream Pie Cake isn’t just a dessert; it’s an experience. It’s the creamy, dreamy, tropical escape your taste buds have been craving. The layers of moist cake, the luscious coconut cream filling, and the toasted coconut topping all come together in perfect harmony to create a symphony of flavors and textures that will leave you wanting more. Trust me, this is one recipe you absolutely must try.
Why is it a must-try? Because it’s surprisingly easy to make, even for novice bakers! The recipe is straightforward, and the results are simply stunning. Imagine presenting this beautiful cake at your next gathering the oohs and aahs will be worth every minute spent in the kitchen. Plus, it’s a fantastic way to impress your friends and family with your baking skills. But beyond the visual appeal and the ease of preparation, it’s the taste that truly sets this cake apart. The coconut flavor is prominent but not overpowering, creating a delicate balance that’s both refreshing and satisfying. It’s the perfect dessert for any occasion, from a casual weeknight treat to a special celebration.
Looking for serving suggestions? A simple dollop of whipped cream and a sprinkle of toasted coconut is all you need to elevate this cake to the next level. For a more decadent experience, try drizzling a little melted white chocolate over the top. And if you’re feeling adventurous, you could even add a layer of fresh fruit, like mango or pineapple, to complement the coconut flavor.
Here are a few variations to consider:
* Coconut Cream Pie Cake Cupcakes: Bake the cake batter in cupcake liners for individual servings. Top with the coconut cream filling and toasted coconut.
* Chocolate Coconut Cream Pie Cake: Add cocoa powder to the cake batter for a rich, chocolatey twist.
* Vegan Coconut Cream Pie Cake: Substitute the dairy ingredients with plant-based alternatives to create a delicious vegan version. Use coconut oil instead of butter, and a plant-based milk like almond or oat milk. You can also find vegan whipped cream alternatives to top the cake.
I’m so confident that you’ll love this recipe that I urge you to give it a try. Don’t be intimidated by the multiple layers; each step is simple and manageable. And the end result is so worth the effort. I’ve made this cake countless times, and it’s always a crowd-pleaser. It’s become my go-to dessert for birthdays, holidays, and any time I want to treat myself to something special.
I’m incredibly excited for you to experience the magic of this Coconut Cream Pie Cake. Once you’ve made it, please come back and share your experience in the comments below! I’d love to hear about your variations, your serving suggestions, and any tips you have for making this cake even more amazing. Did you add any special ingredients? Did you try a different topping? Did you serve it with a particular beverage? I’m all ears! Your feedback is invaluable and helps me continue to improve my recipes. So, go ahead, grab your apron, and get baking! I can’t wait to hear all about your Coconut Cream Pie Cake adventures. Happy baking!
Coconut Cream Pie Cake: A Deliciously Decadent Recipe
Moist coconut cake layers with creamy coconut filling and light coconut whipped cream frosting.
Ingredients
- 2 ½ cups all-purpose flour
- 1 tablespoon baking powder
- ½ teaspoon baking soda
- ½ teaspoon salt
- 1 cup (2 sticks) unsalted butter, softened
- 1 ¾ cups granulated sugar
- 3 large eggs
- 1 teaspoon vanilla extract
- 1 cup buttermilk
- ½ cup unsweetened shredded coconut, plus more for garnish
- 1 (14-ounce) can full-fat coconut milk
- ½ cup granulated sugar
- ¼ cup cornstarch
- ¼ teaspoon salt
- 3 large egg yolks
- 2 tablespoons unsalted butter
- 1 teaspoon vanilla extract
- 1 cup heavy cream, whipped to stiff peaks
- ½ cup unsweetened shredded coconut
- 2 cups heavy cream
- ½ cup powdered sugar
- ½ teaspoon vanilla extract
- ¼ teaspoon coconut extract (optional, for extra coconut flavor)
- ½ cup unsweetened shredded coconut, toasted, for garnish
Instructions
- Preheat your oven to 350°F (175°C). Grease and flour two 9-inch round cake pans.
- In a medium bowl, whisk together the flour, baking powder, baking soda, and salt.
- In a large bowl (or the bowl of your stand mixer), cream together the softened butter and granulated sugar until light and fluffy (3-5 minutes).
- Beat in the eggs one at a time, fully incorporating each before adding the next. Then, stir in the vanilla extract.
- Gradually add the dry ingredients to the wet ingredients, alternating with the buttermilk, beginning and ending with the dry ingredients. Mix until just combined. Be careful not to overmix.
- Gently fold in the ½ cup of shredded coconut.
- Divide the batter evenly between the prepared cake pans. Bake for 25-30 minutes, or until a wooden skewer inserted into the center comes out clean.
- Let the cakes cool in the pans for 10 minutes before inverting them onto a wire rack to cool completely.
- In a medium saucepan, whisk together the coconut milk, sugar, cornstarch, and salt.
- Cook over medium heat, stirring constantly, until the mixture comes to a simmer and thickens (5-7 minutes).
- In a small bowl, whisk the egg yolks. Slowly drizzle about ¼ cup of the hot coconut milk mixture into the egg yolks, whisking constantly to temper them.
- Pour the tempered egg yolk mixture back into the saucepan and cook for 1-2 minutes more, stirring constantly, until the filling is very thick.
- Remove the saucepan from the heat and stir in the butter and vanilla extract until smooth.
- Transfer the filling to a bowl, cover with plastic wrap (pressing the plastic wrap directly onto the surface of the filling), and refrigerate for at least 2 hours, or until completely cooled. Once cooled, gently fold in the whipped heavy cream and the ½ cup of shredded coconut.
- Place your mixing bowl and whisk attachment in the freezer for about 15-20 minutes.
- Pour the heavy cream into the chilled bowl and beat with the whisk attachment on medium speed until soft peaks form.
- Gradually add the powdered sugar, vanilla extract, and coconut extract (if using) and continue to beat until stiff peaks form. Be careful not to overwhip.
- If your cake layers are uneven, use a serrated knife to level them.
- Place one cake layer on a serving plate or cake stand.
- Spread the coconut cream filling evenly over the first cake layer.
- Carefully place the second cake layer on top of the filling.
- Frost the entire cake with the coconut whipped cream frosting.
- Sprinkle the toasted shredded coconut over the top of the cake.
- Refrigerate the cake for at least 30 minutes before serving to allow the frosting to set.
Notes
- Make sure your butter is properly softened for the cake batter.
- Don’t overmix the cake batter, as this can result in a tough cake.
- When making the coconut cream filling, stir constantly to prevent scorching.
- Tempering the egg yolks is crucial to prevent them from scrambling.
- Chill the coconut cream filling completely before folding in the whipped cream.
- Chill your mixing bowl and whisk attachment for the frosting to help the cream whip up faster.
- Be careful not to overwhip the frosting.
- Toasting the shredded coconut for garnish adds a nice flavor and texture.


Leave a Comment