
Easy Tasty Cassava Cake: Prepare to be transported to a tropical paradise with every bite of this incredibly moist and flavorful dessert! Have you ever craved something sweet, satisfying, and surprisingly simple to make? This recipe is your answer. Forget complicated baking techniques and endless ingredients lists; this cassava cake is all about embracing the natural goodness of cassava, also known as yuca, in a way that will tantalize your taste buds.
Cassava cake, a beloved treat in many cultures, particularly in Southeast Asia and the Caribbean, boasts a rich history. Passed down through generations, each family often has its own unique twist on the recipe. The beauty of this cake lies in its versatility and the way it showcases the humble cassava root. It’s a testament to how simple ingredients, when combined with care, can create something truly extraordinary.
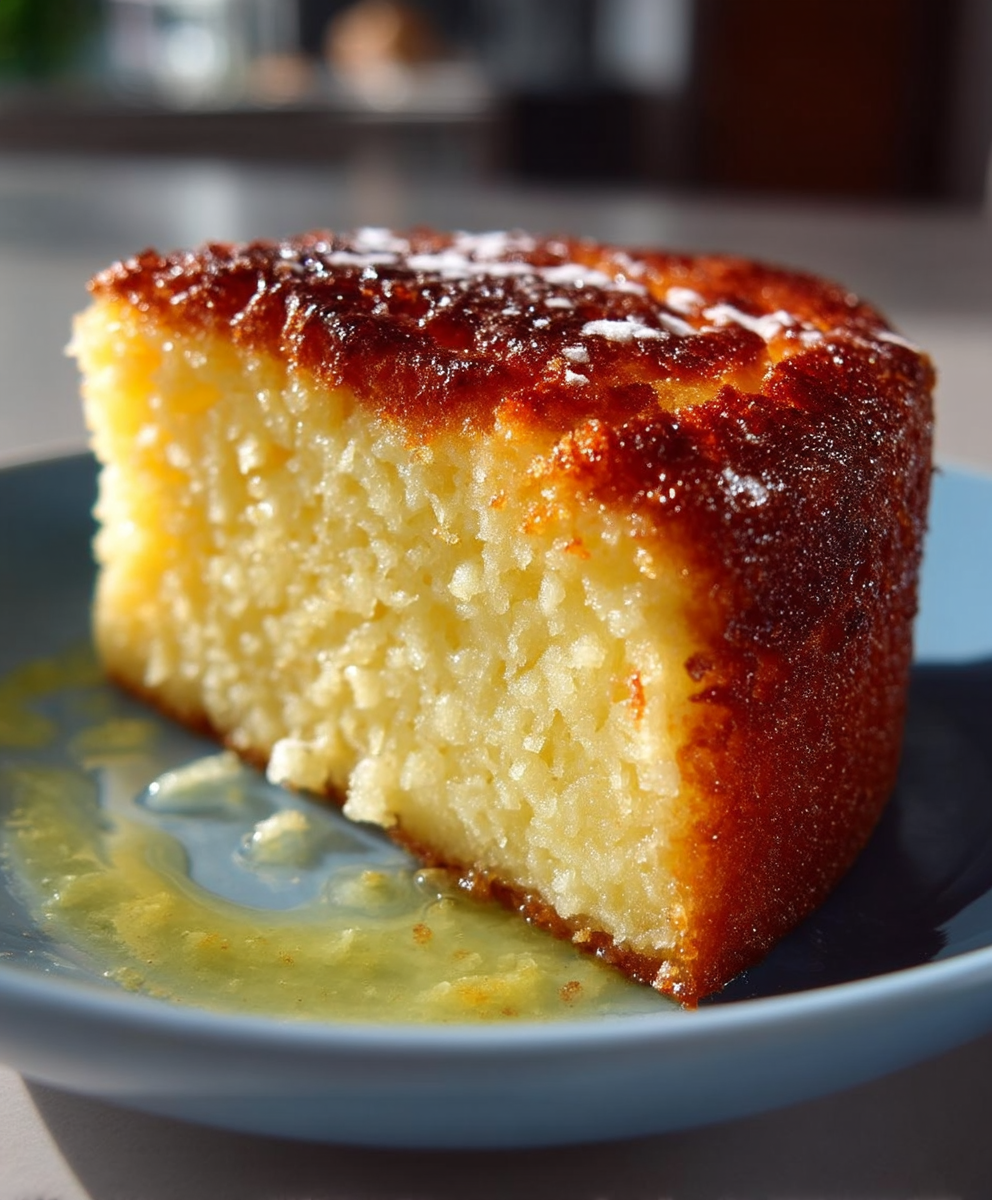
What makes this easy tasty cassava cake so irresistible? It’s the perfect balance of textures a slightly chewy exterior gives way to a soft, almost pudding-like interior. The subtle sweetness of the cassava is enhanced by the addition of coconut milk, creating a creamy, decadent flavor profile that’s both comforting and exotic. Plus, it’s naturally gluten-free, making it a fantastic option for those with dietary restrictions. Whether you’re looking for a show-stopping dessert for a special occasion or a simple treat to enjoy with your afternoon coffee, this cassava cake is guaranteed to impress. Let’s get baking!

Ingredients:
- 1 kg cassava, peeled and grated
- 1 can (397g) condensed milk
- 1 can (370ml) evaporated milk
- 1 cup coconut milk
- 1/2 cup melted butter, unsalted
- 1 cup granulated sugar
- 2 large eggs, lightly beaten
- 1 teaspoon vanilla extract
- 1/2 teaspoon salt
- 1/2 cup grated cheese (for topping, optional)
Preparing the Cassava Mixture:
- First things first, let’s get that cassava ready! Make sure your cassava is peeled thoroughly. Any remaining skin can make the cake a bit bitter. Once peeled, grate the cassava using a box grater or a food processor. If using a food processor, be careful not to over-process it into a paste. We want a nice, grated texture.
- Now, here’s a little trick I like to use: after grating the cassava, place it in a clean kitchen towel or cheesecloth. Squeeze out as much excess liquid as possible. This step is crucial because cassava naturally contains a lot of moisture, and removing it will prevent your cake from becoming soggy. Don’t worry about squeezing it completely dry; just aim to remove a significant amount of the liquid.
- In a large mixing bowl, combine the grated cassava (after squeezing) with the condensed milk, evaporated milk, and coconut milk. Give it a good stir until everything is well combined. The mixture should be creamy and smooth.
- Next, add the melted butter to the cassava mixture. Make sure the butter isn’t too hot, or it might cook the eggs later on. Stir it in gently until it’s fully incorporated. The butter will add richness and moisture to the cake.
- Now, it’s time to add the sugar. Pour in the granulated sugar and mix well until it’s completely dissolved. Taste the mixture at this point. If you prefer a sweeter cake, you can add a little more sugar, but remember that the condensed milk already contributes a significant amount of sweetness.
- In a separate small bowl, lightly beat the eggs. This helps to break them up and ensures they mix evenly into the cassava mixture. Add the beaten eggs to the bowl and stir until just combined. Be careful not to overmix, as this can make the cake tough.
- Finally, add the vanilla extract and salt. The vanilla extract enhances the flavor of the cake, while the salt balances the sweetness. Stir until everything is evenly distributed. Your cassava mixture is now ready!
Baking the Cassava Cake:
- Preheat your oven to 350°F (175°C). This is a crucial step, so make sure your oven is properly preheated before you put the cake in.
- While the oven is preheating, prepare your baking pan. I usually use a 9×13 inch baking pan, but you can also use a round or square pan if you prefer. Grease the pan generously with butter or cooking spray. This will prevent the cake from sticking and make it easier to remove after baking. You can also line the bottom of the pan with parchment paper for extra insurance.
- Pour the cassava mixture into the prepared baking pan, spreading it evenly. If you’re using grated cheese for topping, sprinkle it evenly over the top of the mixture. The cheese will add a lovely savory element to the cake.
- Place the baking pan in the preheated oven and bake for approximately 45-60 minutes, or until the cake is golden brown and a toothpick inserted into the center comes out clean. The baking time may vary depending on your oven, so keep an eye on it.
- To check for doneness, insert a toothpick into the center of the cake. If it comes out clean or with just a few moist crumbs attached, the cake is done. If the toothpick comes out with wet batter, continue baking for a few more minutes and check again.
- Once the cake is baked, remove it from the oven and let it cool completely in the pan before cutting and serving. This is important because the cake will continue to set as it cools. Cutting it while it’s still hot can cause it to crumble.
Serving and Storage:
- After the cake has cooled completely, you can cut it into squares or slices and serve. Cassava cake is delicious served warm or cold.
- If you have any leftovers, store them in an airtight container in the refrigerator. Cassava cake will keep well for up to 3-4 days in the refrigerator.
- You can also reheat the cake in the microwave for a few seconds if you prefer to serve it warm.
- For an extra touch, you can dust the cake with powdered sugar before serving. This adds a touch of sweetness and makes it look even more appealing.
- Cassava cake is a versatile dessert that can be enjoyed on its own or paired with other treats. It goes well with a scoop of vanilla ice cream, a dollop of whipped cream, or a drizzle of caramel sauce.
Tips and Variations:
- Choosing the Right Cassava: When selecting cassava, look for firm, heavy roots with no soft spots or blemishes. Fresh cassava is best, but you can also use frozen grated cassava if fresh is not available. Make sure to thaw the frozen cassava completely before using it.
- Adding Flavor: Feel free to experiment with different flavorings to customize your cassava cake. You can add a pinch of cinnamon, nutmeg, or ginger to the mixture for a warm, spicy flavor. You can also add a tablespoon of lemon or orange zest for a citrusy twist.
- Topping Options: While grated cheese is a classic topping for cassava cake, you can also try other toppings such as shredded coconut, chopped nuts, or a drizzle of chocolate sauce.
- Making it Gluten-Free: Cassava cake is naturally gluten-free, making it a great option for those with gluten sensitivities or allergies.
- Adjusting Sweetness: The amount of sugar in this recipe can be adjusted to suit your taste. If you prefer a less sweet cake, reduce the amount of granulated sugar. If you prefer a sweeter cake, add a little more sugar.
- Preventing a Soggy Cake: The key to preventing a soggy cassava cake is to squeeze out as much excess liquid as possible from the grated cassava. This will ensure that the cake has a firm, slightly chewy texture.
- Using Different Milks: While this recipe calls for condensed milk, evaporated milk, and coconut milk, you can substitute other types of milk if you prefer. For example, you can use regular milk, almond milk, or soy milk. Keep in mind that the flavor and texture of the cake may be slightly different depending on the type of milk you use.
- Adding Ube (Purple Yam): For a vibrant and flavorful twist, try adding ube (purple yam) to your cassava cake. Simply cook and mash the ube, then add it to the cassava mixture along with the other ingredients. This will give your cake a beautiful purple color and a unique, slightly sweet flavor.
- Baking in Individual Ramekins: For a more elegant presentation, you can bake the cassava cake in individual ramekins. Simply grease the ramekins and fill them with the cassava mixture. Bake for a shorter amount of time, about 30-40 minutes, or until the cake is golden brown and a toothpick inserted into the center comes out clean.
Troubleshooting:
- Cake is too dry: If your cassava cake turns out too dry, it could be due to overbaking or not enough moisture in the mixture. Make sure to bake the cake for the recommended time and temperature, and consider adding a little more melted butter or milk to the mixture next time.
- Cake is too soggy: If your cassava cake turns out too soggy, it could be due to not squeezing out enough excess liquid from the grated cassava. Make sure to squeeze out as much liquid as possible before adding the cassava to the mixture. You can also try adding a tablespoon or two of cornstarch to the mixture to help absorb excess moisture.
- Cake is not sweet enough: If your cassava cake is not sweet enough, you can add more sugar to the mixture next time. You can also drizzle the cake with condensed milk or caramel sauce after baking to add extra sweetness.
- Cake is burning on top: If your cassava cake is burning on top before it’s fully cooked in the center, you can tent it with aluminum foil. This will help to prevent the top from burning while the center continues to bake.
- Cake is sticking to the pan: If your cassava cake is sticking to the pan, make sure to grease the pan generously with butter or cooking spray. You can also line the bottom of the pan with parchment paper for extra insurance.
Enjoy your delicious homemade cassava cake! I hope you found this
Conclusion:
This isn’t just another cake recipe; it’s an invitation to experience a slice of pure comfort. The Easy Tasty Cassava Cake is a must-try because it delivers a unique texture and flavor profile that you simply won’t find in your average bake. The slight chewiness, the subtle sweetness, and the delicate coconut aroma all combine to create a truly unforgettable dessert. It’s surprisingly simple to make, requiring minimal effort for maximum reward. Trust me, once you taste this cake, you’ll understand why it’s a beloved treat in so many cultures.
But the best part? It’s incredibly versatile! While it’s absolutely divine served warm, straight from the oven, it’s equally delicious chilled. For a truly decadent experience, try topping it with a scoop of vanilla ice cream or a dollop of whipped cream. A sprinkle of toasted coconut flakes adds a delightful crunch and enhances the coconut flavor.
Serving Suggestions and Variations:
* Classic Style: Serve warm with a cup of coffee or tea. The warmth of the cake complements the beverage perfectly.
* Tropical Twist: Add a layer of caramelized pineapple chunks on top before baking for an extra burst of tropical flavor.
* Chocolate Indulgence: Drizzle melted dark chocolate over the cooled cake for a richer, more decadent dessert.
* Citrus Zest: Incorporate the zest of one lime or lemon into the batter for a refreshing citrus note.
* Nutty Delight: Sprinkle chopped macadamia nuts or almonds on top before baking for added texture and flavor.
* Glazed Goodness: Prepare a simple glaze using powdered sugar and coconut milk to drizzle over the cooled cake.
Don’t be intimidated by the use of cassava; it’s readily available in most Asian or Latin American markets, and even some well-stocked grocery stores. And if you’re feeling adventurous, you can even try making your own cassava flour! The slight effort is well worth it for the incredible results.
I truly believe that this Easy Tasty Cassava Cake will become a new favorite in your household. It’s perfect for potlucks, family gatherings, or simply a cozy night in. It’s a crowd-pleaser that’s sure to impress, and it’s a wonderful way to introduce your friends and family to a new and exciting flavor.
So, what are you waiting for? Gather your ingredients, preheat your oven, and get ready to bake! I’m confident that you’ll be delighted with the results. And more importantly, I’d love to hear about your experience! Please, share your photos, your variations, and your thoughts in the comments below. Let me know what you think of this recipe and how you made it your own. Happy baking! I can’t wait to see what you create!
Easy Tasty Cassava Cake: The Ultimate Recipe Guide
Sweet and creamy Filipino cassava cake made with grated cassava, coconut milk, and condensed milk, baked to golden perfection.
Ingredients
- 1 kg cassava, peeled and grated
- 1 can (397g) condensed milk
- 1 can (370ml) evaporated milk
- 1 cup coconut milk
- 1/2 cup melted butter, unsalted
- 1 cup granulated sugar
- 2 large eggs, lightly beaten
- 1 teaspoon vanilla extract
- 1/2 teaspoon salt
- 1/2 cup grated cheese (for topping, optional)
Instructions
- Peel the cassava thoroughly and grate using a box grater or food processor (avoid over-processing).
- Place the grated cassava in a clean kitchen towel or cheesecloth and squeeze out as much excess liquid as possible.
- In a large mixing bowl, combine the squeezed cassava with condensed milk, evaporated milk, and coconut milk. Stir until well combined.
- Add the melted butter and granulated sugar to the cassava mixture. Stir until the sugar is completely dissolved.
- In a separate small bowl, lightly beat the eggs. Add the beaten eggs to the cassava mixture and stir until just combined. Be careful not to overmix.
- Add the vanilla extract and salt. Stir until everything is evenly distributed.
- Preheat your oven to 350°F (175°C).
- Grease a 9×13 inch baking pan (or similar) generously with butter or cooking spray. You can also line the bottom with parchment paper.
- Pour the cassava mixture into the prepared baking pan, spreading it evenly. If using, sprinkle grated cheese evenly over the top.
- Place the baking pan in the preheated oven and bake for approximately 45-60 minutes, or until the cake is golden brown and a toothpick inserted into the center comes out clean.
- Remove the cake from the oven and let it cool completely in the pan before cutting and serving.
- Cut into squares or slices and serve warm or cold. Dust with powdered sugar if desired.
Notes
- Squeezing the excess liquid from the cassava is crucial to prevent a soggy cake.
- Adjust the amount of sugar to your taste.
- Baking time may vary depending on your oven.
- Store leftovers in an airtight container in the refrigerator for up to 3-4 days.
- Experiment with flavorings like cinnamon, nutmeg, or lemon zest.
- Try different toppings like shredded coconut, chopped nuts, or chocolate sauce.
- For a gluten-free option, ensure all ingredients are gluten-free.
- For a vibrant twist, add mashed ube (purple yam) to the mixture.
- Bake in individual ramekins for an elegant presentation.


Leave a Comment