Garlic Herb Butter: the secret weapon to elevate nearly any dish from simple to sublime! Imagine sinking your teeth into a perfectly grilled steak, the rich, savory juices mingling with a luscious, fragrant butter that melts in your mouth. Or picture crusty bread, warm from the oven, slathered with this golden goodness, each bite a symphony of herbaceous delight. That, my friends, is the magic of garlic herb butter, and I’m thrilled to share my foolproof recipe with you.
While the exact origins of flavored butters are difficult to pinpoint, the concept of enhancing butter with herbs and spices has likely been around for centuries. Butter, a staple in many cuisines, has always been a canvas for culinary creativity. From the French tradition of “beurre composé” to countless variations across cultures, the idea of infusing butter with complementary flavors is a testament to its versatility.
But why do people adore this simple yet elegant condiment? The answer lies in its incredible versatility and the explosion of flavor it delivers. The combination of rich, creamy butter, pungent garlic, and fragrant herbs creates a taste sensation that’s both comforting and sophisticated. It’s incredibly easy to make, requiring minimal effort for maximum impact. Whether you’re spreading it on bread, melting it over vegetables, or using it to baste meats, garlic herb butter adds a touch of gourmet flair to any meal. Plus, it’s a fantastic way to use up fresh herbs from your garden! Let’s get started!
Ingredients:
- 1 cup (2 sticks) unsalted butter, softened
- 6 cloves garlic, minced
- 1/4 cup fresh parsley, finely chopped
- 2 tablespoons fresh chives, finely chopped
- 1 tablespoon fresh rosemary, finely chopped
- 1 teaspoon dried thyme
- 1/2 teaspoon salt, or to taste
- 1/4 teaspoon black pepper, freshly ground
- Optional: 1/4 teaspoon red pepper flakes (for a little heat)
- Optional: 1 tablespoon lemon juice (for brightness)
Preparing the Garlic Herb Butter:
Okay, let’s get started! This garlic herb butter is so versatile, you’ll want to put it on everything. The key is to use softened butter not melted, but nice and pliable. This will make it much easier to incorporate all those delicious herbs and garlic.
- Soften the Butter: The first and most important step is to make sure your butter is properly softened. Take the butter out of the refrigerator at least an hour before you plan to start. You want it to be soft enough that you can easily press your finger into it, but not so soft that it’s melting. If you’re short on time, you can cut the butter into smaller cubes and let it sit out for about 30 minutes. You can also soften it in the microwave, but be extremely careful! Microwave it in 5-second intervals, checking after each interval, until it’s just softened. You don’t want it to melt! Melted butter won’t cream properly.
- Mince the Garlic: Next, we need to mince the garlic. I prefer to use a garlic press, but if you don’t have one, you can finely chop the garlic with a knife. The smaller the pieces, the better, as you want the garlic flavor to be evenly distributed throughout the butter. Nobody wants a big chunk of raw garlic! Aim for a very fine mince.
- Chop the Herbs: Now it’s time to chop the fresh herbs. Fresh herbs are what really make this butter sing, so don’t skimp on them! Wash and dry the parsley, chives, and rosemary thoroughly. Then, using a sharp knife, finely chop each herb. The finer the chop, the better the herbs will incorporate into the butter. For the rosemary, make sure to remove the tough stems before chopping. You only want the leaves.
- Combine Ingredients: In a medium-sized bowl, combine the softened butter, minced garlic, chopped parsley, chopped chives, chopped rosemary, dried thyme, salt, and pepper. If you’re using red pepper flakes or lemon juice, add them now as well.
- Mix Thoroughly: Using a fork or a rubber spatula, mix all the ingredients together until they are evenly combined. You want the garlic and herbs to be distributed throughout the butter. Don’t overmix, but make sure everything is well incorporated. The butter should be a uniform color with flecks of green from the herbs and little bits of garlic visible.
Shaping and Storing the Butter:
Now that we’ve made the garlic herb butter, it’s time to shape it and store it. There are a few different ways you can do this, depending on how you plan to use it.
- Log Shape (for slicing): This is my preferred method, as it makes it easy to slice off individual portions of butter. Place a large piece of plastic wrap on a clean surface. Spoon the garlic herb butter onto the center of the plastic wrap, forming a log shape. Gently roll the plastic wrap around the butter, shaping it into a cylinder. Twist the ends of the plastic wrap tightly to seal the butter log. You can then gently roll the log on the counter to smooth it out and make it more uniform. Place the butter log in the refrigerator for at least 2 hours, or preferably overnight, to allow it to firm up.
- Individual Portions (for easy use): If you prefer, you can divide the garlic herb butter into individual portions. Spoon the butter into small ramekins or onto a parchment-lined baking sheet. Place the ramekins or baking sheet in the freezer for about 30 minutes, or until the butter is firm. Once the butter is firm, you can transfer the individual portions to a freezer bag or airtight container. This makes it easy to grab a portion of butter whenever you need it.
- In a Jar (for spreading): You can also simply store the garlic herb butter in a jar. Spoon the butter into a clean jar with a tight-fitting lid. Smooth the top of the butter with a spatula. Store the jar in the refrigerator. This method is best if you plan to use the butter for spreading on bread or toast.
Using Your Garlic Herb Butter:
Okay, so you’ve made your garlic herb butter, and it’s looking beautiful. Now what? The possibilities are endless! Here are just a few ideas to get you started:
- On Bread: Spread it on warm crusty bread, toast, or garlic bread. This is a classic for a reason!
- On Vegetables: Toss it with roasted vegetables like potatoes, broccoli, or asparagus. It adds so much flavor!
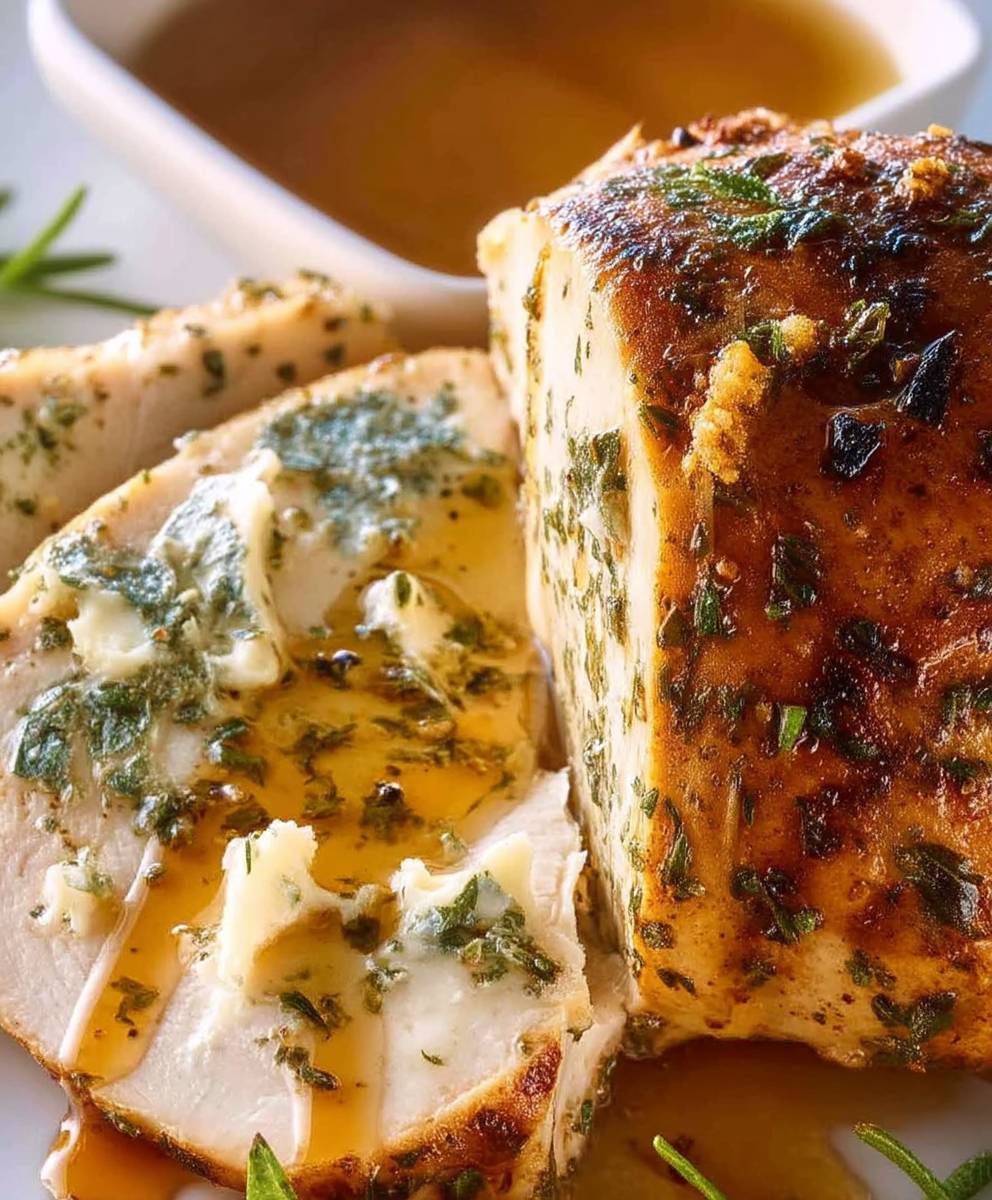
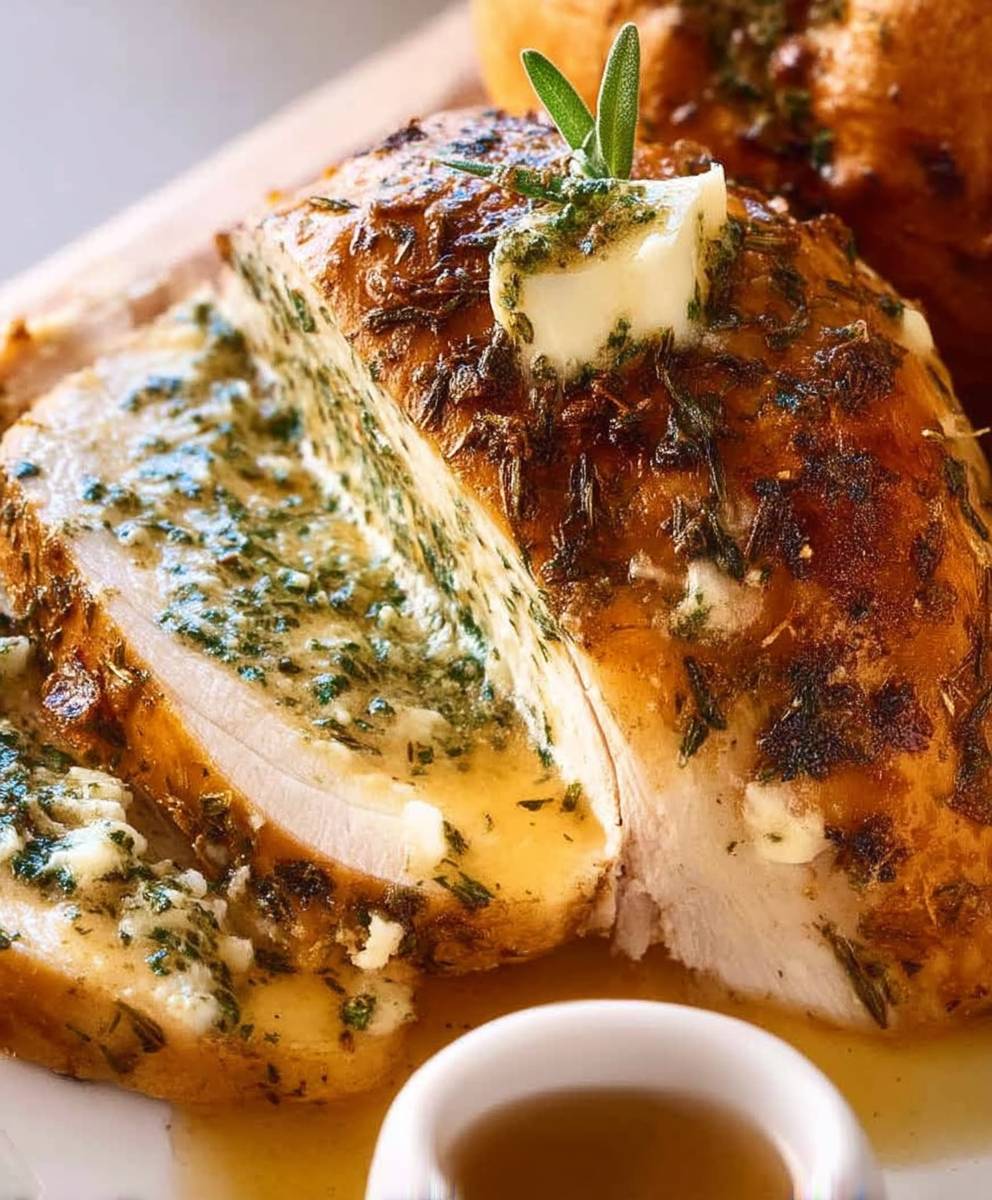
- On Steak or Chicken: Top grilled steak or chicken with a pat of garlic herb butter for a restaurant-worthy meal.
- On Pasta: Toss it with cooked pasta for a simple and flavorful sauce.
- In Mashed Potatoes: Stir it into mashed potatoes for extra richness and flavor.
- On Seafood: Melt it over grilled or baked fish or shrimp.
- In Scrambled Eggs: Add a dollop to scrambled eggs for a gourmet breakfast.
Tips and Variations:
Want to customize your garlic herb butter? Here are a few tips and variations to try:
- Use Different Herbs: Feel free to experiment with different herbs. Try adding oregano, basil, or sage.
- Add Cheese: Grated Parmesan cheese or Romano cheese adds a salty, savory flavor.
- Add Lemon Zest: Lemon zest adds a bright, citrusy flavor.
- Make it Spicy: Add more red pepper flakes or a pinch of cayenne pepper for extra heat.
- Use Roasted Garlic: For a milder, sweeter garlic flavor, use roasted garlic instead of raw garlic.
- Adjust the Salt: Taste the butter and adjust the salt to your liking. Remember that butter can vary in salt content, so you may need to add more or less salt depending on the brand you use.
- Make it Vegan: Use vegan butter instead of dairy butter.
Storing the Garlic Herb Butter:
Proper storage is key to keeping your garlic herb butter fresh and flavorful. Here’s what you need to know:
- Refrigerator: Garlic herb butter can be stored in the refrigerator for up to 2 weeks. Make sure it’s tightly wrapped in plastic wrap or stored in an airtight container to prevent it from absorbing odors from the refrigerator.
- Freezer: Garlic herb butter can be stored in the freezer for up to 3 months. Wrap it tightly in plastic wrap and then place it in a freezer bag or airtight container. When you’re ready to use it, thaw it in the refrigerator overnight.
Troubleshooting:
Sometimes things don’t go exactly as planned. Here are a few common problems and how to fix them:
- Butter is too soft: If your butter is too soft, it will be difficult to shape. Place it in the refrigerator for about 30 minutes to firm up before shaping.
- Butter is too hard: If your butter is too hard, it will be difficult to mix. Let it sit at room temperature for a few minutes to soften slightly before mixing.
- Garlic flavor is too strong: If you find the garlic flavor too strong, you can use roasted garlic instead of raw garlic. Roasted garlic has a milder, sweeter flavor.
- Herbs are browning: If your herbs are browning, it means they are oxidizing. To prevent this, make sure to store the butter in an airtight container in the refrigerator.
Enjoy!
I hope you enjoy this recipe for garlic herb butter! It’s one of my favorite things to make, and I know you’ll love it too. Don’t be afraid to experiment with different herbs and flavors to create your own signature blend. Happy cooking!
Conclusion:
This Garlic Herb Butter recipe isn’t just another condiment; it’s a flavor explosion waiting to happen, a simple yet transformative addition that elevates everyday meals into something truly special. I genuinely believe that once you’ve tasted the difference it makes, you’ll find yourself reaching for it time and time again. The aroma alone, as the garlic gently sizzles and the herbs release their fragrant oils, is enough to make your mouth water. But the real magic happens when you spread it on warm bread, melt it over grilled steak, or toss it with freshly cooked pasta.
Why is this a must-try? Because it’s incredibly versatile, ridiculously easy to make, and delivers an unparalleled depth of flavor that store-bought versions simply can’t match. You control the quality of the ingredients, ensuring you’re using the freshest herbs and the best butter possible. Plus, the satisfaction of creating something so delicious from scratch is a reward in itself.
Looking for serving suggestions? The possibilities are endless! Imagine slathering it on crusty sourdough bread for a simple yet satisfying appetizer. Or, melt a generous pat over perfectly grilled salmon or chicken for a burst of savory goodness. It’s also fantastic tossed with roasted vegetables like asparagus, broccoli, or Brussels sprouts. For a truly decadent treat, try adding a dollop to a baked potato or swirling it into mashed potatoes. And don’t forget pasta! A simple pasta dish with a generous helping of this garlic herb butter is a quick and easy weeknight meal that’s sure to please.
But the fun doesn’t stop there! Feel free to experiment with variations to suit your own taste. Add a pinch of red pepper flakes for a touch of heat. Incorporate sun-dried tomatoes for a Mediterranean twist. Or, try using different herbs like rosemary, thyme, or oregano to create your own unique flavor profile. You could even add a squeeze of lemon juice for a bright and zesty finish.
Serving Suggestions and Variations:
- Bread: Spread on warm crusty bread, garlic bread, or toasted bagels.
- Meat & Seafood: Melt over grilled steak, chicken, fish, or shrimp.
- Vegetables: Toss with roasted vegetables like asparagus, broccoli, or potatoes.
- Pasta: Toss with cooked pasta for a simple and flavorful meal.
- Potatoes: Top baked potatoes or swirl into mashed potatoes.
- Variations: Add red pepper flakes for heat, sun-dried tomatoes for a Mediterranean flavor, or lemon zest for brightness.
I truly hope you’ll give this recipe a try. It’s a game-changer in the kitchen, and I’m confident you’ll love it as much as I do. Once you’ve made your own batch of this incredible Garlic Herb Butter, I’d love to hear about your experience! Share your photos and tell me how you used it. What variations did you try? What dishes did you elevate with its deliciousness? Let’s inspire each other with our culinary creations! Don’t hesitate to leave a comment below with your thoughts and suggestions. Happy cooking! I can’t wait to see what you create!
Garlic Herb Butter: The Ultimate Guide to Flavorful Recipes
Flavorful garlic herb butter elevates any dish! Easy to make with fresh herbs, garlic, and softened butter. Perfect for bread, vegetables, steak, pasta, and more.
Ingredients
- 1 cup (2 sticks) unsalted butter, softened
- 6 cloves garlic, minced
- 1/4 cup fresh parsley, finely chopped
- 2 tablespoons fresh chives, finely chopped
- 1 tablespoon fresh rosemary, finely chopped
- 1 teaspoon dried thyme
- 1/2 teaspoon salt, or to taste
- 1/4 teaspoon black pepper, freshly ground
- Optional: 1/4 teaspoon red pepper flakes (for a little heat)
- Optional: 1 tablespoon lemon juice (for brightness)
Instructions
- Soften the Butter: Ensure butter is softened, not melted. Take it out of the refrigerator at least an hour before starting. If short on time, cut into cubes or microwave in 5-second intervals until just softened.
- Mince the Garlic: Mince the garlic finely using a garlic press or knife.
- Chop the Herbs: Wash and dry parsley, chives, and rosemary. Finely chop each herb, removing tough stems from rosemary.
- Combine Ingredients: In a medium bowl, combine softened butter, minced garlic, chopped parsley, chopped chives, chopped rosemary, dried thyme, salt, and pepper. Add red pepper flakes or lemon juice if desired.
- Mix Thoroughly: Mix all ingredients until evenly combined.
- Log Shape (for slicing): Place butter on plastic wrap, form a log, roll tightly, twist ends, and refrigerate for at least 2 hours or overnight.
- Individual Portions (for easy use): Spoon butter into ramekins or onto parchment-lined baking sheet. Freeze for 30 minutes, then transfer to freezer bag.
- In a Jar (for spreading): Spoon butter into a clean jar with a tight-fitting lid. Smooth the top of the butter with a spatula. Store the jar in the refrigerator.
Notes
- Variations: Experiment with different herbs like oregano, basil, or sage. Add grated Parmesan or Romano cheese, lemon zest, or more red pepper flakes. Use roasted garlic for a milder flavor.
- Storage: Store in the refrigerator for up to 2 weeks or in the freezer for up to 3 months.
- Troubleshooting:
* If butter is too soft, refrigerate for 30 minutes.
* If butter is too hard, let it sit at room temperature for a few minutes.
* If garlic flavor is too strong, use roasted garlic.
* If herbs are browning, store in an airtight container.




Leave a Comment