
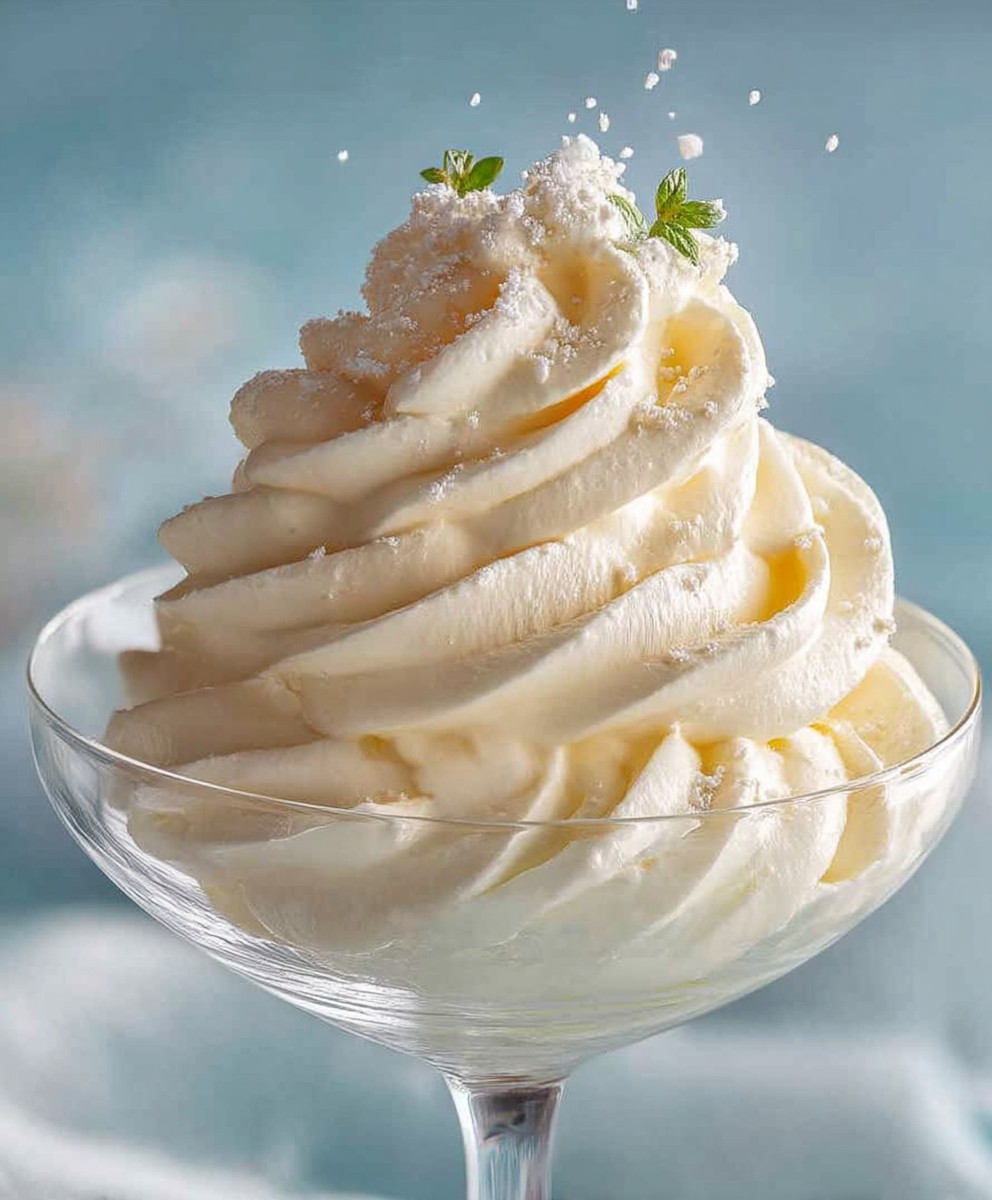
Stabilized whipped cream: the secret weapon for every baker and dessert enthusiast! Have you ever painstakingly crafted a beautiful cake or a decadent pie, only to watch your perfectly piped whipped cream topping deflate and weep within hours? I certainly have, and it’s a heartbreaking experience. But fear not, because I’m here to share the ultimate solution: a foolproof method for creating stabilized whipped cream that holds its shape for days, not just hours.
Whipped cream, in its simplest form, has been enjoyed for centuries, gracing desserts in various cultures. From the elaborate pastries of French patisseries to the simple fruit toppings of American diners, its light and airy texture has always been a delightful complement. However, its inherent instability has always been a challenge. That’s where stabilization techniques come in, transforming this delicate topping into a reliable and long-lasting component of your culinary creations.
People adore whipped cream for its ethereal lightness, its creamy sweetness, and its ability to elevate any dessert to a new level of indulgence. But let’s be honest, nobody loves the soupy mess that results from melted whipped cream. That’s why this recipe is a game-changer. It allows you to enjoy all the wonderful qualities of whipped cream without the worry of it losing its form. Whether you’re topping a cake, filling pastries, or simply adding a dollop to your coffee, this stabilized version will maintain its beautiful appearance and delightful texture, making your desserts look and taste their absolute best.

Ingredients:
- 2 cups heavy cream (cold, at least 36% milkfat)
- 1/2 cup powdered sugar, sifted
- 1 teaspoon vanilla extract
- 1/4 teaspoon cream of tartar (or 1 tablespoon cornstarch)
- Optional: 1 tablespoon gelatin powder
- Optional: 2 tablespoons cold water (if using gelatin)
Preparing the Gelatin (Optional)
If you’re choosing to use gelatin for extra stability, this is the first step. Gelatin provides a very firm and long-lasting stabilization, perfect for decorating cakes that need to sit out for extended periods or in warmer environments. If you’re using cream of tartar or cornstarch, skip this section.
- Bloom the Gelatin: In a small bowl, sprinkle the gelatin powder over the cold water. Let it sit for 5-10 minutes. This process, called blooming, allows the gelatin granules to absorb the water and soften, ensuring they dissolve properly later. You’ll notice the mixture becoming thick and jelly-like.
- Melt the Gelatin: After blooming, microwave the gelatin mixture for 10-15 seconds, or until it’s completely liquid and clear. Be careful not to overheat it, as this can damage the gelatin’s setting properties. Alternatively, you can melt it over a double boiler.
- Cool Slightly: Let the melted gelatin cool slightly before adding it to the cream. You don’t want it to be hot, as this could partially cook the cream. A lukewarm temperature is ideal.
Chilling Your Equipment
This is a crucial step for achieving the best whipped cream. Cold equipment helps the cream whip up faster and hold its shape better. I can’t stress this enough don’t skip it!
- Chill the Bowl: Place your mixing bowl (preferably metal) in the freezer for at least 15-20 minutes before you start. A very cold bowl is key.
- Chill the Whisk/Beaters: Similarly, chill your whisk attachment (for a stand mixer) or your beaters (for a hand mixer) in the freezer for the same amount of time.
Whipping the Cream
Now for the main event! This is where the magic happens, and you’ll transform liquid cream into fluffy, stable whipped cream.
- Pour in the Cream: Pour the cold heavy cream into the chilled mixing bowl. Make sure it’s all in there!
- Add Cream of Tartar/Cornstarch (if using): If you’re using cream of tartar or cornstarch, add it to the cream now. These ingredients help to stabilize the whipped cream by preventing the fat molecules from collapsing.
- Start Whipping: Begin whipping the cream on medium speed. You’ll see it start to thicken and become frothy.
- Gradually Add Powdered Sugar: Once the cream starts to thicken slightly, gradually add the sifted powdered sugar, a tablespoon at a time. Sifting the powdered sugar prevents lumps and ensures it dissolves evenly.
- Add Vanilla Extract: Add the vanilla extract.
- Increase Speed: Gradually increase the speed to medium-high. Continue whipping until soft peaks form. Soft peaks are when the cream holds its shape briefly but the tips curl over when you lift the whisk or beaters.
- Add Gelatin (if using): If you’re using gelatin, slowly drizzle the cooled, melted gelatin into the whipped cream while the mixer is running on low speed. Make sure it’s evenly distributed.
- Whip to Stiff Peaks: Continue whipping until stiff peaks form. Stiff peaks are when the cream holds its shape well and the tips stand straight up when you lift the whisk or beaters. Be careful not to overwhip, as this can turn the cream into butter. Watch it closely!
Tips for Success
Here are a few extra tips to ensure your stabilized whipped cream turns out perfectly every time:
- Use Cold Ingredients: As mentioned before, cold heavy cream and chilled equipment are essential. The colder the ingredients, the better the cream will whip.
- Don’t Overwhip: Overwhipping is the biggest mistake people make when making whipped cream. Keep a close eye on the cream as it whips, and stop as soon as stiff peaks form.
- Sift the Powdered Sugar: Sifting the powdered sugar prevents lumps and ensures it dissolves evenly into the cream.
- Use High-Quality Vanilla Extract: A good quality vanilla extract will enhance the flavor of the whipped cream.
- Adjust Sweetness to Taste: You can adjust the amount of powdered sugar to your liking. If you prefer a less sweet whipped cream, use less sugar.
- For Vegan Whipped Cream: While this recipe is for traditional whipped cream, you can achieve a similar result using chilled coconut cream. Be sure to only use the thick, solid part of the coconut cream and follow a similar process.
Troubleshooting
Sometimes things don’t go exactly as planned. Here are some common problems and how to fix them:
- Cream Won’t Whip: This is usually due to the cream not being cold enough. Try chilling the bowl and beaters for longer, or even adding a few ice cubes to the bowl while whipping (remove them once the cream starts to thicken).
- Cream is Grainy: This is a sign of overwhipping. Unfortunately, there’s no way to fix overwhipped cream. You’ll have to start over.
- Whipped Cream is Too Soft: This could be due to not whipping it enough, or the cream not being cold enough. Try whipping it for a few more minutes, or adding a stabilizer like cream of tartar or gelatin.
Using Stabilized Whipped Cream
Now that you have your perfectly stabilized whipped cream, here are some ways to use it:
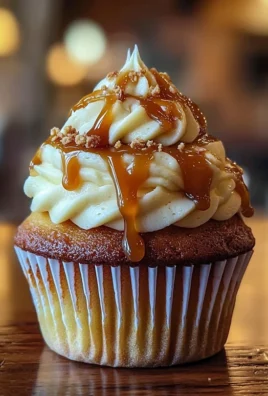
- Cake Decorating: This is the most common use for stabilized whipped cream. It’s perfect for frosting cakes, cupcakes, and other desserts.
- Piping: Stabilized whipped cream holds its shape well, making it ideal for piping intricate designs.
- Filling: Use it as a filling for pastries, crepes, and other desserts.
- Topping: Top your favorite desserts, such as pies, cobblers, and ice cream, with a dollop of stabilized whipped cream.
- Hot Chocolate: A classic pairing! Add a generous dollop to your hot chocolate for a decadent treat.
- Fruit Salad: Add a light and airy touch to your fruit salad.
Storage
Stabilized whipped cream can be stored in an airtight container in the refrigerator for up to 3-4 days. The gelatin version will hold its shape the best over time. It may lose some of its volume over time, but it will still be delicious. If you notice any separation, simply whisk it gently before using.
Variations
Want to get creative? Here are some variations you can try:
- Chocolate Whipped Cream: Add 2-3 tablespoons of unsweetened cocoa powder to the cream along with the powdered sugar.
- Coffee Whipped Cream: Add 1-2 teaspoons of instant coffee powder to the cream along with the powdered sugar.
- Peppermint Whipped Cream: Add 1/4 teaspoon of peppermint extract to the cream along with the vanilla extract.
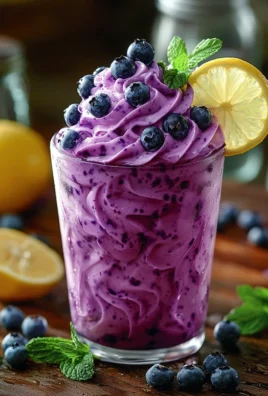
- Lemon Whipped Cream: Add 1-2 teaspoons of lemon zest to the cream along with the vanilla extract.
- Maple Whipped Cream: Substitute maple syrup for some of the powdered sugar. Start with 1/4 cup and adjust to taste.
I hope you enjoy making this stabilized whipped cream recipe! It’s a versatile and delicious addition to any dessert. Happy baking!
Conclusion:
So there you have it! This stabilized whipped cream recipe isn’t just another topping; it’s a game-changer. It’s the secret weapon you need for desserts that look as good as they taste, holding their shape beautifully for hours, even days! Forget about sad, deflated dollops this recipe guarantees picture-perfect peaks every single time. I truly believe this is a must-have skill for any home baker, and once you try it, you’ll wonder how you ever lived without it.
Why is it a must-try? Because it’s incredibly versatile, surprisingly easy, and delivers professional-looking results with minimal effort. Think about it: no more last-minute whipping frenzies before guests arrive. No more worrying about your beautiful cake turning into a soggy mess. This stabilized whipped cream gives you the freedom to prepare ahead of time and focus on enjoying the moment. Plus, the taste is simply divine light, airy, and perfectly sweet, complementing any dessert you pair it with.
But the fun doesn’t stop there! This recipe is just a starting point. Feel free to experiment with different flavorings to create your own signature whipped cream. A splash of vanilla extract is always a classic, but why not try almond extract for a nutty twist? Or perhaps a hint of citrus zest for a bright and refreshing flavor? For chocolate lovers, a tablespoon of cocoa powder will transform it into a decadent chocolate dream. You could even infuse your cream with herbs like lavender or mint for a truly unique and sophisticated touch.
Serving Suggestions and Variations:
* Classic Topping: Of course, it’s perfect for topping pies, cakes, and cupcakes. Imagine a slice of warm apple pie with a generous swirl of this perfectly stable whipped cream pure bliss!
* Fruit Dip: Serve it alongside fresh berries, melon, or grapes for a light and refreshing dessert. A sprinkle of chopped nuts or a drizzle of honey would elevate it even further.
* Coffee Companion: Add a dollop to your morning coffee or hot chocolate for a luxurious treat. It’s a much healthier and tastier alternative to store-bought whipped cream.
* Layered Desserts: Use it as a layer in parfaits, trifles, or even ice cream cakes. Its stability will prevent it from melting and creating a soggy mess.
* Piping Perfection: Because it holds its shape so well, it’s ideal for piping intricate designs on cakes and cupcakes. Get creative and let your inner artist shine!
* Savory Applications: Don’t limit yourself to sweet treats! Try using it as a topping for savory dishes like soups or chili. A dollop of herbed whipped cream can add a touch of elegance to any meal.
I’m so excited for you to try this recipe and experience the magic of stabilized whipped cream for yourself. It’s a game-changer, I promise! Once you’ve made it, I’d love to hear about your experience. Did you try any variations? What desserts did you pair it with? Share your photos and stories in the comments below! Your feedback is invaluable and helps me create even better recipes for you. Happy whipping! I can’t wait to see what delicious creations you come up with. Remember, baking is all about experimenting and having fun, so don’t be afraid to get creative and make this recipe your own. Enjoy!
Stabilized Whipped Cream: Your Guide to Perfect, Long-Lasting Frosting
Perfectly stabilized whipped cream that holds its shape, ideal for cake decorating, piping, and topping your favorite desserts.
Ingredients
- 2 cups heavy cream (cold, at least 36% milkfat)
- 1/2 cup powdered sugar, sifted
- 1 teaspoon vanilla extract
- 1/4 teaspoon cream of tartar (or 1 tablespoon cornstarch)
- Optional: 1 tablespoon gelatin powder
- Optional: 2 tablespoons cold water (if using gelatin)
Instructions
- Chill Equipment: Place mixing bowl (preferably metal) and whisk/beaters in the freezer for at least 15-20 minutes.
- Prepare Gelatin (Optional): If using gelatin, bloom it by sprinkling gelatin powder over cold water in a small bowl. Let sit for 5-10 minutes. Microwave for 10-15 seconds until liquid and clear (or melt over a double boiler). Cool slightly.
- Whip the Cream: Pour cold heavy cream into the chilled bowl. Add cream of tartar/cornstarch (if using).
- Start Whipping: Begin whipping on medium speed.
- Add Sugar: Gradually add sifted powdered sugar, a tablespoon at a time.
- Add Vanilla: Add vanilla extract.
- Increase Speed: Gradually increase speed to medium-high. Whip until soft peaks form.
- Add Gelatin (Optional): If using gelatin, slowly drizzle the cooled, melted gelatin into the whipped cream while the mixer is running on low speed.
- Whip to Stiff Peaks: Continue whipping until stiff peaks form. Be careful not to overwhip.
Notes
- Use cold heavy cream and chilled equipment for best results.
- Don’t overwhip the cream.
- Sift the powdered sugar to prevent lumps.
- Adjust sweetness to taste.
- Stabilized whipped cream can be stored in an airtight container in the refrigerator for up to 3-4 days.
- For vegan whipped cream, use chilled coconut cream.

Leave a Comment