
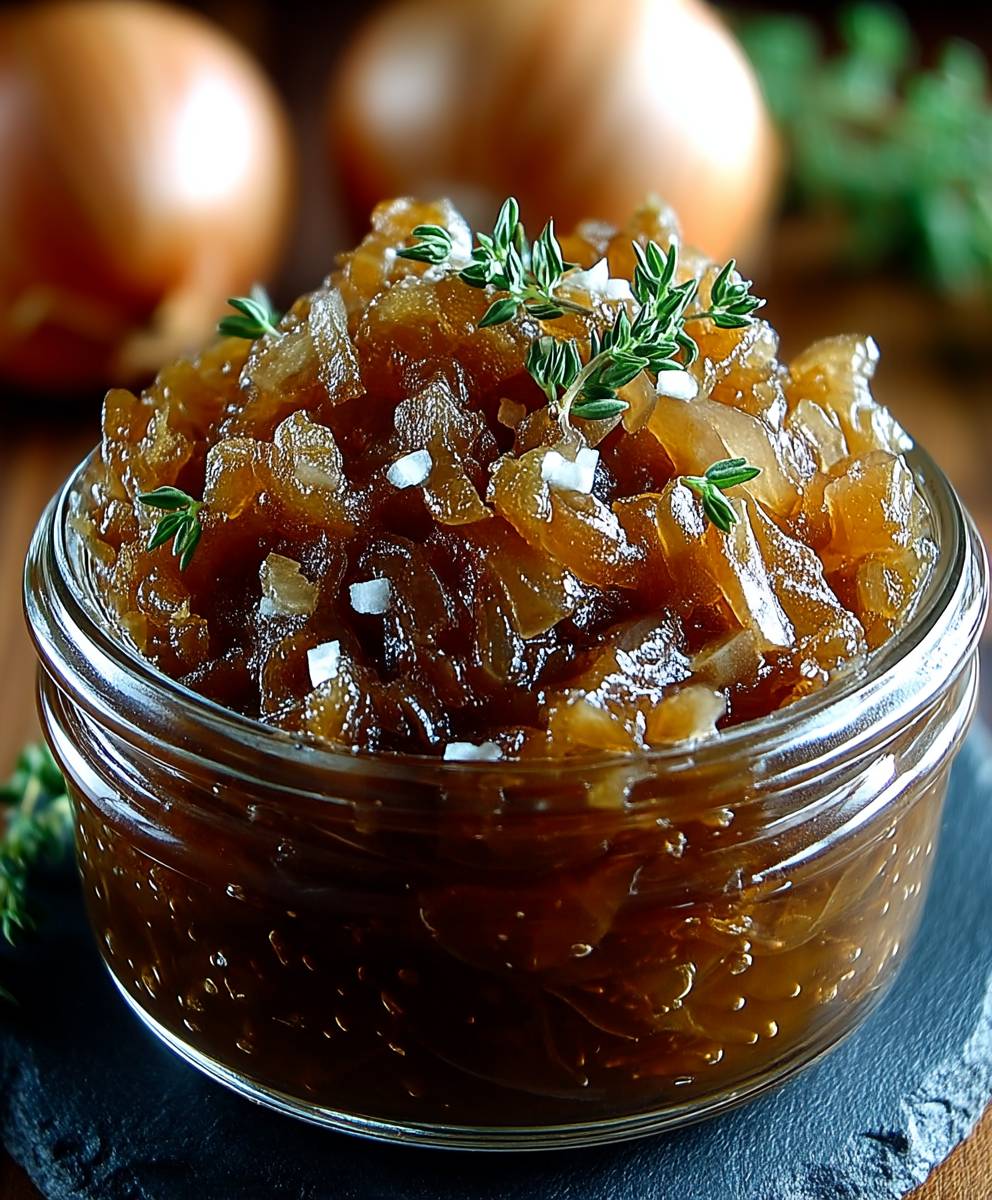
Caramelized Onion Jam: Prepare to be utterly captivated by this sweet and savory delight! Imagine spreading a spoonful of intensely flavored, deeply browned onion jam onto a crusty baguette, or swirling it into your favorite grilled cheese. This isn’t just a condiment; it’s a flavor explosion waiting to happen.
Onion jam, in its essence, is a testament to the transformative power of slow cooking. While its exact origins are somewhat shrouded in culinary mystery, the concept of preserving onions in a sweet and tangy medium has roots in various cultures. Think of the French onion soup, where the humble onion is coaxed into a sweet, caramelized masterpiece. Our caramelized onion jam builds upon this foundation, taking the caramelized onion to a whole new level of deliciousness.
What makes this dish so universally loved? It’s the perfect balance of sweet and savory, the unctuous texture, and the sheer versatility. The slow caramelization process unlocks the onion’s natural sugars, creating a deep, complex flavor that’s both comforting and sophisticated. Whether you’re a seasoned chef or a beginner cook, this caramelized onion jam recipe is surprisingly easy to master, and the results are guaranteed to impress. Get ready to elevate your culinary creations with this incredible condiment!

Ingredients:
- 4 large yellow onions, thinly sliced (about 5 pounds)
- 2 tablespoons olive oil
- 2 tablespoons butter, unsalted
- 1/2 teaspoon salt, plus more to taste
- 1/4 teaspoon black pepper, freshly ground, plus more to taste
- 1/4 cup balsamic vinegar
- 1/4 cup brown sugar, packed
- 1/4 cup dry red wine (optional, but recommended for depth of flavor)
- 2 tablespoons maple syrup (or honey)
- 1 teaspoon fresh thyme leaves (optional)
- 1/4 teaspoon smoked paprika (optional, for a smoky flavor)
Preparing the Onions: The Foundation of Flavor
Okay, let’s get started! The key to amazing caramelized onion jam is patience and low, slow cooking. Don’t rush this process; it’s where all the magic happens. We’re aiming for deeply golden, sweet, and incredibly flavorful onions.
- Slice the Onions: First, peel your four large yellow onions. Then, using a sharp knife or a mandoline (be careful!), thinly slice them. Aim for slices that are about 1/8 inch thick. Uniformity is key for even cooking. If you’re using a knife, try to keep the slices consistent. Don’t worry too much about perfect slices; they’ll break down as they cook.
- The Initial Sauté: In a large, heavy-bottomed pot or Dutch oven, heat the olive oil and butter over medium-low heat. The combination of oil and butter prevents the butter from burning and adds richness. Once the butter is melted, add all the sliced onions.
- Season and Stir: Sprinkle the onions with 1/2 teaspoon of salt and 1/4 teaspoon of black pepper. The salt will help draw out moisture from the onions, which is crucial for the caramelization process. Stir the onions well to coat them evenly with the oil, butter, salt, and pepper.
- The Long, Slow Cook: Now comes the patience part. Reduce the heat to low, cover the pot, and let the onions cook, stirring occasionally (about every 15-20 minutes), for about 1 to 1.5 hours. The goal is to cook the onions until they are very soft, translucent, and starting to turn a golden brown color.
- Monitor and Adjust: During this initial cooking phase, keep an eye on the onions. If they start to stick to the bottom of the pot or brown too quickly, reduce the heat further. You might need to add a tablespoon or two of water or broth to the pot to prevent burning. The key is to maintain a low, gentle heat.
Caramelization and Flavor Infusion: Building Depth
Now that the onions are soft and translucent, it’s time to really caramelize them and infuse them with all those delicious flavors. This is where the magic truly happens, transforming simple onions into a gourmet jam.
- Uncover and Caramelize: Remove the lid from the pot. Increase the heat slightly to medium-low. Continue to cook the onions, stirring frequently, for another 30-45 minutes, or until they are a deep golden brown color and very soft and jammy.
- Stir, Stir, Stir: Stir the onions almost constantly during this phase to prevent them from burning. The sugars in the onions will start to caramelize, creating a beautiful color and a rich, sweet flavor. If the onions start to stick or burn, reduce the heat immediately.
- Deglaze with Balsamic Vinegar: Once the onions are deeply caramelized, pour in the balsamic vinegar. The vinegar will deglaze the pot, lifting up any browned bits from the bottom and adding a tangy sweetness to the jam. Stir well to incorporate the vinegar into the onions.
- Add Sweetness and Depth: Add the brown sugar, red wine (if using), and maple syrup (or honey) to the pot. Stir well to combine all the ingredients. The brown sugar will add a molasses-like sweetness, the red wine will add depth and complexity, and the maple syrup (or honey) will add a touch of natural sweetness.
- Simmer and Thicken: Reduce the heat to low and let the jam simmer, uncovered, for another 15-20 minutes, or until it has thickened to your desired consistency. Stir occasionally to prevent sticking. The jam should be thick enough to coat the back of a spoon.
- Add Optional Flavors: If you’re using thyme and smoked paprika, stir them into the jam during the last 5 minutes of cooking. The thyme will add a fresh, herbaceous note, and the smoked paprika will add a subtle smoky flavor.
- Taste and Adjust: Taste the jam and adjust the seasoning as needed. You may want to add more salt, pepper, balsamic vinegar, or brown sugar to suit your taste. Remember that the flavors will intensify as the jam cools.
Finishing and Storing: Preserving the Goodness
Almost there! Now that your caramelized onion jam is perfectly cooked and seasoned, it’s time to finish it off and store it properly. This jam is incredibly versatile and can be used in so many ways, so you’ll want to make sure you have plenty on hand.
- Cool and Store: Remove the pot from the heat and let the jam cool completely. As it cools, it will thicken further.
- Transfer to Jars: Once the jam is cool, transfer it to clean, airtight jars or containers. You can use small mason jars for individual servings or larger jars for storing larger quantities.
- Refrigerate: Store the caramelized onion jam in the refrigerator for up to 2 weeks.
- Freezing (Optional): For longer storage, you can freeze the jam. Transfer it to freezer-safe containers, leaving some headspace for expansion. The jam can be frozen for up to 3 months. Thaw it in the refrigerator overnight before using.
Serving Suggestions: Unleash the Flavor
Now for the best part: enjoying your homemade caramelized onion jam! Here are just a few ideas to get you started:
- On Crackers or Bread: Spread it on crackers or toasted baguette slices for a simple and elegant appetizer.
- With Cheese: Serve it alongside your favorite cheeses, such as brie, goat cheese, or cheddar. The sweet and savory flavors of the jam complement the richness of the cheese perfectly.
- On Burgers or Sandwiches: Add a spoonful to burgers or sandwiches for a burst of flavor. It’s especially delicious on grilled cheese sandwiches.
- With Roasted Meats: Serve it as a condiment with roasted meats, such as chicken, pork, or beef.
- In Quiches or Tarts: Incorporate it into quiches or tarts for a savory and flavorful filling.
- As a Pizza Topping: Use it as a pizza topping, along with other ingredients like mushrooms, goat cheese, and arugula.
- Mixed into Dips: Stir it into dips, such as hummus or sour cream, for a unique and flavorful twist.
Enjoy! I hope you love this recipe as much as I do. It’s a labor of love, but the results are so worth it. Happy cooking!
Conclusion:
This Caramelized Onion Jam isn’t just another condiment; it’s a flavor revelation waiting to happen in your kitchen. I truly believe that once you taste the sweet, savory, and deeply complex notes of this jam, you’ll find yourself reaching for it again and again. It’s the kind of recipe that elevates even the simplest dishes, transforming them into something truly special. The slow caramelization process unlocks a depth of flavor that you simply can’t achieve with a quick sauté, and the result is a jam that’s both incredibly versatile and utterly addictive.
Why is this recipe a must-try? Because it’s surprisingly easy to make, requires minimal ingredients, and delivers maximum flavor. Forget those bland, store-bought jams this homemade version is bursting with character and is guaranteed to impress your family and friends. Plus, it’s a fantastic way to use up a surplus of onions, turning them into a gourmet treat that will last for weeks in the refrigerator. It’s a small investment of time that yields a huge return in flavor and culinary satisfaction.
But the best part about this Caramelized Onion Jam is its incredible versatility. Think beyond just spreading it on toast! Imagine a dollop on top of a grilled cheese sandwich, adding a sweet and savory counterpoint to the melted cheese. Or how about using it as a glaze for roasted chicken or pork, creating a sticky, flavorful crust? It’s also fantastic stirred into mashed potatoes, adding a touch of sweetness and depth.
Serving Suggestions and Variations:
* Cheese Board Essential: Serve it alongside your favorite cheeses, crackers, and charcuterie for an elegant and flavorful appetizer. Brie, goat cheese, and sharp cheddar are particularly delicious pairings.
* Burger Booster: Elevate your burgers by adding a spoonful of this jam. The sweetness of the onions complements the savory meat perfectly.
* Pizza Perfection: Spread a thin layer on your pizza crust before adding your toppings for a unique and flavorful twist.
* Sandwich Savior: Use it as a spread on sandwiches with roasted vegetables, grilled meats, or even just a simple ham and cheese.
* Egg-cellent Addition: Top your scrambled eggs or omelets with a dollop for a savory and sweet breakfast treat.
* Balsamic Boost: For a tangier flavor, add a tablespoon of balsamic vinegar during the last few minutes of cooking.
* Spicy Kick: Add a pinch of red pepper flakes for a touch of heat.
* Herb Infusion: Stir in some fresh thyme or rosemary for an herbaceous twist.
I’m so excited for you to try this recipe and experience the magic of homemade Caramelized Onion Jam for yourself. It’s a simple pleasure that will undoubtedly become a staple in your kitchen. Don’t be intimidated by the caramelization process it’s mostly hands-off, and the results are well worth the effort.
So, go ahead, gather your ingredients, and get ready to create something truly special. And when you do, I’d love to hear about your experience! Share your photos and stories on social media using [Your Hashtag Here], and let me know how you’re enjoying your homemade Caramelized Onion Jam. I can’t wait to see what delicious creations you come up with! Happy cooking!
Caramelized Onion Jam: The Ultimate Guide to Making & Using It
Sweet and savory caramelized onion jam, slow-cooked to perfection with balsamic vinegar, brown sugar, and a hint of thyme and smoked paprika. Perfect on crackers, cheese, burgers, and more!
Ingredients
- 4 large yellow onions, thinly sliced (about 5 pounds)
- 2 tablespoons olive oil
- 2 tablespoons butter, unsalted
- 1/2 teaspoon salt, plus more to taste
- 1/4 teaspoon black pepper, freshly ground, plus more to taste
- 1/4 cup balsamic vinegar
- 1/4 cup brown sugar, packed
- 1/4 cup dry red wine (optional, but recommended for depth of flavor)
- 2 tablespoons maple syrup (or honey)
- 1 teaspoon fresh thyme leaves (optional)
- 1/4 teaspoon smoked paprika (optional, for a smoky flavor)
Instructions
- Slice the Onions: Peel the onions and thinly slice them (about 1/8 inch thick).
- Initial Sauté: In a large pot or Dutch oven, heat olive oil and butter over medium-low heat. Add the sliced onions.
- Season and Stir: Sprinkle with 1/2 teaspoon salt and 1/4 teaspoon black pepper. Stir well to coat.
- Long, Slow Cook: Reduce heat to low, cover, and cook, stirring occasionally (every 15-20 minutes), for 1 to 1.5 hours, until very soft and translucent.
- Monitor and Adjust: If onions stick or brown too quickly, reduce heat or add a tablespoon or two of water or broth.
- Uncover and Caramelize: Remove lid. Increase heat slightly to medium-low. Cook, stirring frequently, for another 30-45 minutes, until deep golden brown and jammy.
- Stir, Stir, Stir: Stir almost constantly to prevent burning. Reduce heat if needed.
- Deglaze with Balsamic Vinegar: Pour in balsamic vinegar. Stir well to incorporate.
- Add Sweetness and Depth: Add brown sugar, red wine (if using), and maple syrup (or honey). Stir well.
- Simmer and Thicken: Reduce heat to low and simmer, uncovered, for another 15-20 minutes, or until thickened to your desired consistency. Stir occasionally.
- Add Optional Flavors: If using, stir in thyme and smoked paprika during the last 5 minutes of cooking.
- Taste and Adjust: Taste and adjust seasoning as needed.
- Cool and Store: Remove from heat and let cool completely.
- Transfer to Jars: Transfer to clean, airtight jars or containers.
- Refrigerate: Store in the refrigerator for up to 2 weeks.
- Freezing (Optional): For longer storage, you can freeze the jam. Transfer it to freezer-safe containers, leaving some headspace for expansion. The jam can be frozen for up to 3 months. Thaw it in the refrigerator overnight before using.
Notes
- Patience is key! The long, slow cooking is what develops the deep flavor.
- Don’t rush the caramelization process.
- Monitor the onions closely to prevent burning. Adjust heat as needed.
- The red wine adds depth, but can be omitted if desired.
- Thyme and smoked paprika are optional but add a lovely flavor complexity.
- Taste and adjust seasoning to your preference.
- The jam will thicken as it cools.


Leave a Comment